Let's Make a Webtoons
A. Introducing
Before I use Clip Studio Paint (CSP), I little bit suffering to create webtoons, because I have to used more than one apps to complete it. Now, after 2 years using CSP, it help me a lot.
Hi, I’m Endy. This is my first tips on how to create a webtoons that I use on mine.
B. Preparations 1 Story and Character Sheet
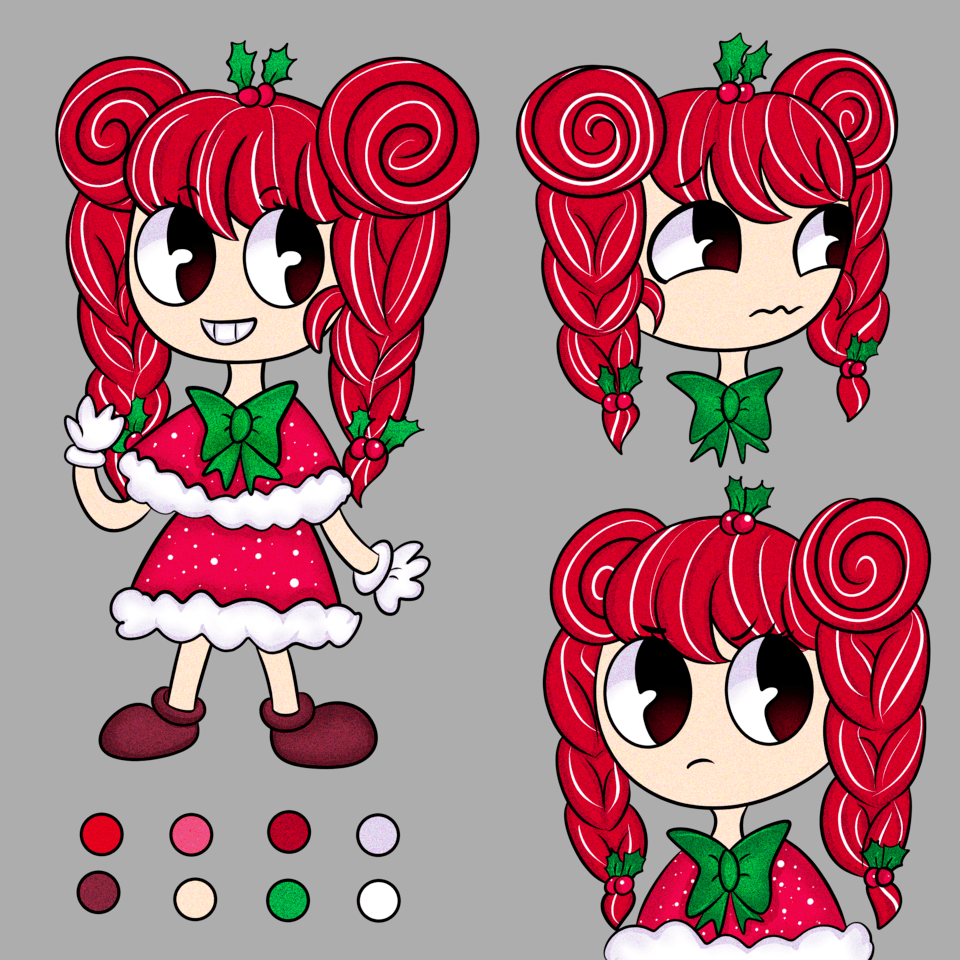
The first things you have to prepare are the story of your webtoons. If you won’t write the complete story, at least you have to make the plot lines of your story and then, make characters sheet for your main character(s), its will help you a lot because you’ll draw them repeatedly.
C. Preparations 2 Dimension of page
Before you start create your webtoons, you have to know the rule of dimension from the platform where you’ll publish your webtoons. Let’s make it simple, Ciayo Comics’ dimension are 700 x 1.000 pixels per page, meanwhile Line Webtoons’s dimension are 800 x 1.280 pixels per page.
I’ll take Line Webtoons as sample on this tips (because my latest Comic, Pitch – Requiem for A Future, publish on this platform).
It’s okay if you want create your webtoons page by page but, sometimes it will difficult when you have to organize the panels. I recommend you to double the dimension 10 times (800 x 12.800 pixels) so, when you do this, you’ll get 10 pages at once.
FYI, our lovely CSP have no tool for slice nor divide the pages. But don’t worry, you can use third app to cut it off into 10 pages. Let’s hope oneday CSP would add it.
D. Name/ Storyboard/ sketch
The page is ready. It’s time to Naming or you can call it Storyboard (STB) or sketch. To organize your layer, add folder and rename to [Name] and then, create new layer into [Name] folder, rename to [Sketch].
I use [ろGペン] for Naming. I like the texture, it really helpful to get the feels. I use Red (sometimes Blue or both) for make it easy to distinguish between Name and Lineart.
Use [Rectangle] tool for drawing the panel. I usually draw the panel on different layer so it will not disappeared when I erased the Name.
E. Lettering
Plot line of the story will help you on this step, lettering. Add new folder and rename to [Letter] put the folder above [Name] folder.
I use [VTC Letterer Pro] 8 pt, for normal dialogue, [Komika Axis] 8 pt for screaming or put emphasis on speech, and [Smart Kid] 6 pt for sentence outside the text balloon. (you can download all of those fonts on DaFont.com). You can use other font types of course, as long as they readable, not too small nor too large.
FYI, don’t use too many font types nor size. Inconsistency will ruin your webtoons quality.
After you write the text, pick [Rounded Balloon] tool and put it over the text. You can follow my setting (see picture) or make your own setting. If you done with all of text balloon, drag all of it into [Letter] folder and hide it when you start lining procces.
F. Panel and Text position
As you know, webtoons is a scrolling down comic with vertical reading format. So not all techniques in conventional comics can applied in webtoons format.
The distance between panels is related to pacing of your webtoons. Panel that’s too close will make the story feel fast but, it’s good for intense scene like fighting or other action scene. Panel that’s too far is not good for fighting scene, it will feel slower and sometimes even boring. It’s suitable for scene that use feelings, like a scene of character thinking about something or change the time setting from the preset to past or the other way.
The same thing applies to text balloon. Because webtoons is scrolling down format, make the text balloon not parallel to the side, but down. Help the reader to read your webtoons by placing text balloon position and not making them confused.
G. Lineart and coloring
Before start to lining the Name, decrease the opacity of [Name] folder, add folder between [Name] and [Letter] folder then rename to [Panels].
I recommend you to use [Frame Border] instead of [Rectangle] tool, so you can work panel by panel without risk because deleted other panel by accident. Set brush size to 4 or 5 and create the panel. Rename [Frame1] to [Panel1] and drag it into [Panels] folder , now you can start lining the Name.
Delete the [Layer1] and add new Layer Vector into [Panel1] rename to [Lineart]. Why I use Layer Vector instead of common layer, because it very helpful to increase the speed of creating webtoons by easier deleting lineart. You can choose the part without delete other part.
I use [つけペン] for lineart with size 18 pt because I like thick line instead of thin line. You can use other pen or brush that suitable with your style.
Separated layer between Character, Background (BG), and Foreground (FG), will help you to choose the point of interest in a panel. Because, sometimes we have to blurry the BG and FG to make reader fokus on character but, don’t worry it just an option, you still can blurry the BG and FG using select tools like Auto Select or Lasso Tool.
After you done with lineart, it’s time for coloring. Hide [Name] folder then add new layer below [Lineart] layer, rename to [BaseColor].
Click on [Lineart] layer then pick Auto Select (shortcut : W). Select layer outside of lineart, and then Invert, click menu [Select] > [Invert Selected Area] (shortcut : Ctrl + Shift + i), choose color for [BaseColor], pick [Fill] (shortcut : G) then fill the selected area by click [Fill] icon.
Add new layer and put it above [BaseColor] layer, rename to [Color], and then activate [Clip to Layer Below]. I usualy use one layer for all color with purpose to skip detailing but, if you want separated all parts of color, you have to ready spend more time to create your webtoons.
I use Marker-pen for coloring but, sometimes I use [Fill] tool > [Refer to Other Layer]. To use that, activate [Set as Reference Layer] on [Lineart] layer, then set [Fill] tool properties as the following picture.
Now we have done with color the let’s put the shading. Add new layer above [Color] layer and rename to [Shading]. Set [Blending Mode] to [Multiply]
I use 2 colors for shading, one for skin and one for other color. For skin I use darker color than base skin color, and for other color I use Warm Grey.
I like put the mood using [Gradient] tool, so I add one more layer above [Shading] layer and set [Blending Mode] to [Soft Light]. Because of genre of my webtoons, I have to choose darker colors, sometimes pale for the mood.
H. Finishing
Now unhide [Letter] folder. You can type the sound effect (SFX) if you don’t wanna write it. Just choose font style that suitable with your webtoons, put them on the position and drag them into [Letter] folder and done.
But I prefer write the SFX instead of type so, I add new layer on above of all text balloon, rename to [SFX]. I use [ろGペン] for write the SFX than I use [Auto Action] to make outline.
Repeat the step for next panel until all panels in the first part of page are done. Remember, double the dimension 10 times equal to 10 pages. I have 4-5 parts with 40-45 panels in one episodes of webtoons. The result will be different so don’t use mine as your standars.
I. Closing
That’s how I create my webtoons. Maybe other Webtoons Artists use simple or easier method than mine, or you can add/ delete some steps of mine, that’s up to you. But in deep on my heart, I hope this tips can help you and your webtoons.
Well, you can find me on Twitter or Instagram @Endy_UKilled, or read my webtoons on Linktr.ee/Endy_UKilled (Bahasa Indonesia).


Commentaire