LIQUIFY TOOL: Where to use it | Clip Studio Mobile
Hi MarL here,
This tip will talk about Liquify Tool! The new added function in Clipstudio Paint. I will show you ideas where you can use it.
Please feel free to watch the video above. I put some timelapse on the youtube description to make it easier to watch. If you prefer reading the written version, please continue scrolling. With that note, I hope you enjoy this month's tip topic.
INTRODUCTION: Liquify
Liquify is a special tool used for minor readjustment or what others call 'retouching'. To others, it's a tool to add artistic effect.
It can be used for editing photos and artwork.
➤ When to use Liquify?
Liquify can be used at the beginning or at the end. You can use it during a sketch or after everything is over for a minor retouching.
➤Clip Studio's Liquify have seven mode:
        1\. Push

        2\. Expand

        3\. Pinch/Shrink

        4\. Push Right

        5\. Push Left

        6\. Twirl Clockwise

        7\. Twirl Anti-Clockwise
➤How to use Liquify?
Open [Tool Bar] > [Blend] > [Liquify]
Before using Liquify, please keep in mind that you can only use this function one layer at a time. Meaning you can't use this on multiple layers at once.
If you want, you can merge them first to use it easily.
►How to merge?
For mobile user, [Hold any layer] > [Click Merge visible layer at a new layer]
It's better to use [Merge visible layer at a new layer] so you can keep your layers and edit them as you please.
However, if you want to merge with the intent of just keeping one layer. Click [Merge visible layer]. With this only the merge layer will be left.
LIQUIFY SETTING
➤How to adjust liquify setting?
To adjust the liquify setting. There are 2 ways.
1. Open [Tool bar] > [Liquify] >adjust setting
I don't recommend this method, since you can't can't modify the mode easily. For the Liquify tool, you want to be more efficient. Especially if you're a beginner who wants to experiment with the [Strength] and [Hardness] of the tool.
2. Go to [Tool Property]
Under the Palette section, [Tool property] is a shortcut tool to adjust the setting of the active sub tool
For this method to work, the Liquify tool must be selected first.
➤STRENGTH
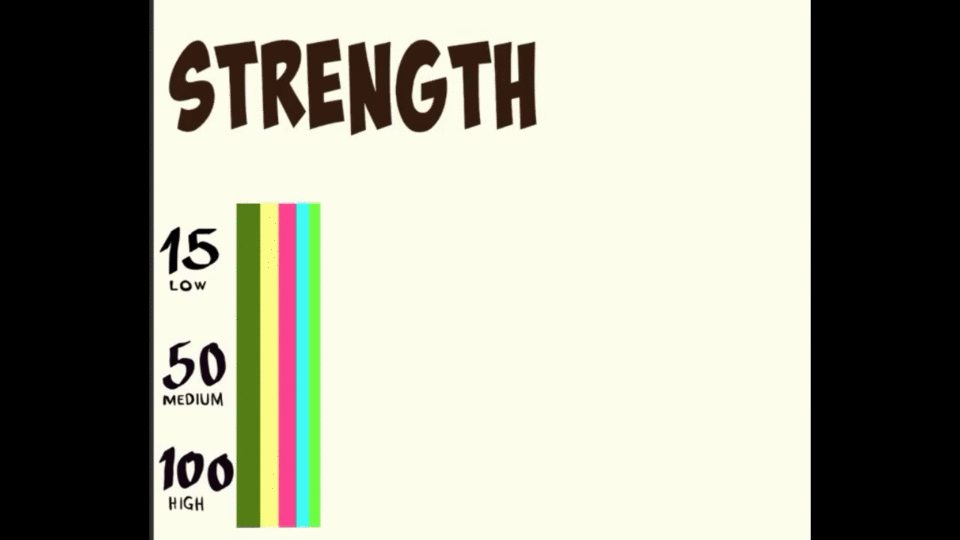
[Strength] setting is the amount of pixel that your brush can quickly move or drag.
In that note, the higher the [Strength], the quicker you can move the pixels.
For the GIF, I will give 3 parameters comparison. 15, 50, 100 with a default [Hardness] of 50.
➤HARDNESS
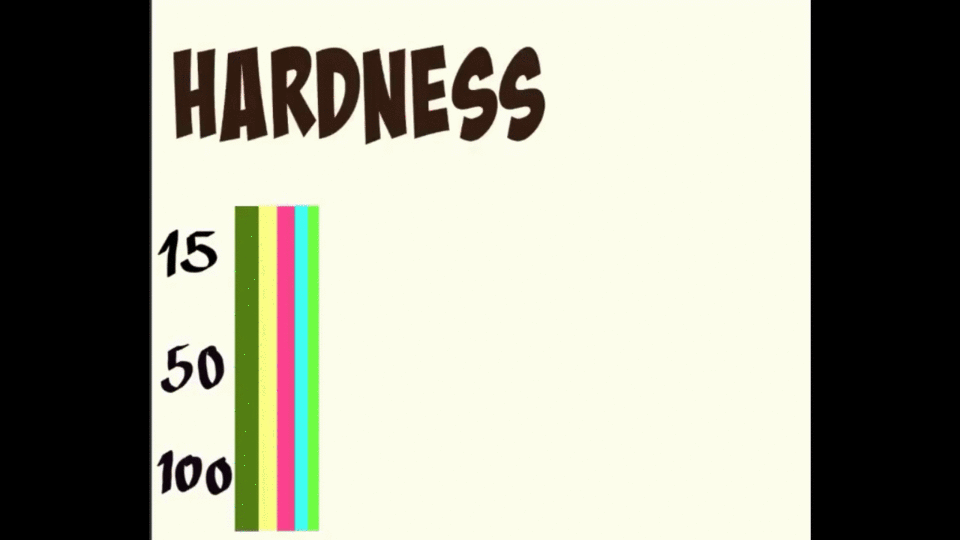
[Hardness] setting controls the hardness effect of the brush.
For the example below, the lower the [Hardness] the quickly it falls off and feels heavier. It will give a pinch effect at the end of the brush.
The Higher the value will make it look sharper and will take the form the brush (round end)
For the GIF, I will give 3 parameters comparison. 15, 50, 100 with a default [Strength] of 50.
➤ONLY REFER TO EDITING AREA
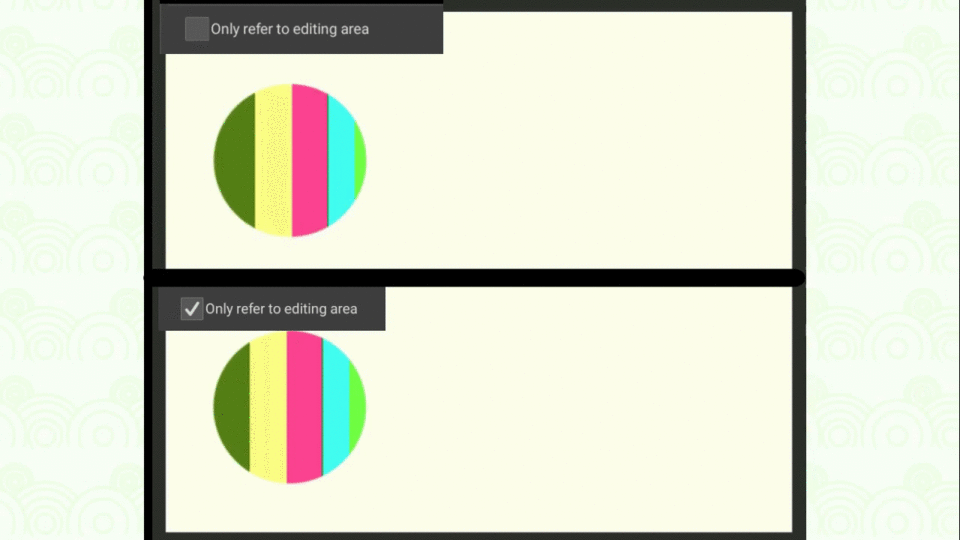
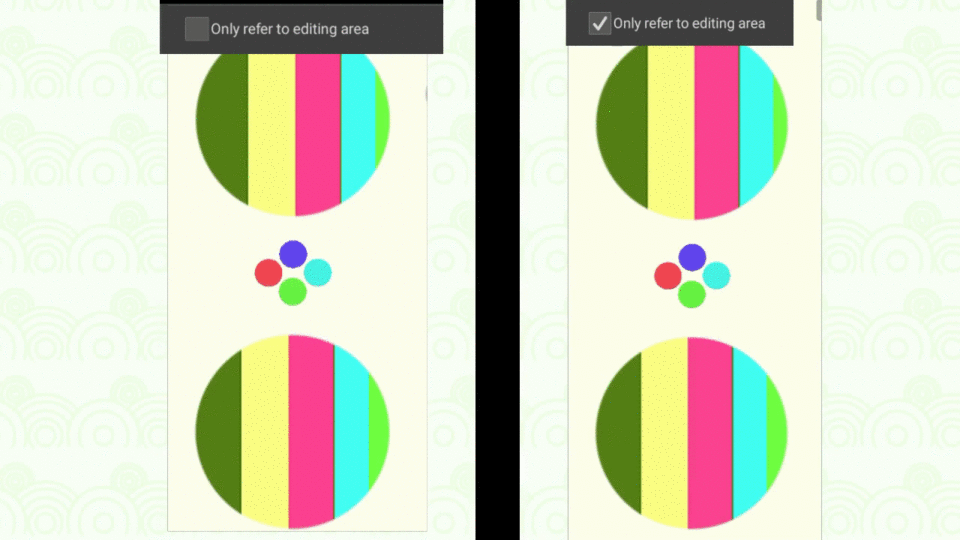
Turning on or off the editing area
➤If turned on, the effect of the Liquify tool will reference only within the brush
➤If turned off, the areas outside the brush will also be affected by the Liquify tool.
*example using Push mode
*example using Twirl mode
PUSH MODE
[Push mode] literally push or drags the pixel.
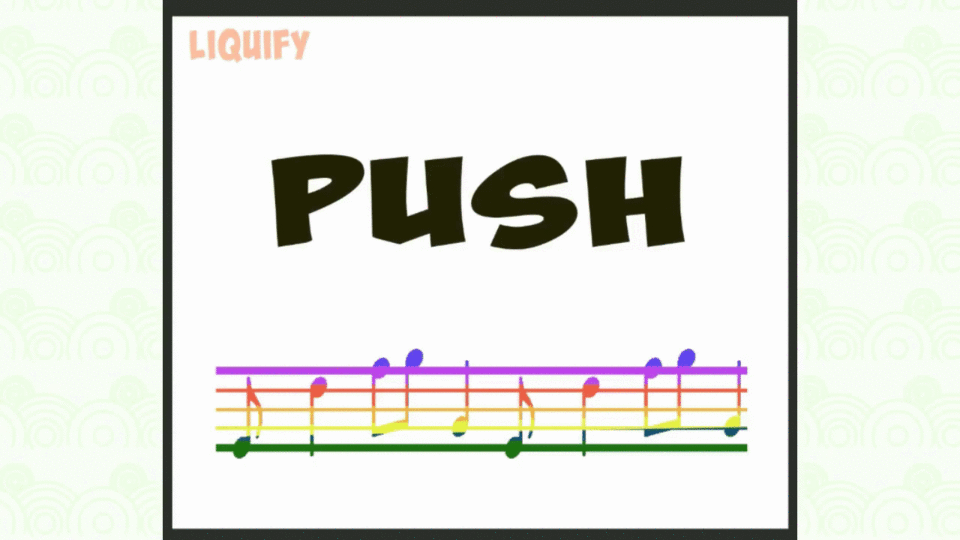
There are many uses for Push mode and here are a few things I noted.
🔶Where to use Push mode?
• For Art expression
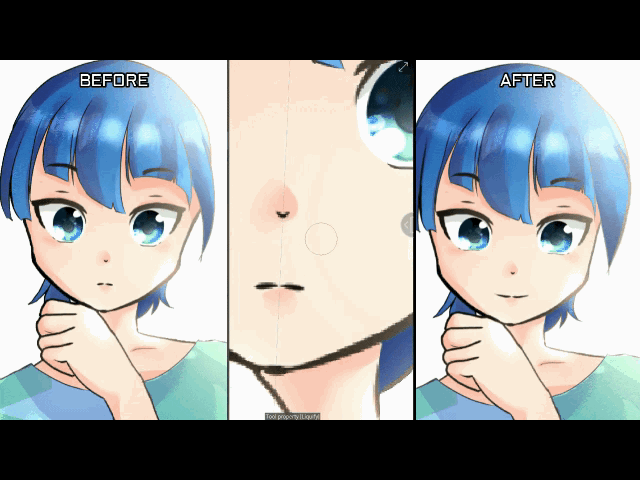
I can easily change my character's expression using Push mode. Usually just adjusting the character's lips and eyes will do the trick.
ᐅᐅTIP: USE SYMMETRY RULER ᐊᐊ
You can use the Liquify tool with a symmetry ruler. With this you can easily adjust both eyes at once.
To use symmetry tool:
Click [Tool] > [Ruler] > [Symmetry Ruler]
Then just use liquify to edit
•Melt / Drip effect
Do you want to do a quick melt effect? Well you're in luck cause Clip studio got you covered!
Here is an example of a character that is literally melting.
•Food
You can also do the dripping effect with foods like ice cream, cheese, or pizza.
ᐅᐅTIP: CUT AND PASTE METHOD ᐊᐊ
If assuming you only have one layer, and want to edit the ice cream on the cone. Just use the Cut and Paste method.
Click [Toolbar] > [Selection area] > [Selection Pen]
Select the ice cream part and avoid the cone carefully.
Now click [Cut] then [Paste].
[Cut] and [Paste] can be located in two ways.
1. Look on the screen below in the Command Bar. Cut and Paste button are already added in the default set up.
2. You can look it up in the Menu section.
Click [Menu] > [Edit] > [Cut] or [Paste]
This is the difference after using Liquify Push mode if you didn't do the cut and paste method.
*Left side - Cut and paste is NOT done, and there is only one layer of ice cream and cone.
*Right side - Cut and paste is done, and there are now 2 separate layer of the ice cream and the cone.
Doing this method, you can easily add a dripping effect without worrying about cone distortion.
•Quick Fire or Fireball
If you want to draw a quick fire or fireball. Just draw some colors like red, orange and a bit of yellow.
Then just play with Liquify.

After you are done.
1. Add a [New Layer] use [Add (glow) Blend] then click [Clip Layer].
2. You can use [Airbrush] and a pale yellow or orange to add a glow effect.
3. Click the main layer (The layer where you draw your fire). Go to [Tool] > [Blend] > [Blur]. Use Blur within the fire. You can use blur effect either the source of fire (the center bottom) or outside.
*From left to right:
**First fire- the fire after using liquify
**Second fire- after using Add(Glow) Blend
**Third Fire - after using Blur effect inside
**Fourth Fire - after using Blur effect inside and outside on bottom side of the fire.
•Water effect
My favorite effect when it comes to liquify. Just simply drag your finger in a left and right motion and it will have a very nice water effect.
I like using [Strength] around 35 and [Hardness] around 20.
•Make a Simple Tree
A quick idea to draw trees.
To do this:
1. Draw a base and the tree trunk
2. Use another color to represent the leaves, make sure there are gaps.
3. Use Liquify
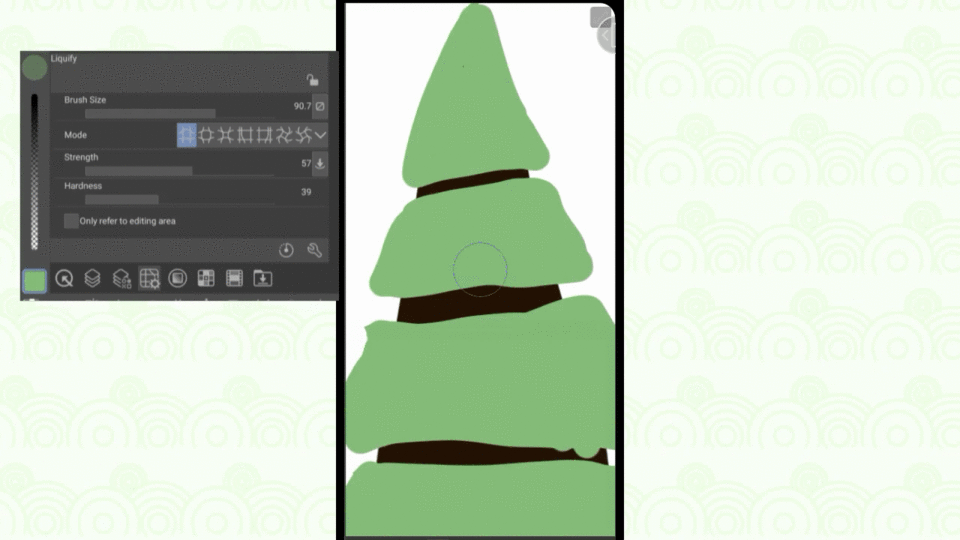
4. Click [New Layer] then [Clip Layer]
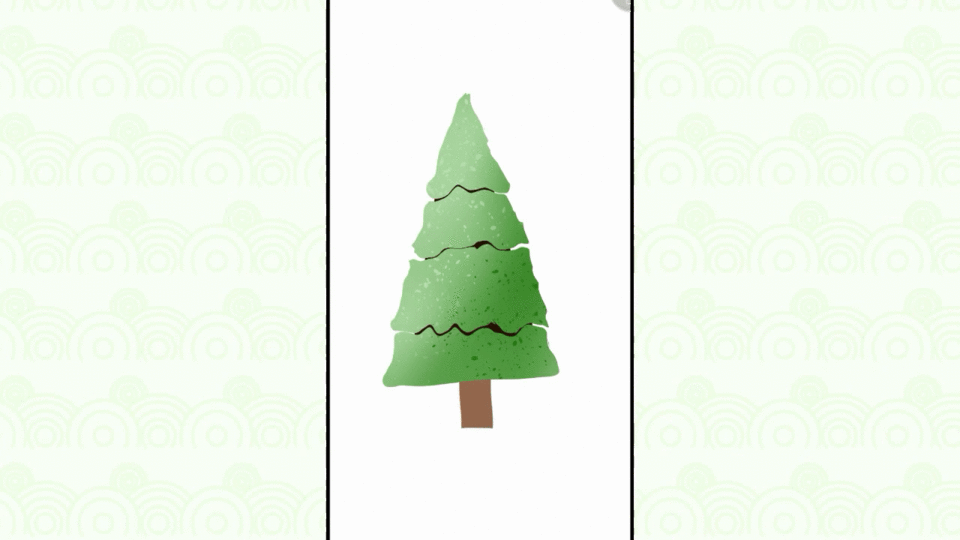
5. Use [Airbrush] to add some textures, light and shadows. I also use [Droplet] to add details.
*Don't forget to shade the tree trunk...
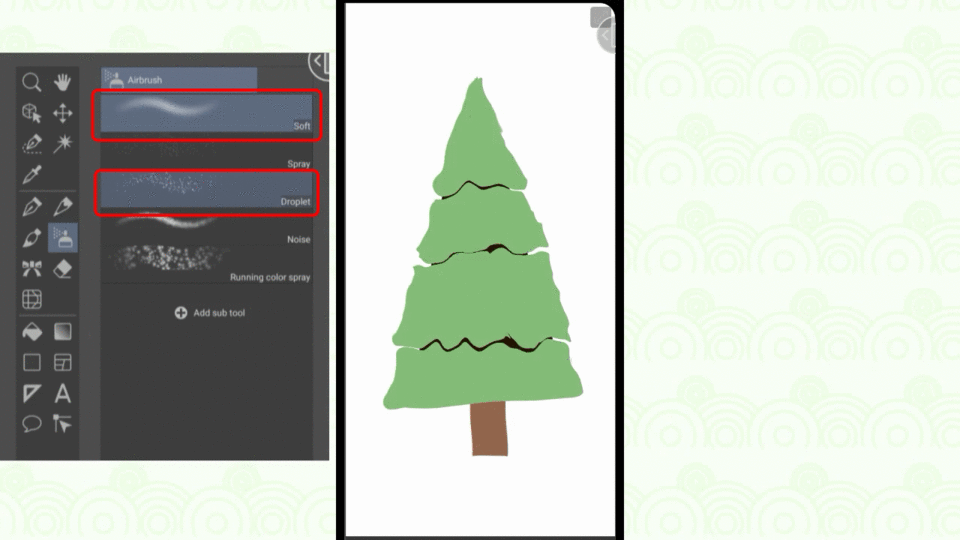
After making one tree. merge all the layers using [Merge with layer below]
ᐅᐅTIP: COPY AND PASTE METHOD ᐊᐊ
Then just do the [Copy and Paste method] to easily duplicate the trees.
[Copy] and [Paste] can be located in two ways.
1. Look on the screen below in the Command Bar. Copy and Paste button are already added in the default set up.
2. You can look it up in the Menu section.
Click [Menu] > [Edit] > [Copy] or [Paste]
After making a copy, go to [Tool] > [Operation] > [Object]
To drag the tree.
Repeat process
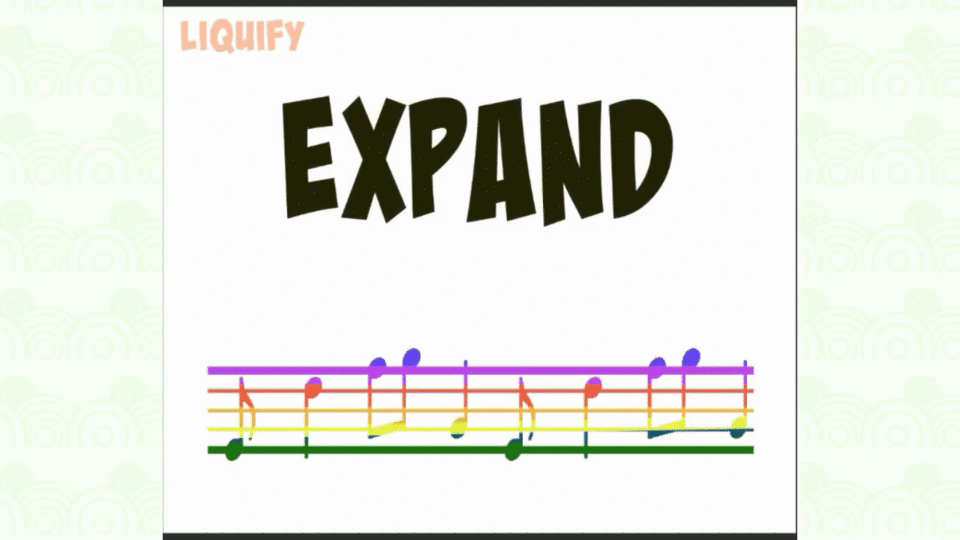
EXPAND AND PINCH MODE
[Expand Mode] will make all the pixels inside brush away from the center it thus creating a dilate effect.
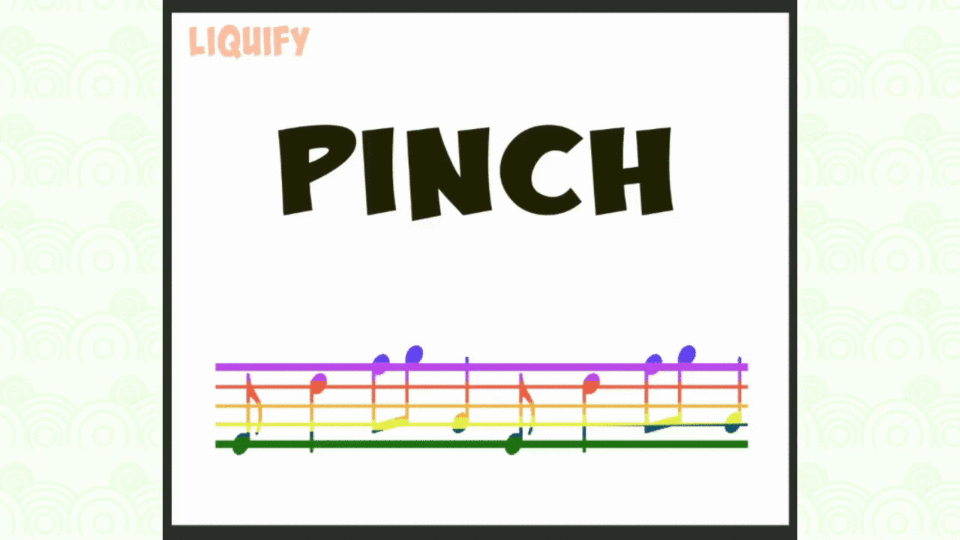
Opposite from it is the [Pinch Mode].
It will make all the pixels inside the brush go to the center thus creating a shrink effect.
🔶Where to use these?
•Hair Volume
You can easily increase or decrease the character's hair volume. Just make sure to check the "only refer the editing area".
•Character's Face and Body
Do you think your character's eyes feel smaller or a bit bigger? Just use Liquify: Expand mode or Pinch Mode.
You can also adjust your character's body part such as legs or muscles. You can also use this to emphasize your drawings perspective.
Here are some few examples:
PUSH LEFT or RIGHT MODE
[Push Left or Right Mode] will make the pixels go either left or right direction.
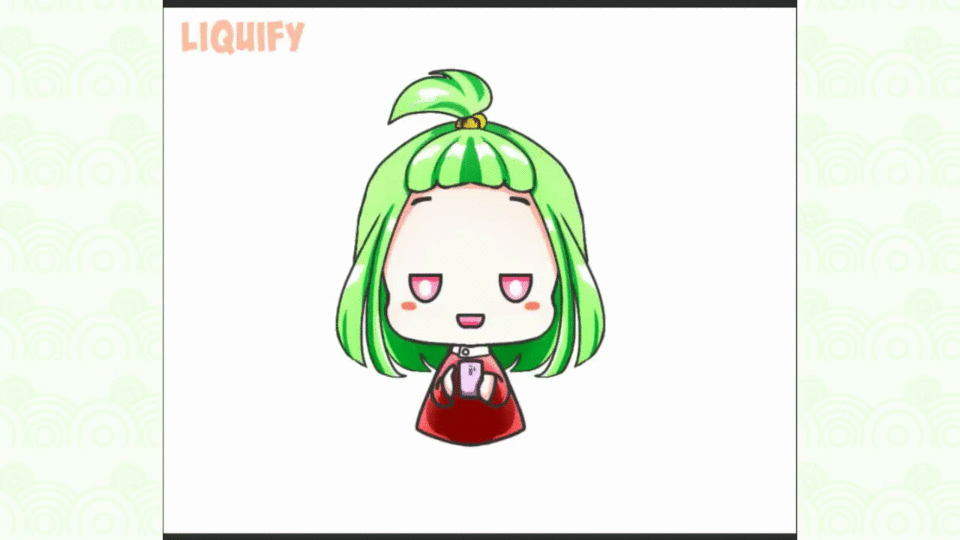
🟧TIP: Push Left or Right Mode Shortcut
Click [Push Left]
➤If you swipe downward, you will notice the pixel move to left
➤If you swipe upward, the pixels move to the right.
➤If you swipe to the right, the pixel go upward.
➤If you swipe to the left, the pixel is push downward.
It's a nice shortcut and I hope it will be useful to you.
🔶Where to use Push Left or Right Mode?
•Face Proportion
•Adjust Object's Width
TWIRL MODE
[Twirl mode] will make all the pixel around the brush rotate.
There are two type of this mode.
1. Twirl Clockwise
This mode will rotate from right or clockwise
2. Twirl Anti-Clockwise
This mode will rotate from the left or counterclockwise
🔶Where to use Twirl Mode?
•Hair
•Change Head Direction
To do this :
1. Make your brush size bigger than the head of your character
2. You have to set the [Hardness] about 70% or just enough so the face of your character's pixel won't be distorted much.
3. For the [Strength], it's easier if you use it at lower parameter so you can control it more accurately.
•Animal Features like Ears and Tail.
---------------------------------------------------Liquify Tool is a new mode of Clip Studio Paint.
It's a wonderful update and I had fun using it.
Thank you for reading.




Commentaire