Painting a Dark Angel Process
Hi everyone, I hope you're doing fine these days.
You may be familiar with the term "dark angel" or "fallen angel" through stories or perhaps because of their appearance in shows or video games. Today, I will teach you my process on how I painted a dark angel in Clip Studio Paint.
Finding REFERENCES
References are essential no matter if you're just starting out as an artist or already an experienced one. This is because even if you think that you know how something looks in your mind, drawing it on a canvas is entirely different. By using a reference that you can look at, you will be able to correct mistakes and brainstorm ideas for your painting.
For this painting, I started out by searching for how a dark angel looks and how their wings attach to their bodies. In the process, I also sketched ideas inspired by the references on a paper.
Sketching
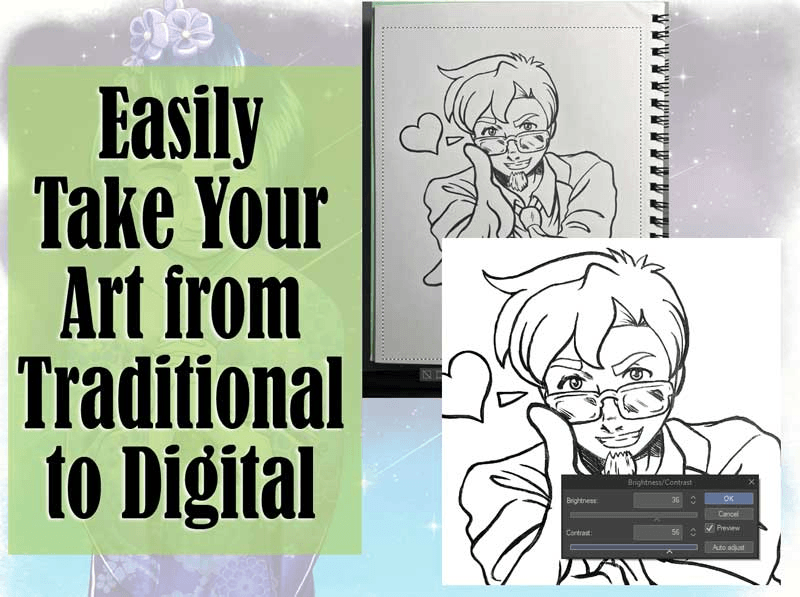
Since I have a very small drawing tablet which is hard to use for sketching, I start my piece by sketching it on paper then taking a picture of it, and finally coloring it on the computer.
You can see in the picture that some of the proportions seems off,
if this happens to you then DON'T worry, because you can always fix it in CSP!
Paper to CSP
To send the picture from your mobile device to your computer, you may send it through your own messaging app/email or to your own dropbox.
To import the picture to Clip Studio Paint, go to File>Open>(The file of your sketch)
Then right-click on the layer and select rasterize to be able to paint on it.
After that, I duplicate the sketch layer and hide it so that I can always go back to it when I adjust things.
You can do it through click and dragging the layer to the "add layer" icon.
Now I can start making corrections through the sketch by using Edit>Transform>Mesh Transformation.
I can make adjustments to the sketch by moving the dots.
I can increase the number of dots for finer adjustments by using the slider in the tool property.
*If you think that you made a mistake, remember that you can always go back to your backup layer.
After that, I set the visible layer to Multiply so that whiter colors become transparent and darker colors can be used for shading.
Lastly, I clean the darker portions of the canvas with a lighter soft airbrush
Filling the Flat Colors
I begin by first adding a layer under the multiply layer and then I start to fill in the flat colors with the Round watercolor brush found in Brush>Realistic watercolor.
*It is important to note that the watercolor brushes can't make a color lighter within the same layer.
This means that if you painted something dark with a watercolor brush, you CAN'T cover it with a lighter color using the watercolor brush. In order to do this, either paint the lighter color with another brush or add a new layer on top and paint it with the watercolor brush.
Detailing
Detailing is all about adding shading, highlights and details.
Though you may use a multiply layer for shading, I use a normal layer instead to be able to have more control over my colors. I generally shade using the same dark color with a watercolor brush and carefully add strokes to the canvas.
For my highlights, I mostly rely on the areas in which I didn't shade as you can see on the edge of her hair below.
BRUSHES I USE:
1. Round watercolor brush
2. Tapered Watercolor
3. Gouache
4. Tapered Pencil
5. Textured Blender
**SHADING TRICKS:
#1: Follow the flow of the shape which you're painting. You can see how I did this with the hair.
#2: Add a layer on top of the main layer to add colors without blending it with the colors on the main layer then merge it to the main layer again with CTRL+E. With this, you can gradually and efficiently add shading & details.
#3: Use the TEXTURED BLENDER brush found in Brush>Realistic watercolor>Textured blender. You can use this to have flawless and natural-looking blending.
#4: Duplicate your layers from time to time so that you can always go back if you ended up making a disaster.
If you're satisfied, we can now move on to the finishing touches to make your paintings POP!
Finishing Touches
This time, we'll focus on how to make your paintings look more attractive.
Here are the things I do when finishing the piece:
#1: Increase the saturation by going to Edit>Tonal Corrections>Hue/Saturation/Luminosity... and adjusting the saturation slider.
#2: Add a Color Dodge Layer to increase contrast in some areas. (It might be unnoticeable but I used a dark red soft airbrush in a color dodge layer in the face and in the eyes below)
#3: Add Some Dust!
I used a special brush called Battlefield Dusts Brush which you can find in Clip Studio Assets, It adds more visual interest to the painting.
and We're DONE!
Here's a speedpaint (¯▿¯)
I'm sorry for the poor video quality <( ̄ ﹌  ̄)>

Thanks for reading up to this point. I hoped that you learned something valuable. If you're interested and want to see more of my art you can check out my Instagram: @proxarc
Have a good day!( ̄ω ̄)


コメント