◆ Reflective 「Blur」 ◆
◆ Introduction
Yo! Hello everyone! (´・ω・`)
For this month's Tip, I intend to show you where I used the 「Blur」tool to
Colour with 「Background」&「Object」colours for an 【Atmospheric Night】Palette
Create 'metallic' and 'shiny' textures !
Adjusting overly-realistic Background
◆ Tools
● G-Pen
● Brush
● Airbrush
● Blur / Blend Tool (We will be using both, for blending and blurring out sharp edges)
● Blur Filter
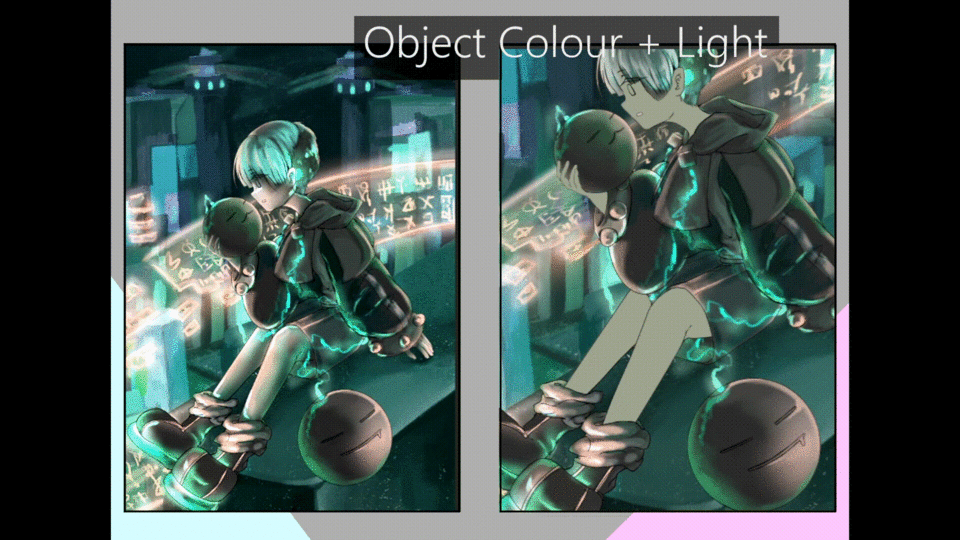
◆ Mixing 「Base Colour」 + 「Object Colour」

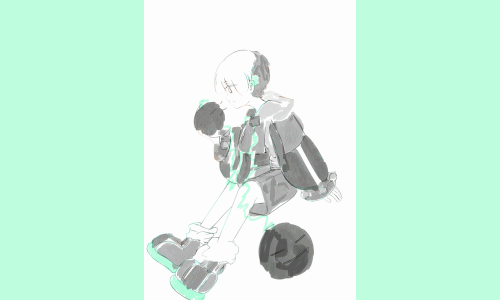
As always we'll first do the Sketch → Lineart → Prepare 「Base Colour」 (on seperate Layers)
After that is done, we'll now before we start 「Colouring」first draw a rough sketch for the background and then roughly colour it in like this:
I first put in the main colours of my intended drawing (Green, Blue, Black) and then,
■ Use Filter →「Gaussian Blur」
To keep the background still vague.
This 「blurred Background」 is only supposed to help me envision the atmosphere of the location and assist me with working in the surrounding colours into the character.
Next I roughly
■ Add light with 「Airbrush」
From here, I put in even more rough forms in the background and
■ Use the 「Background Colours」with 「Airbrush」「Blur」
to shade in highlighted and darkened spots (One Layer)
Next,
■ Use 「Brush」「Blur」to insert 「Light & Shadow」even more detailed
(Same Layer)
In the next step, I select the 「Object Colour」(actual colour of skin, hair, shirt, etc.) and
■ Insert with 「G-Pen」「Airbrush」
(Separate Layer)

I do this with all of our separated Layers: Skin, Hair, Clothing
■ Use the「Airbrush」to add back some of the 「Background Colour」
Then,
■ 「Blur」the 「Background Colour」into「Object Colour」
After the base ( mixed colours of the 「Background」and「Object」) is done,
I move onto working in more details, by using the palette made out of the blurred mix.
For the 「Hair」I :
■ Use the「Brush」for solid strokes
■ Use「Blur」 on the harsher edges
In the same manner I will clean up and define the colours of the clothing!
Taking in surrounding Colours can help to emphasize the paleness of the character and create a nice translucent tone,
And with this process the main colouring of the character would be done!
◆ 「Blur」 Metallic Surface
First for the metallic rings at the character's sleeves, I start with the same blurred base.
However, unlike with the fabric texture, here I
■ Add colour of surrounding objects with 「Airbrush」「Blur」
(Sharpness of reflected colour is relative to its sources distance to the metallic surface)
■ Add harsher lines with 「Brush」
And we do not fully 「Blur」those lines out
Unlike before, where the harsher lines were blurred into thin edges, here I
■ Use 「Eraser」for sharp edges
■ Use 「Blur」to smudge harsher line at only one point
Thus rather than creating a 【Gradien Effect】by blurring BG Colour and Object Colour,
For metal surfaces I create a【Wipe Effect】for harsher points, making it look smudged and giving more dimension and shape to the circular object.
◆ 「Blur」Gleaming Electricity
For the 「Neon Light」in the shoes, I first
■ Roughly put in 【Light & Reflection】 with 「Airbrush」「Blur」
I treat the reflected 「Neon Light」the same way as light would reflect on Water.
So the light reflects quite uneven and it will vary in opacity at certain spots.
The process is the same as the Colouring with 「Background & Object Colours」.
The only difference is, that our 「Blurred Light Base」is uneven.
I think the 【Reflected Light】just seems more playful and interesting this way.
It gives it a sense of 【Motion】like it is gleaming.
Next,
■ Clean up the 【Blurred Light Base】with 「Eraser」「Blur」「Brush」
As for the electric strings, binding the metal balls to the shirt,
■ Draw a distorted line with「Brush」
■ Use「Eraser」to make it less even
■ Use「Eraser」to thin out small holes
■ Add thin frame to outer side of the light with 「G-Pen」
■ Use「Blur」inside the holes
■ Add thinner electric stings departing from the main string with 「G-Pen」
(Optional: Add 「Airbrush」in bright blue and green)
With that the 「Neon Light」parts are done!
◆ Blurry Background
For the background, I just 「Cut」and 「Combine」Buildings and used 「Transform」to make them fit my initial BG sketch. I also redrew certain parts manually.
( Optional: Go to 「Layer Correction」 →「Gradient Map」so cut out parts blend together better in colour)
Because the Background is hyper-detailed, it takes the focus away from the character.
So to prevent the viewer from getting distracted by it,
■ Go to 「Filter」→ 「Blur」→ 「Gaussian Blur」
This way, the hyper-realistic aesthetic of the Background also no longer fights with our 2D aesthetic character.
◆ Finished Illustration
Thank you for reading until the end!(´・ω・`)
I hope this could give you some ideas on how to use 「Blur」Tool in your drawing process.


댓글