Design Your Own Cozy Room
➜ Introduction
Hello and welcome to a new tip of Clip Studio Paint, dedicated to our creations aand today I'll show you my dream room design and artwork!
We have all at one time or another idealized our own room or perfected it over time. With the help of illustration we will recreate our dream room with tools and resources provided by Clip Studio Paint.
01 | Ideation Sketching
The first step is about of thumbnailing, sketch and brainstorming about all the items for your cozy room. My favorite items would be a bean bag to accommodate drawing, the world's largest sunflower and a small palm tree for the terrace.
Having assembled what is needed, it is now time to create the wall and ceiling before moving on to the placement of 3D materials. This is that I call ''croquis'' in spanish and prepare the folded plane of the room too.
In the next section, let's export each different plane to import as texture for the 3D primitives as in this image.
02 | Use of 3D Primitive for Perspective
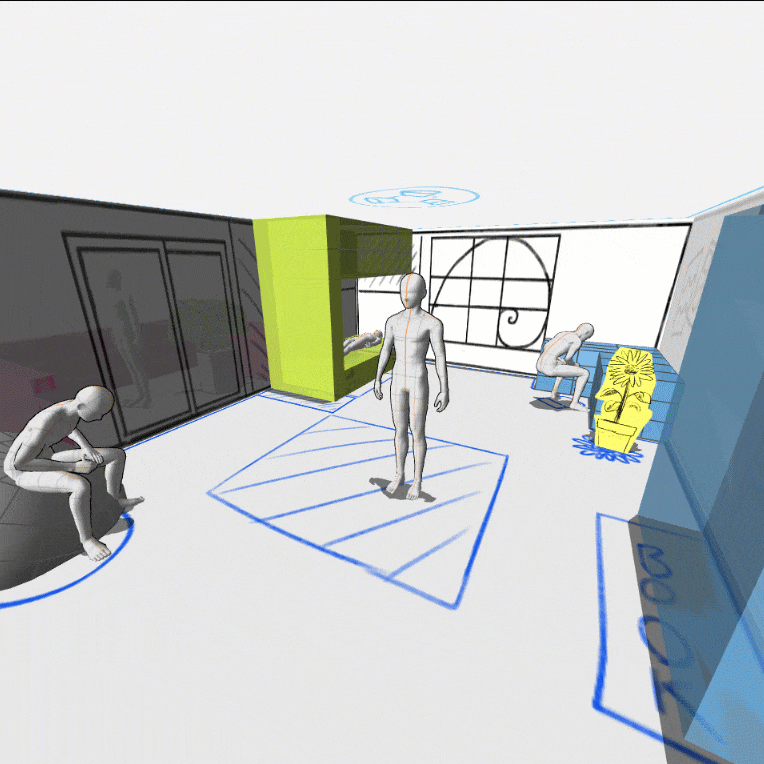
With basic knowledge about creating perspective, there are several possibilities to design your cozy room to your preference. This time I will present another method to the most digital, you can choose to build your own perspective or 3d modeling.
Thanks to Clip Studio Paint, we can placing the 3D primitives for the sketch, like cylinder, square, triangle, circle and a plane. Using the plane it will be helpful for apply the texture of our sketch of room and recreate a 3D room for the model!
From the ''Material 3D'', we will use the 3D human figure and the 3D primitives of which you can transform and join the materials using the magnet.
PRO TIP: Use the options for the material 3D like ''Hide polygon lines'', the Texture, the Semitransparency and the Rotate and Follow Camera like this infographic
And this is the screenshot of our finished Layout 3D, with human models of reference, for the next clean sketching!
03 | Clean Sketch
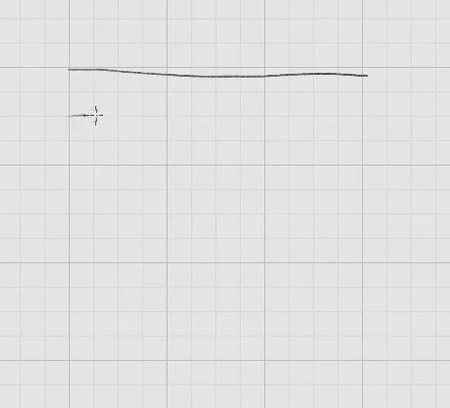
For this scenery design, I used a brush texture with a size of 2.5 for the next step, which is coloring.
Here is a GIF of a line exercise before design.
04 | Color Illustration
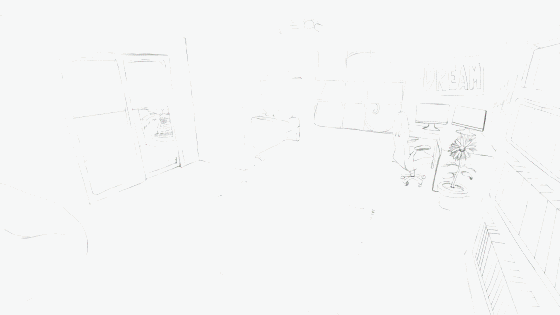
Start the coloring, for this in Layers the Clean Sketch layer will have a 50% gray color and the top layer will have a palette of grayish colors.
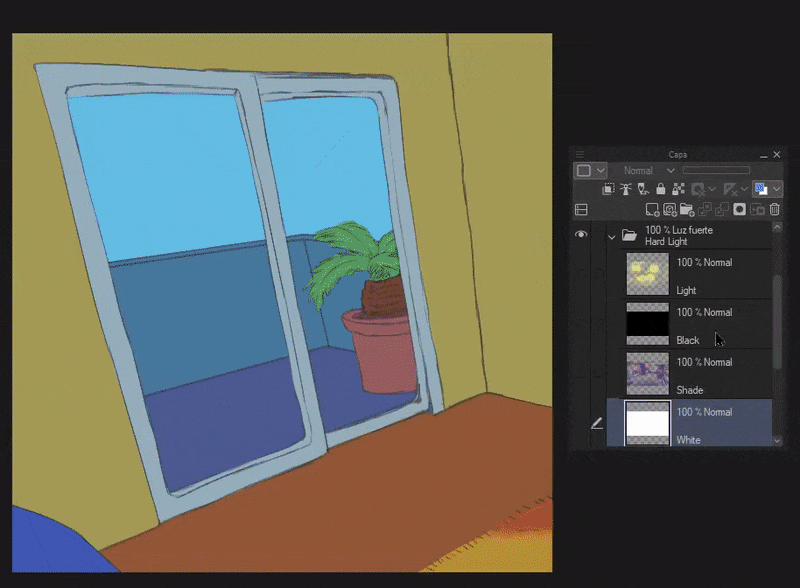
And for the shade and light, create a group layer with the blend mode ''Hard Light'': with a layer for the shade color purple and the other layer for the light color yellow. Here an example in GIF of how I use a airsoft brush for the shade and light.
05 | Detail
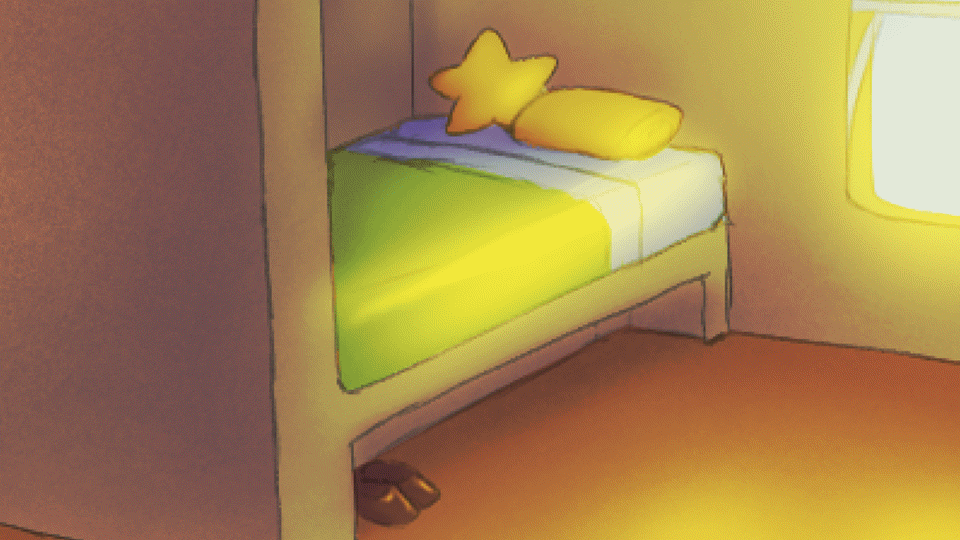
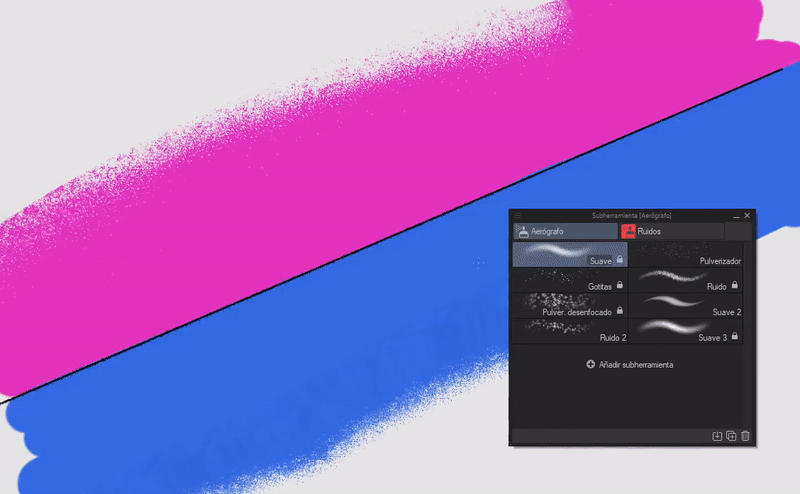
PRO TIPS: Using the key SHIFT (⇧), you can draw a straight line with anything brush. That would help to improve edges, also lower the density of the brush to work in detail.
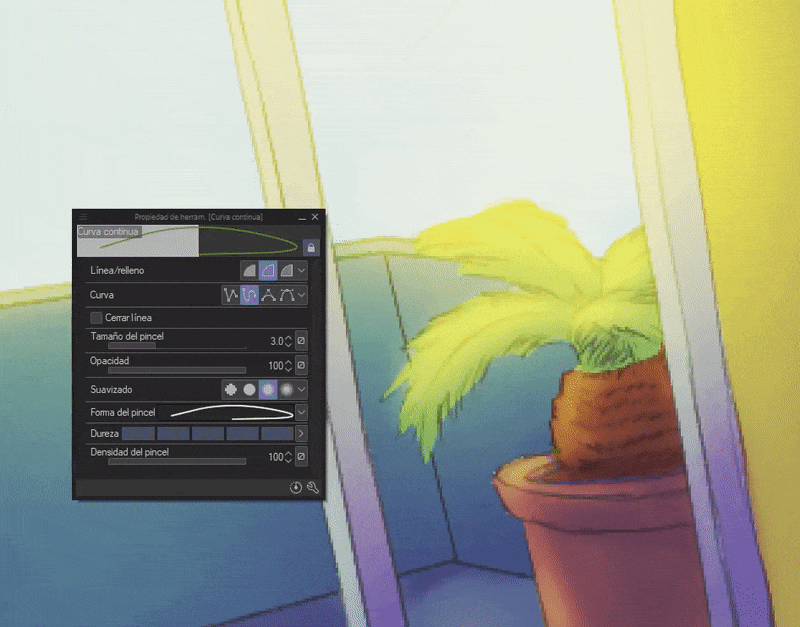
You can use the brush ''Continuous Curve'', with adjustment of density and hardness... and use the color eyedropper for your inpainting!
Create a group folder for your brush strokes, texture painting in each layer that you need and then combine it all together later. Like this screenshot, you see the area of brush strokes color in a different layer.
➜ Conclusion
With your own style and the tools you have chosen, you will feel very comfortable with your own dream room design to publish it on social networks, to present concept arts and even implement it in video games.
Thanks for getting here and I'm glad you read the tutorial and I hope it was useful and practical!
I share my link about my portfolio of works and my daily posts!
See you in the next tip of Clip Studio Paint!


댓글