3D head models: Any face you want, any angle you want! -Ver.2.0-
From Clip Studio Paint Ver. 2.0, the 3D head model has been added to help you with character illustration.
There are nine preset faces in the [Material] palette for you to choose from. You can also blend multiple faces, adjust the eyes, nose, mouth, and other parts to create the face that fits your creative vision.
From the [Material] palette, choose [3D] > [Head], and then drag it onto your canvas
Note: You will have to download other head models to use options other than [Basic]. If it is not appearing in the [Material] palette, go to the [Settings] menu (gear icon) and select [Download additional materials now] to download them.
From the [Tool Property] palette you can blend faces and adjust facial parts(PRO/EX)
1. Blending presets
Choose a head model from the [Material] palette and drag and drop it onto the canvas, then mix the faces to get your desired outcome.
In the [Tool Property] palette > [Face Mixer] you will see numbers displayed in the lower right side of the thumbnail of each face.
This number represents how much of this face will be represented in the mix.
Tap the thumbnail to display sliders and adjust the values.
The larger the value, the more that preset will affect the head model.
If you set one face preset to 100 and set the others to 0, then the model will be the preset face set as 100.
How to stop a face from collapsing
You can use [Face Mixer] to mix different types of faces but if you make each face 100+ the the face can collapse.
If you want to avoid this, turn on [Limit face mixer].
If you want to create a face with more unrealistic aspects, you might want to keep it off.
2. Adjusting facial features(PRO/EX)
Once you have finished mixing the faces you can adjust different features of the face by size and angle.
Note: [Facial features] is not available in Clip Studio Paint DEBUT.
On the left side of [Tool Property] palette > [Facial features], select the part you want to adjust in the profile image and see the adjustment slider corresponding to the part displayed on the right side.
Note: If the palette is narrow, you can select the parts from a pulldown menu on the top.
Choose the right or left side if you want to adjust one side separately for eyes, eyebrows, ears, etc. The default setting is to affect both sides.
You can restore each part to its default setting by tapping the reset icon on the top part of the palette while it is selected.
3. Change head direction
By default the head model faces forward, but you can change the face direction to show movement and emotion.
You can adjust this from [Facial features] > [Direction].
4. Changing head shape
You can change the head shape to be more rounded or elongated by the following two methods.
・Adjusting the top of head
Adjust the size and shape of the top of the head by going to [Facial features] > [Head].
・Adjust using the [Scale] manipulator on the canvas
If you want to change the width and length of the head, select the head model on the canvas with the [Object] tool and use the [Scale] manipulator displayed to adjust.
Note: You will not be able to register the adjustments made with the [Scale] manipulator as a material in the [Material] palette.
5. Changing face shadows
By default, light will be facing the head model from head-on when you place it on the canvas.
Open the [Tool Property] palette > [Light Source] and drag the light circle to change the light direction.
Note:
You can make the head color and shadows paler by raising the value in [Ambient light intensity].
6. Registering the head model settings as a material
If you want to save your customized head, go to the Material palette and register it as a 3D Head material. You can then upload it to Clip Studio Assets to share it with fellow users.
At the rightmost end of the Object Launcher you will see the option to Save the 3D head model to the Material palette, tap it to bring up the Material property dialog. From here you can name and choose where to save your material.
7. Try combining it with 3D drawing figures
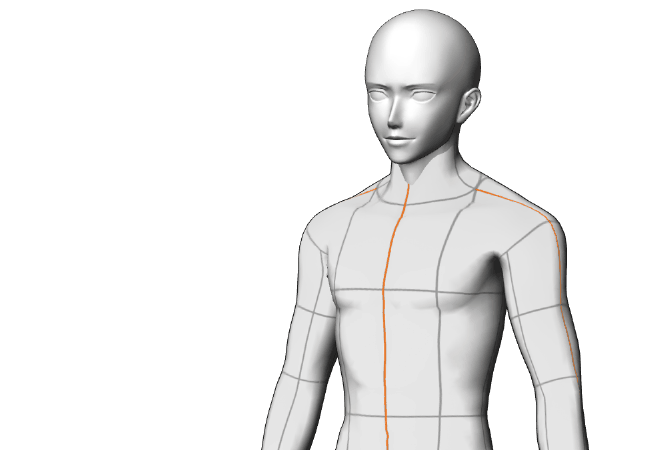
Create your ideal drawing figure by combining the head model with a drawing figure. Attaching the head model will make the head move along with the 3D drawing figure even when you change the pose.

Please refer to the following article to find out more about how to join 3D materials together.
8. Try drawing different types of faces
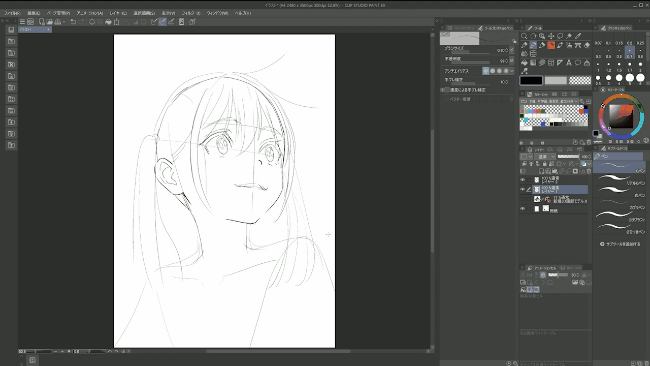
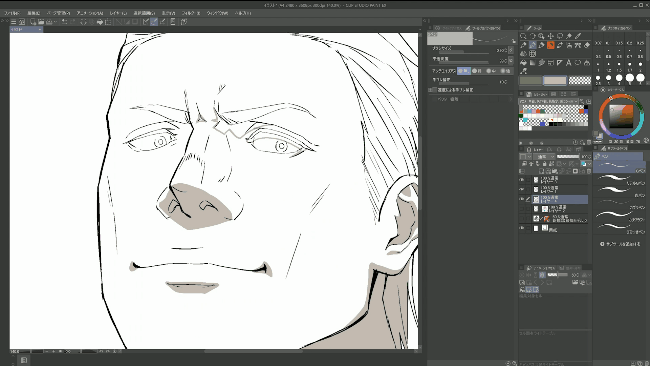
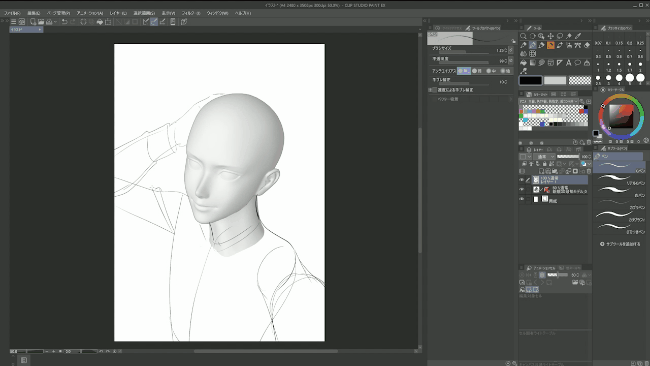
Use the head model as a base to try drawing faces that are different from what you’re used to!
Example by: hide channel


Comment