Curve tools: Creative tips and tricks
Hello everyone! In this tutorial, I will share with you some tips and tricks to use with the curve bezier and figure tools. First, I will teach you their basic functionality then i will show you examples of how they can help us achieve smooth results in our designs and illustrations.
I hope it helps!
You can watch the video version of this tutorial here▼
1. Curve tools Basics
First, let's review how the basic figure and curve sub tools work ▼
1.1 Straigth Line
As the name implies we can use this sub tool to draw straight lines.
We just click and drag to create the lines. ▼
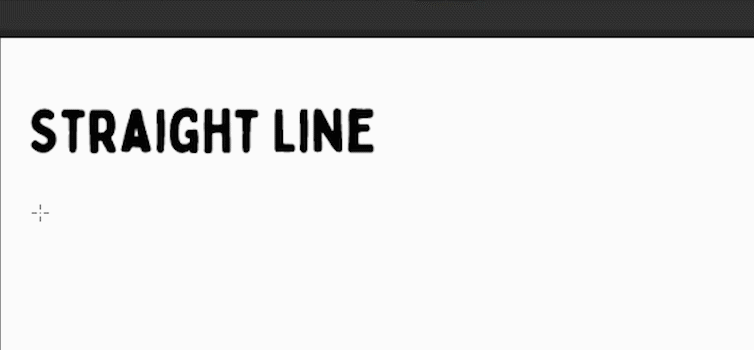
Hold down Shift to lock the angles of the lines to a predefined step. ▼
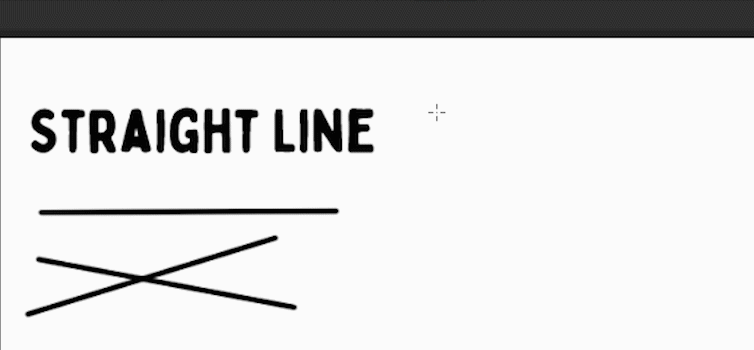
On the [Tool Property] Pallete we can set up a start and endpoint to get tapered lines, this is useful for speed lines in comics▼
1.2 Curve
We can use this sub tool to draw simple curved lines.
Click and drag to create the line then we can define the curve.
Click or Enter to confirm the line. ▼
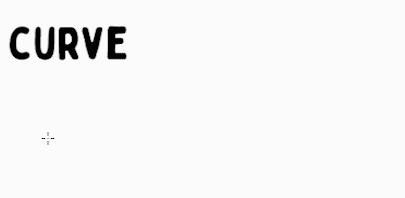
This is a simple method of creating curves, it doesn't give us much control. We can lock the angles just like with the straight line tool and also set start and end points.
1.3 Polyline
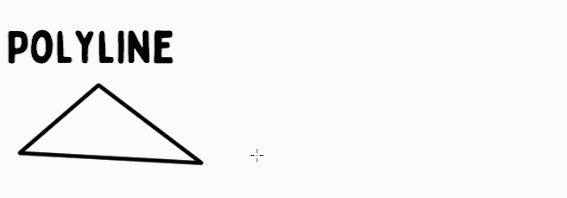
With the polyline tool, we click & connect multiple points with a straight line.
Click the first point to close the line ▼
We can also lock angles by pressing Shift.
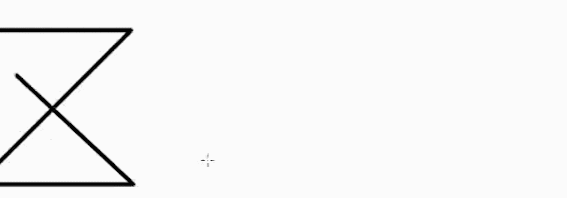
If we want to confirm the line without closing we can press Enter ▼
If we activate Close line on the [Tool Property] Pallete, it will always close the line even if we don't close it by clicking the first point ▼
We can delete a point when drawing by clicking it or we can delete the last point created with the Delete key ▼
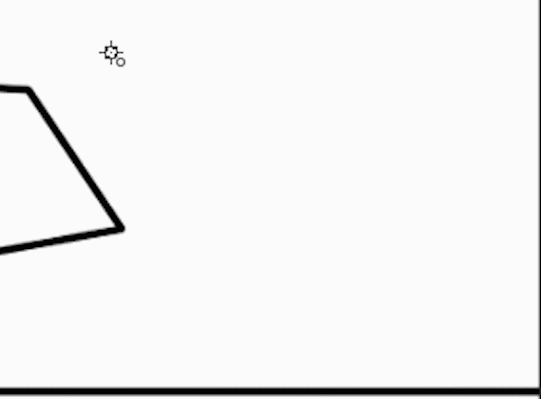
Add points by clicking inside the line preview then Hold CTRL to move points. This way we can refine our line ▼
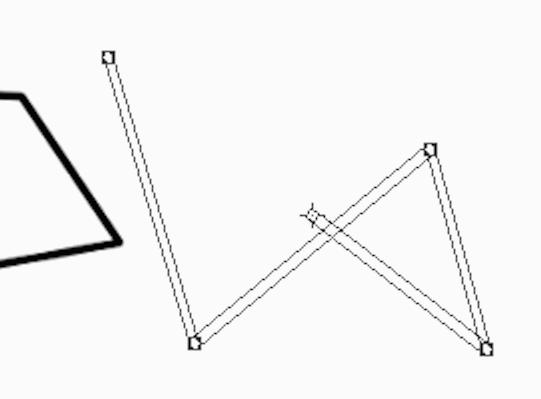
If we want to close a line in a middle point, for example, to create an arrow. Hold ALT and click, then confirm the shape with Enter ▼

1.4 Continuous Curve
This sub tool has different modes. We can select them on the [Tool Property] Pallete
The straight mode works just like the polyline▼

The Spline mode lets us create smooth curves when we click multiple points. It's an intuitive way of drawing but we don't have a lot of control over the final curve▼
We can lock angles, Move, add, and delete points the same way as before.
Also, the auto-close line is available too. Pressing Enter confirms the line
The next mode is Quadratic Bezier. In this mode, we create curves with 3 points. Two control points & one direction point. This gives us more control over the final curve.▼
We can move the direction points to change the relationship between the control points in each curve.▼
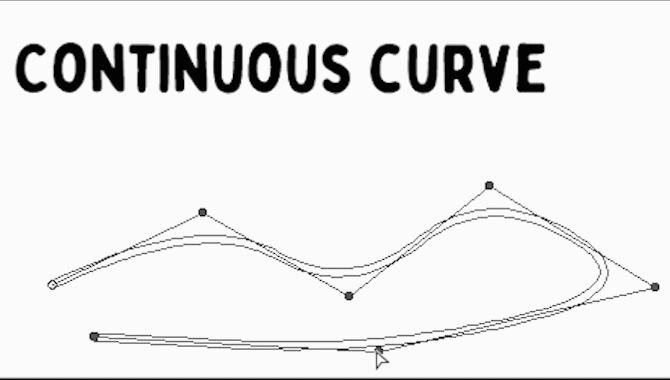
If we Hold ALT we can create corners, if we click on an existing point it will switch between corner and curve. This helps use create mixed lines▼
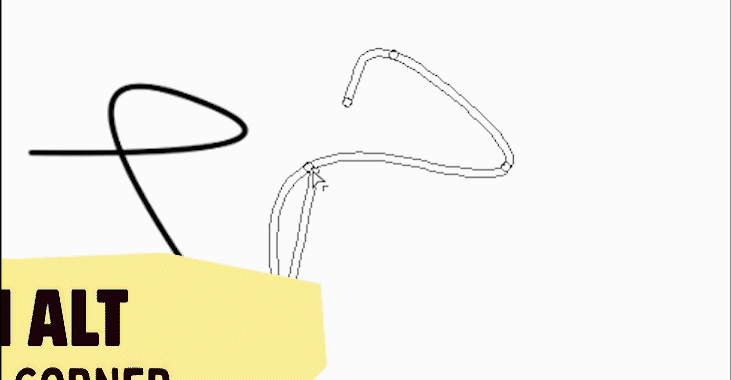
To learn more about the quadratic curve please read this tutorial ▼
1.5 Rectangle
Next are the 3 Shape sub tools. The first one is the Rectangle tool.▼
Click & drag to create a rectangular shape ▼

Hold Shift to lock the aspect ratio. This will create a Square ▼

We have the option on the [Tool Property] Pallete to start from the center. With this option activated we can draw the shape from the center instead of the corner.▼

If Adjust angle after fixed is turned on. It will let us define the angle of the shape after we define its size▼
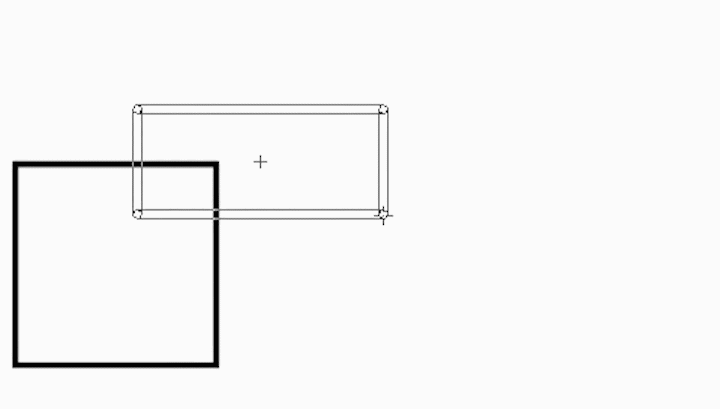
Another option is to add Rounded corners. We can play with the ratio to achieve different shapes▼

We also can change the graphic style of the shape, the three options are:
■Fill
■Line
■Line & Fill
1.6 Elipse
Next is the Elipse tool. We can use it to create circular shapes.▼
■If we hold Shift it will create a perfect circle.

Like with the rectangle we can:
■Start from center
■Adjust angle after fixed
■Change the graphic style

1.7 Polygon
The polygon tool lets you choose the number of corners before drawing the shape. We can create triangles, hexagons, etc.▼

We can apply the same operations of the previous shapes.▼

1.8 Bezier Curve
Since version 1.9.9 there is an update to the continuous curve.
There is a new curve mode called Cubic Bezier.
This mode is really powerful, and it's my preferred method to work with smooth curves since it gives me more control over the shape.
I will quickly explain how it works.
If we click to add points it will work like the polyline. We can click the first point or press Enter to confirm the line.▼

If we Click & Drag when creating a point it will create a direction point handle. The angle and length of this point will determine the curvature of the next line ▼

When we create a second point it creates opposite direction points. This point give us finer control over each curve of the line.▼

Hold Shift to lock the angles when dragging the direction points▼

We can move, add and delete points like in the other curve modes▼
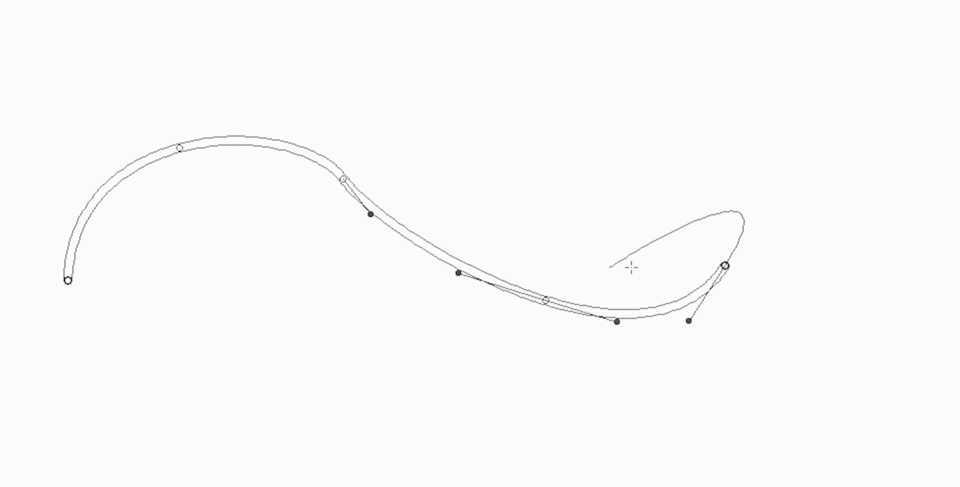
While Holding Alt we can apply Corner Operations. If we click a point it will change into a corner, if we click and drag it will change into a curve.▼
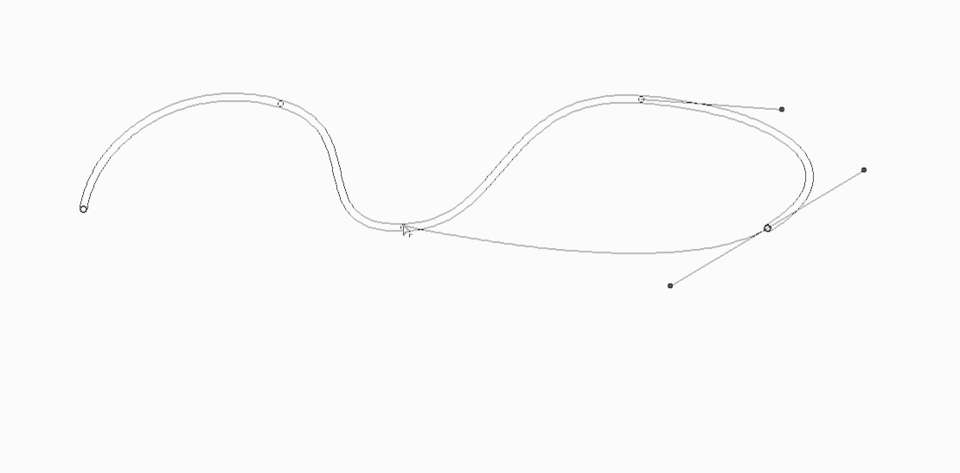
If we add a new point and drag while holding alt it will create a direction handle for the next curve but it will keep the sharp corner.
If we close the line it will let us define the last curve▼
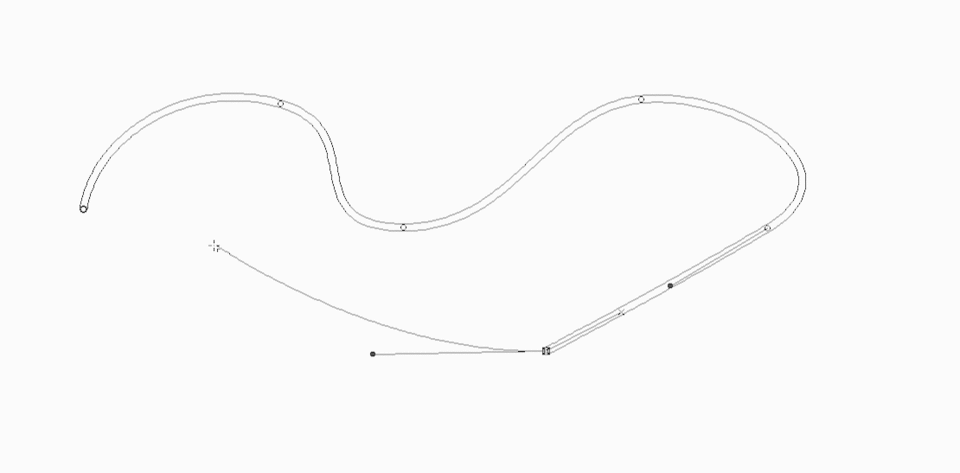
Those are the basic operation of the bezier curve. Try to get familiar with the modifiers.
To learn more about it read this tutorial.▼
2. Vector Layers
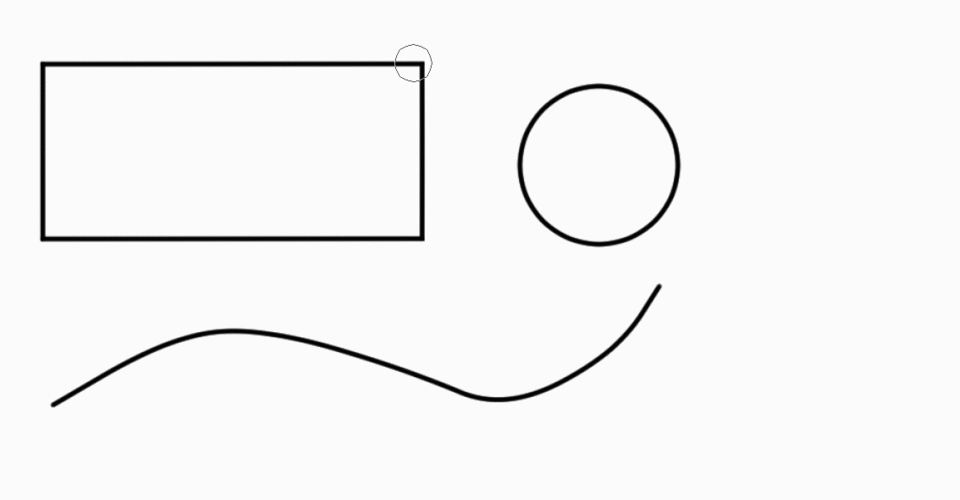
A good practice is to work in vector layers.
This type of layers let us modify the lines after we created them.▼
■NOTE: When working in Vector layers we can only use lines to draw, we cant select the fill graphic style of the figure sub tools.
With the Operation Tool we can move, scale, rotate, and modify points in our lines.▼
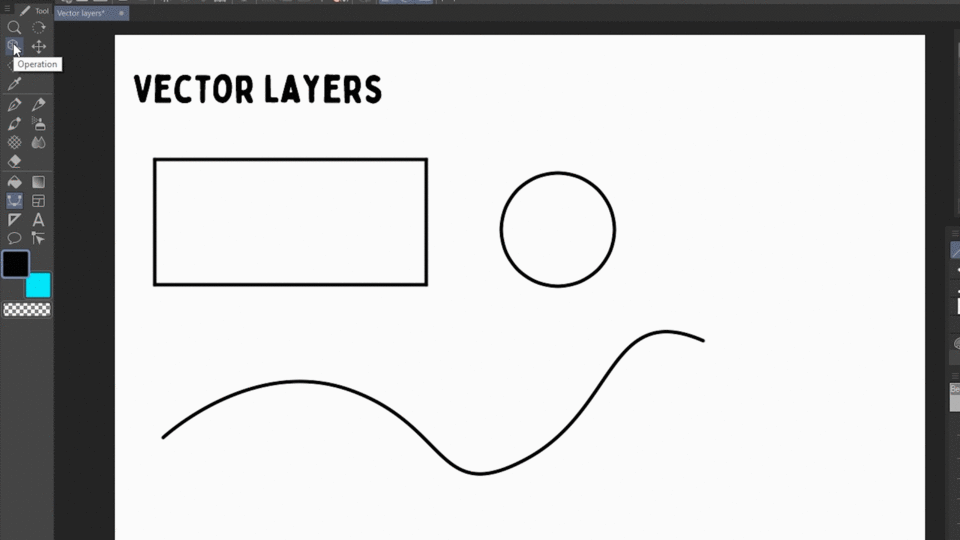
Using the correct line sub tools we can further modify the lines.▼
We can Move Control points.▼
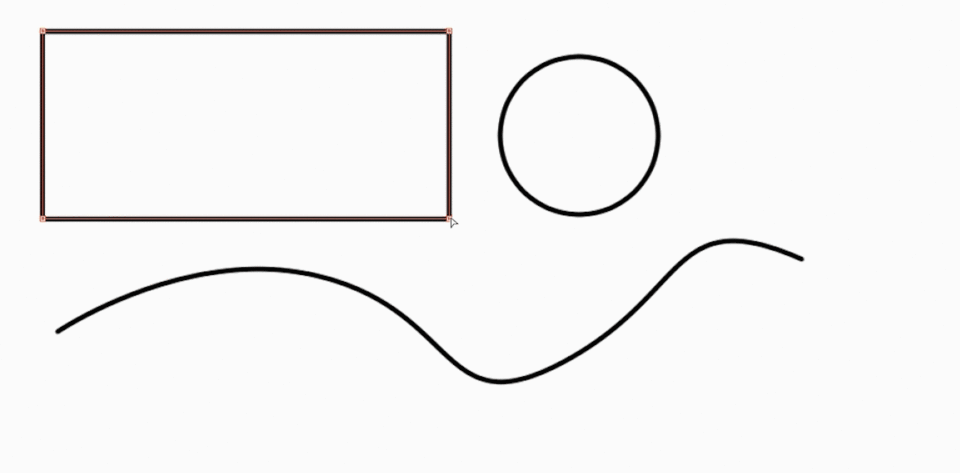
Add & Delete.▼
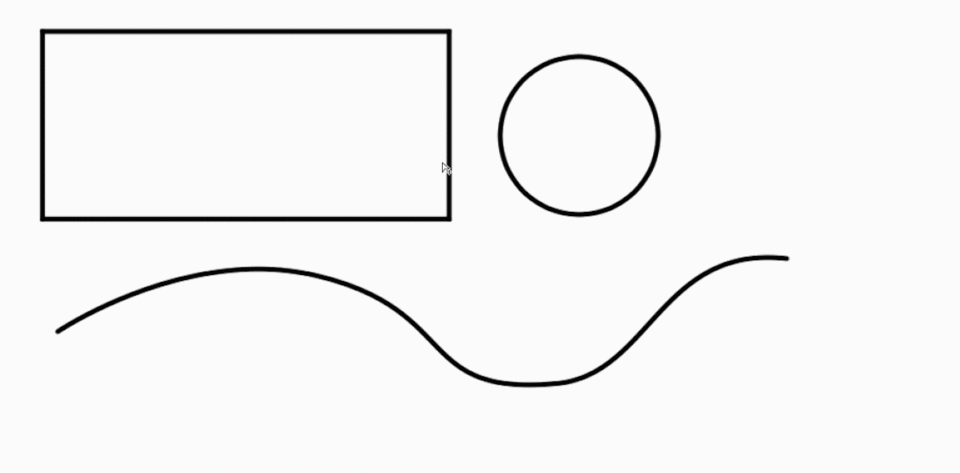
Switch Corners.▼
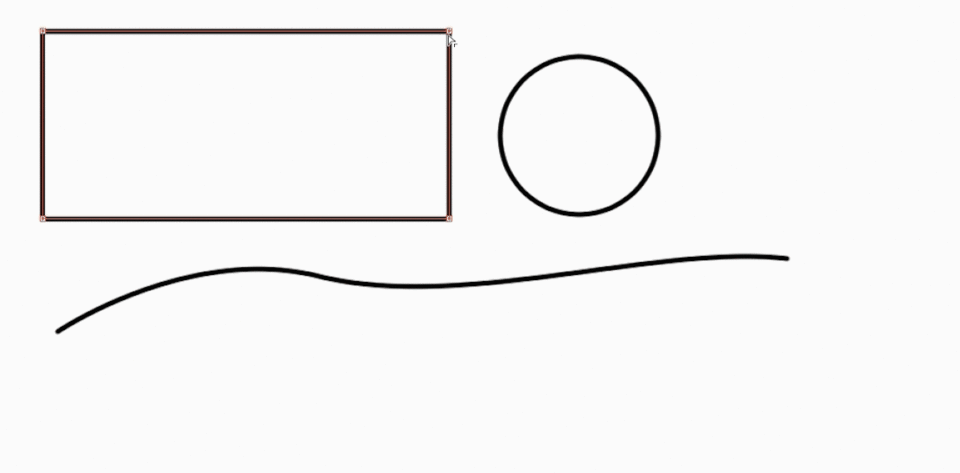
Adjust line width and opacity.▼
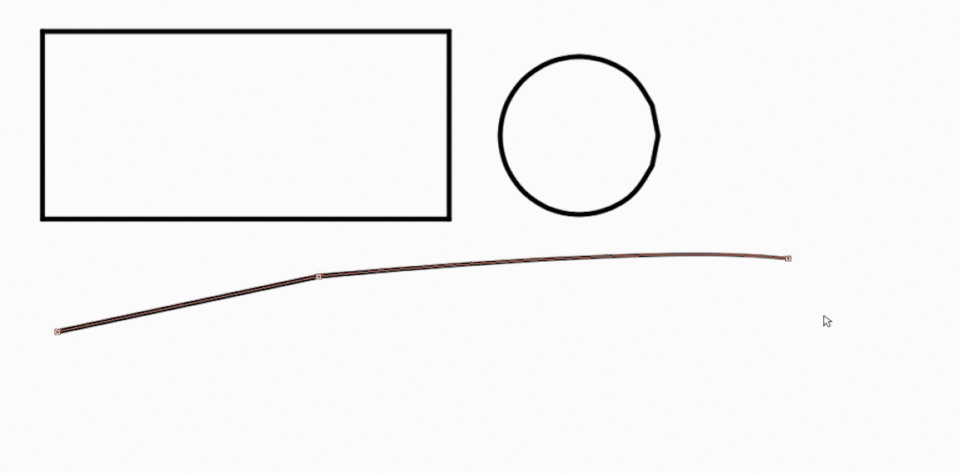
Split line.▼
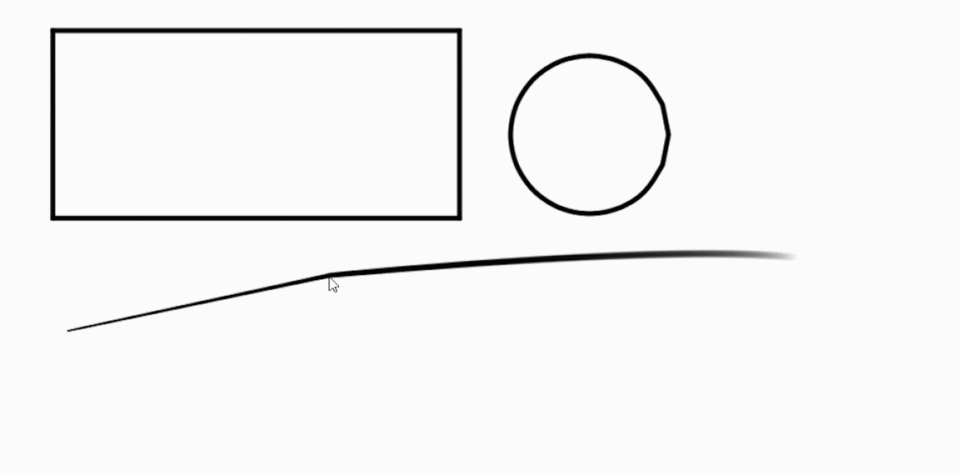
Other Sub tools such as pinch vector and simplify line will achieve different results. Try to experiment.▼
3. Quick tips
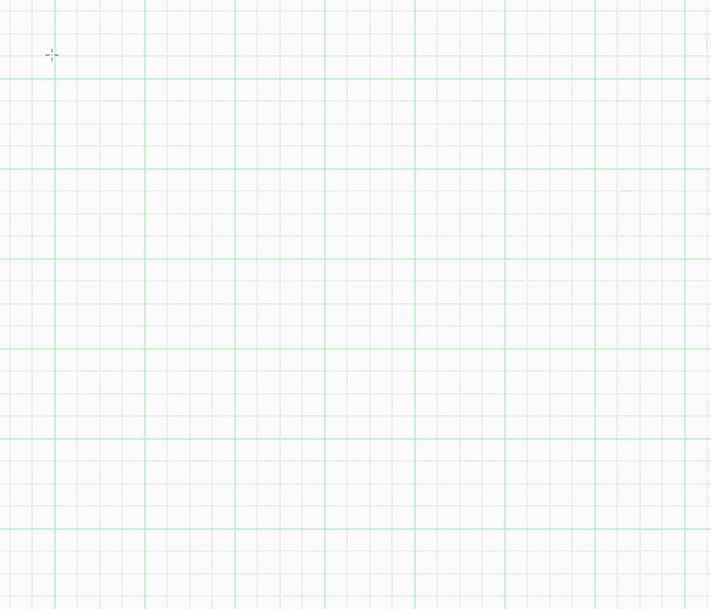
We can use the grid to help us create our designs.
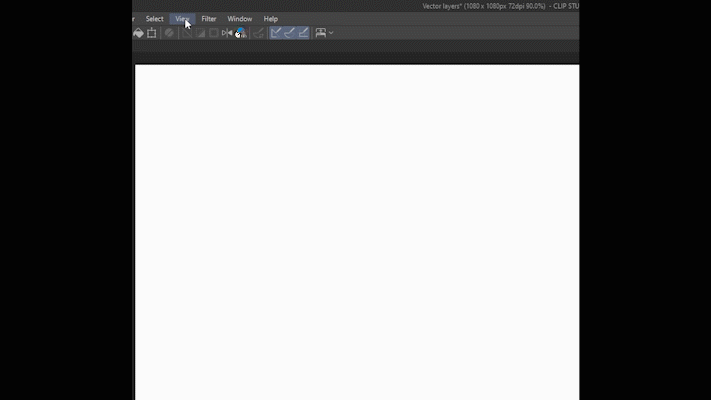
Go to [VIEW] > [Grid] and make sure snap to grid is enabled.▼
Then Draw with the help of the grid.▼
We can use bezier curves with the polyline selection tool.▼
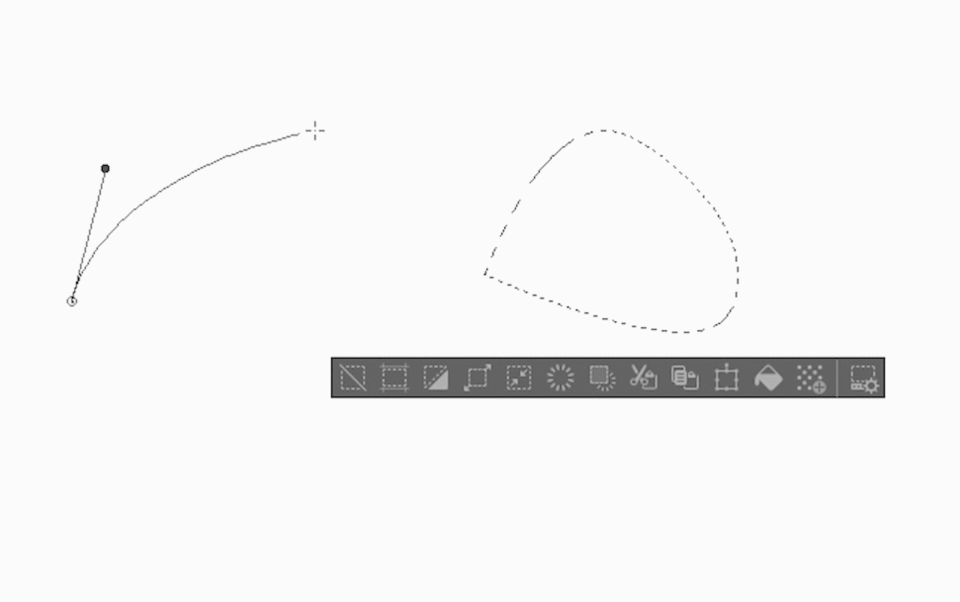
Another trick is to draw Curved rulers and then paint with decorative brushes.▼

4.Inking
I will show you some examples of how to use the tools.
First, i will create a vector layer and ink with the Bezier Curve.▼
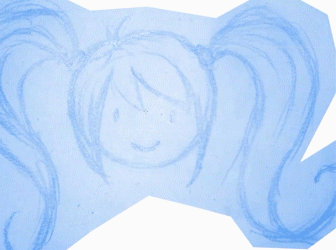
I overlap the lines and then using the vector erase tool i delete the parts i don't need.▼
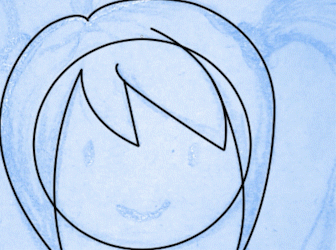
A simple tip is to use symmetry rulers to speed up the work.▼
Just keep adding lines and modify them. Here is the Simple final result and the color version.▼
5. Logos
Using the same techniques we can create logos and lettering.▼
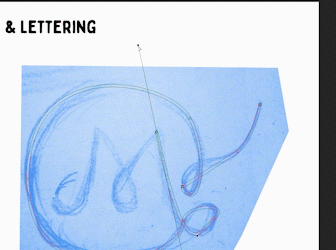
Here are a couple of examples using the same techniques. try to experiment with your own handwritting.▼
6. Symmetry
We can quickly create cool designs by using the figure tools and symmetry rulers.▼
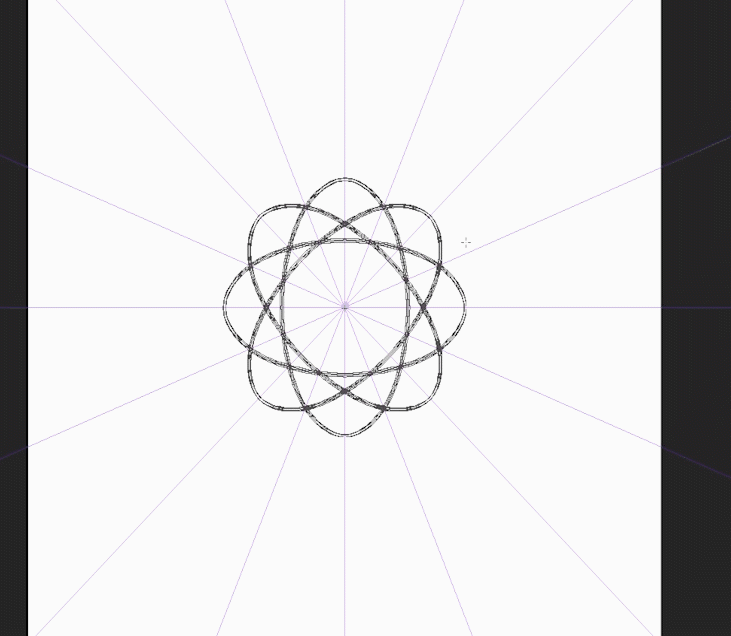
7. Masking
We can use a vector layer and the Bezier curve tool to draw around the border of an object in a photo. Take your time to refine the selection.
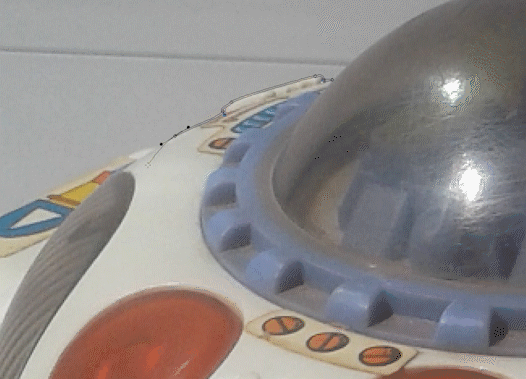
Then we create a selection layer and fill inside the lines to create a selection..▼
We load the selection and apply a layer mask.▼
This is the final result.▼
If you want to learn more about masks read my other tutorial:
8. Perspective
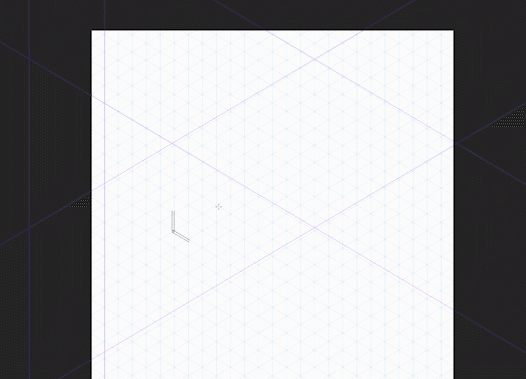
As a final tip remember you can use figure tools with perspective layers.▼
Closing thoughts
Well, this is the end of the tutorial. I hope it wasn't too complex.
I give a more detailed explanation in the video.
I hope you can apply some of my tips to your own work.
The most important thing is to be creative. Please don't be afraid to try new things.
See you next time. Thank you for watching


留言