My process of creating cityscape
Hey guys , In this tutorial I'm gonna talk about how I create futuristic cityscapes . I will be covering my sketching process ,easy ways to draw line arts and coloring ,and some mini - animations
SKETCH
I start off by pre-sketching different compositions and perspective . Since this is a very beginning stage I don't add much details, instead I write the things I want to include in the illustration on the side . I try no to draw more than 2- 3 demo sketches .
I do this step just to see which outline and overall look of the illustration is better
-----To draw anything futuristic I have two ways for that :
1. Draw a building that beats gravity and looks logically / architecturally impossible to build .
2. To take an already existing thing and upgrading it .
For example : Here on the left , I have taken a regular vending machine . On the right , I have the updated to which I have attached some robot arms and sensor eyes .
I decided to draw sketch 1 . Now I will create a new canvas and draw the full sketch while in split screen I keep demo sketch on the side to use as reference . I use a soft pen for sketches and I don't use any rulers in my sketching process. I like to draw my sketches free hand and then later use a perspective ruler to clear the perspective mistakes .
I don't like to add details during the sketching process since it will not be in proper perspective and that's why I just write down things I want to draw in my demo sketch process
LINEART
-----------------------------------Go to LAYER (menu) > RULER/FRAME > CREATE PERSPECTIVE RULER .
A “create perspective ruler “ dialogue box will show up , in that I'm gonna choose 2 point perspective and make sure ' create new layer' is enabled then click on ok
If you can see the perspective ruler icon on the layer , then we have successfully created a "2 point perspective ruler "
-----------------------------------Go to Menu icon > convert Layer
A “ convert layer “ dialogue box will appear , Under click on ‘vector layer’ then click ok . Now in the layer you can see the vector layer icon that means we have successfully converted to vector layer
Moving on to perspective ruler . Now we have our perspective ruler in the canvas
1. Ruler handle : You can move the whole ruler with this by clicking and dragging .
2. Vanishing points - you can adjust and move the vanishing points
3. Eye level handle - you can move the eye level
Now I will adjust the perspective lines according to my desire and start drawing
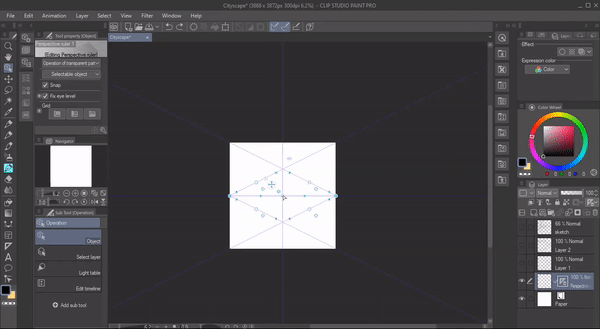
When you have a perspective ruler on , no matter whatever you draw in the canvas it will be attached to perspective .
So in case if you want to draw something out of perspective we can just disable “snap to special layer “ . Now we can draw out of perspective and to go back to drawing in perspective just enable the " snap to special ruler "
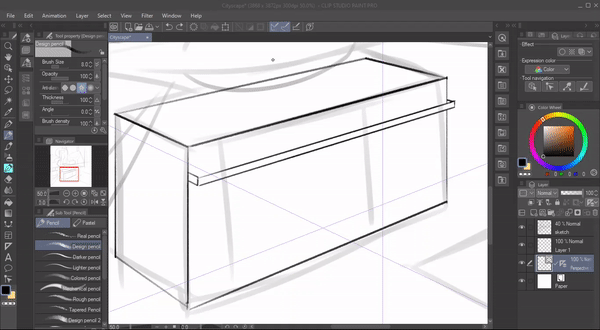
To have better guidelines I enable grids . Grids provides guideline from the vanishing point . To enable grid click on (1)operation > under tool property > (2) Grids
under grids we have 3 types of grids
(a) xy plane - provides grid from left vanishing point
(b) yz plane - provides grid from right vanishing point
(c)xz plane - provides grid from both the vanishing point
(3) We can even change the size of the grids by clicking on the "+" and changing the values .
(4) Snap to grid- If we enable this . whatever we draw in the canvas it will snap to the grid.
Using all these tools I draw my lineart
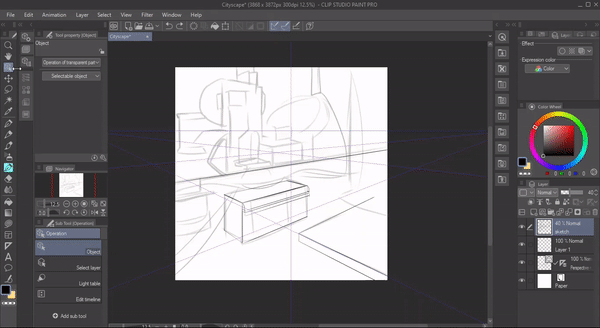
TIPS AND TRICKS FOR WORKING FAST
To make the process of creating a cityscape easier and faster I have listed down some of my favorite tools and tricks using those tool . Most of these tricks will only work if the layer is a vector layer
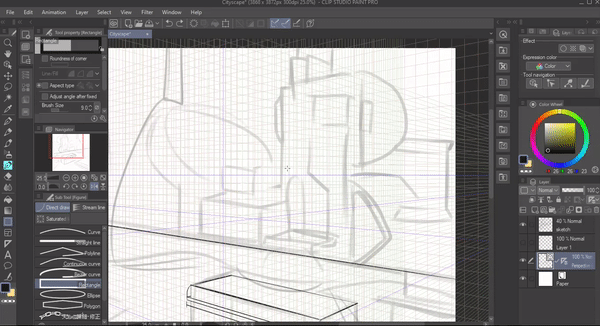
1. USING TOOL PROPERTIES
If we enable " snap to special ruler " and choose any figure tool and draw them on the canvas , it will automatically snap to the perspective ruler . Using this we can quickly work on our line art .
--------------------------------------------------
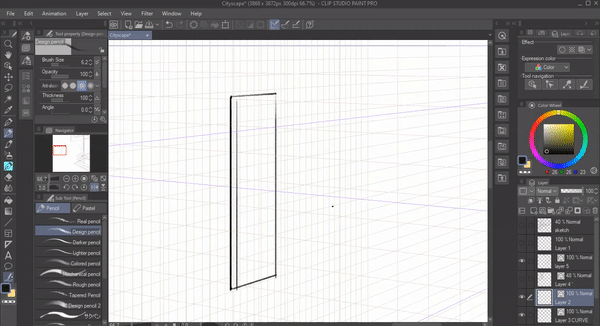
2. CONTROL POINT
This will work only if the layer is a vector layer .
Under toolbar click on 'correct line' > 'control point'
Control point allows you to, move , add , delete and do many more adjustments to an already drawn line . I use control point to create difficult shapes , especially while drawing a cityscape there is gonna be alot of abstract and curve designs so using this feature we can create different structures
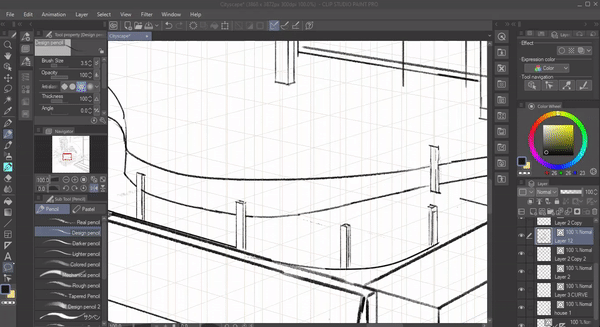
3. PINCH VECTOR LINE
This will work only if the layer is a vector layer .
Under toolbar click on 'correct line' >pinch vector line
This allows us to pinch the already drawn lines . I usually use pinch for last minute detailing and the correcting the hand drawn curves which can look shaky and messy so using pinch tool I can correct them .
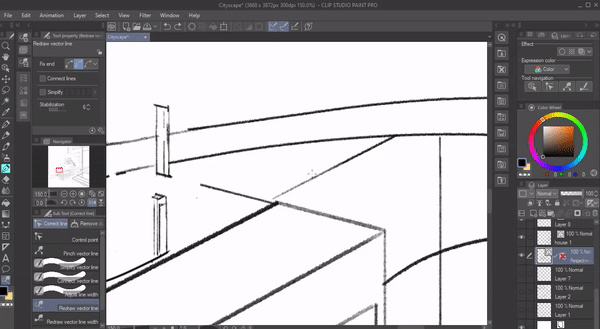
4. REDRAW VECTOR LINE
This will work only if the layer is a vector layer .
Under toolbar click on 'correct line' > redraw vector line
Using this tool we can redraw any drawn vector line . I usually use this for final touches when i don't want to erase and redraw the line so instead using this I can just push the line to where i want it to be .
These are some of the tools I use while doing line art for my cityscape illustrations .Which makes my process much easier and quicker . Especially using vector layer I can do changes like resizing and adjustments without the quality decreasing .
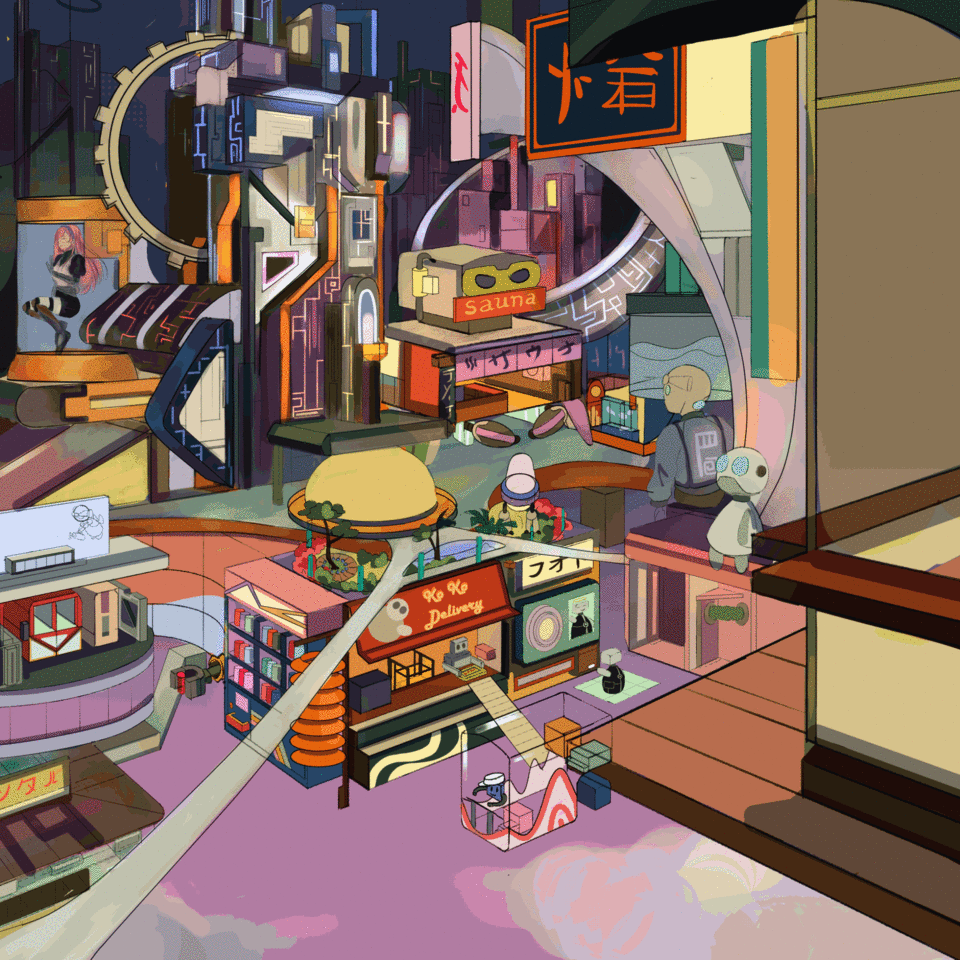
RESULT :
---------------------------------------------------------------------
COLORING
I start off by coloring the background and for that I use gradient .
In toolbar select gradient > foreground to background . I'm gonna choose night blue and purple colors since the illustration takes place night time . Using the gradient tool I'm just gonna drag and the colors will be applied
------------------------
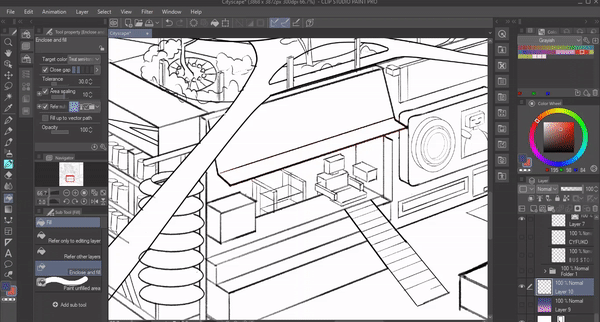
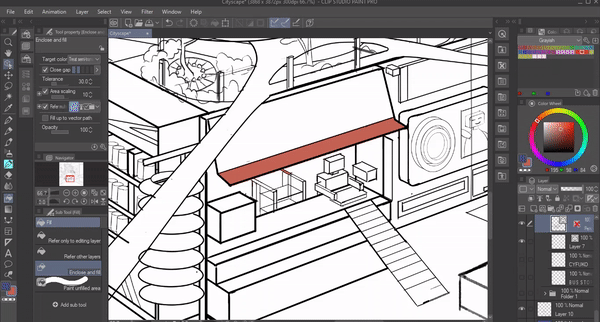
Now I'm gonna create a new layer above . One of the easiest way to fill in the base is by using " enclose and fill " which is available under (toolbar ) Fill> enclose and fill
We can just select the color and circle the areas where I want the colors to be filled . but since I used a designer pen for the line art 'enclose and fill' will not work properly .
' enclose and fill ' works better in default G-pen .
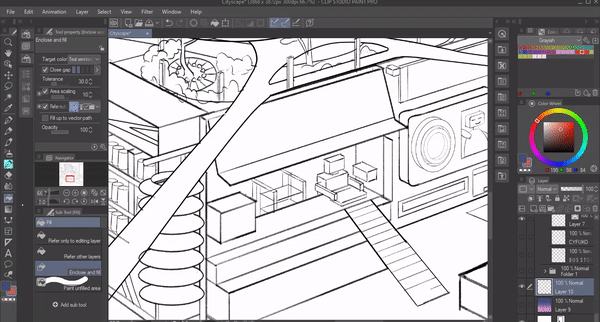
So in this case , We change change the brush of the line art .
To do this ,
1. Make sure your on the line art layer in which you want to change the brush .
2. Then click on operation > brush shape > select g-pen
The design pen will be converted to G-pen
Now we can color using ' enclose and fill'
Now after coloring to change the G-pen to back to designer , we just have go to operation again and under brush type choose designer pen
NOTE :
To change the brushes , first you have to add the brush to the list . To do that
1. select the pen you want to add to the brush shape
2. click on settings
3. A" sub tool " dialogue box will appear
4. Select " brush shape"
5. click on " add to presents "
The selected brush will be added to the 'brush shape '
Now using this I'm gonna fill in the base color
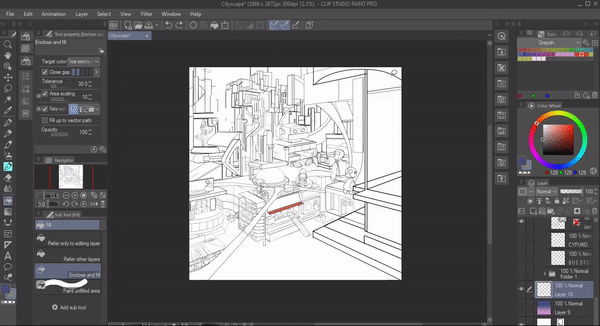
Now I'm gonna make sure I'm on the base color layer and the click on the icon " lock transparent pixels" which is available on the layer icon
By enabling ' lock transparent pixel ' we are locking the colored area and doesn't allows us to color outside of it
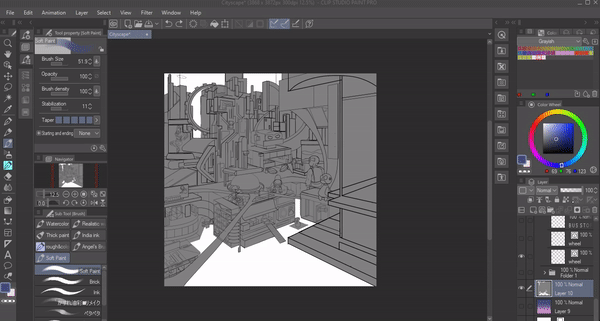
Using this I'm gonna color the rest of the illustration .
Now I decide from which direction the light source will come . For this illustration I want the light source to come from behind the building passing in between the wheels
To give it a futuristic feel I will keep the main color of the illustration to be blue and purple . So for lighting I create a new layer above the previous layer and convert the layer mode to " add glow " and use a soft brush and color and yellow color for the lights
For shadows I create a new layer above and change the layer mode to "multiply " and lower the opacity to 50% and color the areas where the shadow drops
For the base coloring I use a soft brush and create the rest of illustration
RESULT :
SHORT ANIMATIONS
To add some simple animations to certain objects of your illustration you can use ClipStudio Paint : Keyframes.
1. Choose the layers you want to animate.
2. Create a new timeline with required frame rate and playback time.
NOTE: Increasing your playback time beyond 24fps is a feature only available in Clip Studio Paint EX.
3. Enable the keyframe for that layer and choose an interpolation method.
4. Add the keyframes to the timeline by selecting one frame at a time.
You can delete keyframes by selecting each one and clicking on the following icon
5. Create guides to help you with the animation
6. Use the object tool to operate the layer. Select each keyframe and edit the position or adjust the opacity or use the transform settings etc.
7. Export the animation as a movie or a GIF or a sticker.
8. Set the frame rate to the frame rate of your animation and click OK . It's ready to export and you are done!
RESULT:


留言