Flatting and Masking Techniques for CLIP STUDIO PAINT
Introduction
In the video above, I describe methods to set up your linework for a proper and fast way to make flats.
Flats is the pre-stage before coloring or painting an artwork.
While it’s more common to hear comic book artists talking about this stage, we, illustrators and game artists, also have to prepare our artwork to be painted.
Flatting a page is setting up the shapes that are going to be colored or rendered later in the process.
The Flatter (a person who makes flats) is hired or commissioned to create just that, precise cut-outs of colors that later can be used as the base for the final colors or selection masks that dedicated Colorists use to do their work.
//above, an example of steps needed to produce a comic page: penciling, inking, the flats and finally a rendered page.
Turning off Anti-Aliasing
For a better and fast flatting workflow, it is important to consider turning off anti-aliasing (even if temporarily) on any brush or tool you’re going to use to create your linework and flats.
The aliased lines may look ugly and pixelated, but they offer more precision when we need to distinguish the contour of a line or shape.
When you increase the value of anti-aliasing in the brush’s property, the program automatically creates a gradation of pixels to maintain the smoothness of the contour.
Most people think it’s wrong to disable Anti-Aliasing when drawing digitally and this is a misconception.
As said before, aliased contourns offers more precision and sharpness.
Both of those qualities are helpful when it comes to artwork that is heavily based on linework and solid color shapes (comic books, manga, anime, animation, pixel art)
// left image has aliased contours and I’m sure you can notice how much sharper they are.
The main drawback of using anti-aliasing during the flatting process is the unwanted pixels you’ll have in your selection masks (the colored shapes used to recover selections in an image).
To create clear-cut selection masks is better to turn off anti-aliasing. Set it to NONE in any tool you may use for the work (Selection and Fill subtools, eg.)
// if the graphic above had aliased contours, it would be easier to select only the darker shade. Note the gradation between light and dark colors due the anti-aliasing process.
Starting the linework with an aliased brush is a good habit to have because you can always smooth a line later.
While the contrary is possible, you always lose some fine detail.
Just remember:
When using aliased lines, it’s important to work in high-resolution images so the process of downsizing an image for exporting will smooth (resample) the lines automatically for you.
// when I create my linework with aliased lines, I make sure to ink them on high-resolution canvas sizes (A4/300dpi minimum). And I tried to use the VIEW > PRINT SIZE function often so I have a proper preview of how the artwork will look like after shrunk to its final size.
In case you want to convert an anti-aliased linework to aliased, you can change the EXPRESSION COLOR of the layer to MONOCHROME on the Layer Property panel.
Using the alpha threshold slider, you can control how much of the anti-aliasing gradient will be removed from the lines. Fine-tune it so you maintain the final details of your drawing.
Clicking on APPLY EXPRESSION COLOR OF PREVIEW will commit the changes to the linework. So it’s a good idea to have a backup of the layer.
Flatting Fundamentals
[ Color Trapping & Ground Layer ]
Color Trapping is a technique used to avoid issues during the printing process. Any misalignment on the printing plates can cause the appearance of small gaps between color and lines.
While the version of Color Trapping we’re going to use here is a simpler one, it is still an important routine to practice before you start working with flats.
// in the example above: colors on the left don’t ‘bleed’ below the linework - on the right you can see how the color fills the space occupied by the line.
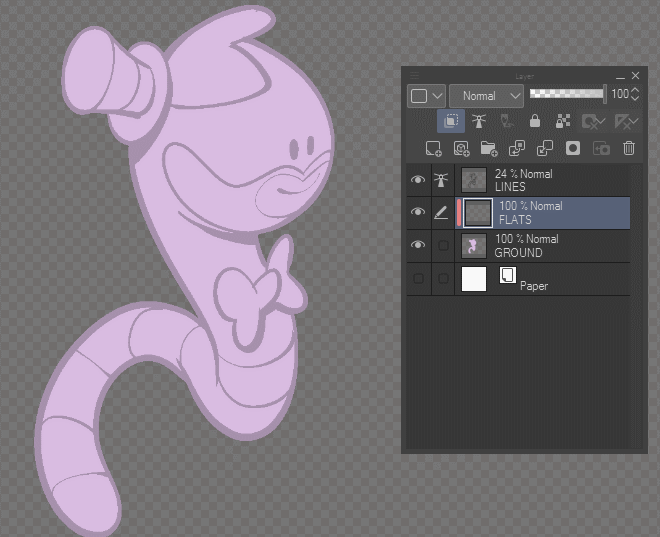
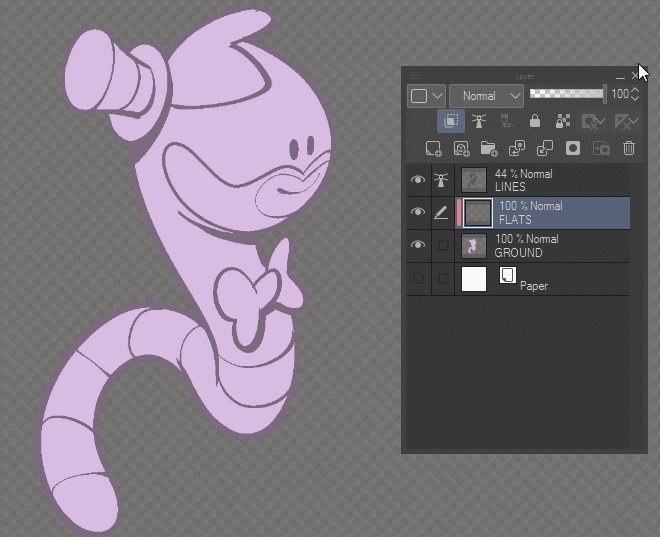
To create this initial ground layer, you can set up the AUTO-SELECT (magic wand) subtool as in the example: AREA SCALING (OFF); ANTI-ALIASING (OFF) and then click on the outer side of your drawing.
Next go to SELECT > INVERT SELECTED AREA to invert your selection and fill it by clicking on EDIT > FILL.
[ Clipping & Masks layers ]
A layer set as a Clipping Mask will display pixels based on the information that exists in the non-clipped layers below it.
In the example: the magenta and orange stroke is ‘clipped’ to the cyan shape (which is the ground/mask layer). Any change on the cyan layer will reflect on the clipped layers above it.
Masks has a similar function (control the visibility of a layer) but they are applied on the layer itself.
In the example: the mask nows is responsible for constraining the colored strokes. The Black and White icon besides the layer is what controls it’s visibility.
Any color you paint on this mask will show the content of the layer - using the eraser or transparency will hide the content on it.
[ Color Holds or Colored Lines ]
Coloring the lines itself is a technique called ‘Color Hold’.
It can be used as a way to reduced the glaring contrast between the dark linework and the colors next to it.
It’s also a good idea to use when you paint special effects like magic powers, fire, lasers, eg.
To enable it in Clip Studio Paint, click on LOCK TRANSPARENT PIXELS in the Layer panel and use your brush to colorize the line.
Three Methods of Flatting
Now let’s put these concepts and good practices in action.
The first method you can use is Manual Flatting.
This is the slowest method, but it’s the one which offers the most control.
A technique you can use to speed-up your work is to combine the brush and fill tools as the following:
Start by drawing around the shape you want to fill.
Encompass the whole shape with a stroke and then fill it with using the REFER ONLY TO EDITING LAYER subtool.
You can save some clicks defining a custom shortcut for the fill tool through the FILE > MODIFIER KEY SETTINGS option.
Below are the settings for both tools I use with this method: Brush and Fill tool.
The second method relies only on a Fill Tool, specifically the REFER OTHER LAYERS subtool.
Setting a fill tool as the following enables you to fill the shapes using the linework (or any other layer) as a reference for the contours going to be filled.
In the example, note how I have my linework layer (LINES) set as REFERENCE LAYER.
Click on the lighthouse icon to set a layer as reference.
With everything in place I just need to click, hold and drag through the drawing to fill the shapes.

Below my setting for the subtool.
Please pay special attention to Anti-Aliasing (should be off) and also the Refer Multiple option that needs to be on Reference Layer.
The property “Area Scaling” will increase the fill automatically, so please change the option accordingly so it bleeds below your linework.
The third method also uses the fill tool, but this time the Close and Fill subtool.
The Close and Fill subtool is indicated to ‘fix’ small spots that is not filled by the Fill tool (paint bucket) but nothing prevents you to fill larger areas using it.
For this tool to work, it is important to have your line art as a Reference Layer.
The technique is simple: draw a selection around your shape and when the selection marquee is closed, the program will fill the area.

Here’s a tip:
The order you fill your shapes helps you be more efficient doing flats. Think General to Specific, Big to Small, eg.

Below the configurations I’m using for the Close and Fill subtool, remember to use the Reference Layer, adjust the Area Scaling for your linework, turning off anti-alias and to use TARGET COLOR: TREAT SEMI-TRANSPARENT AS TRANSPARENT.
Color Blocking
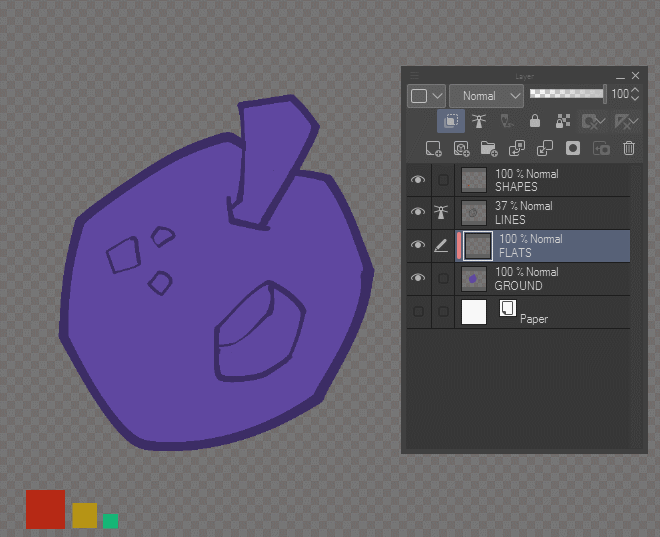
At this point you may asking why I’m using such random colors when doing flats (?).
Here I’m just incorporating a common practice among professional comic book Flatters and Colorists.
Sometimes, the Flatter is asked to create only the selection masks for the drawing or comic book page. All color decisions are made by the Colorist.
With vibrant and distinctives shapes of colors, the Flatter can separate all the elements of a drawing on a single layer. This is extremely important if you exchanges large files between another person over the internet on a daily basis.
In the example below, notice how I used contrasting colors to ease the selections made by a next person in the workflow.
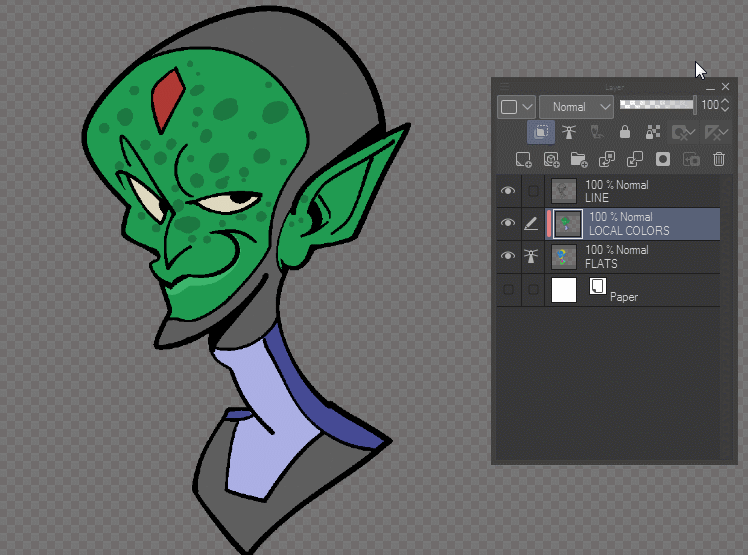
Setting the multi-colored, flats layer as my reference, I can quickly and easy pick the parts I want to render later in the process. No need to have every shape on its own layer. This would increase the file size and the time needed to browse for a specific layer on the stack.
In the example below, notice how easy is to adjust the colors on the drawing.
I managed to select only the alien’s skin from the multi-colored flat layer I created before.

When setting up your Auto Select (magic wand) tool, remember to use the follow options:
Uncheck Apply to Connected Pixels Only, so you can select all the areas using the same color;
Disable Area Scaling, because right now there’s no need to expand the selected area;
Select Reference Layer;
Exclude Editing layer, so, like in the example, I can select the whole shape without the interference of what’s painted on it (in the example, the texture on the skin).
Conclusion
Well, I think that's it by now.
Hope this article was helpful and that you can use one of these flatting methods in your art.
Do practice these techniques and see by yourself what works best for you and your own style.
I’ll link an extra video with a recent timelapse.
In this one, you can see me applying some of the information presented here in my illustration work.
Thanks for reading.
- dado


Comment