Papagayo and Clip Studio Paint (Lip-Sync made easy)
Papagayo is a free Lip-syncing software that makes easy, the line up of the mouth shapes (phonemes) with the actual dialog of characters, using a built-in dictionary to select the appropriate mouth for the spoken text. Several software are compatible with Papagayo, but for now, Clip Studio is not one of them. To use it, all you have to do is, open an audio file and just type in the words being spoken, press the “break phonemes” button, and drag the words on top of the sound’s waveform until they line up with the proper sounds, remember to check the frame per second, to synchronize to your animation, normally is 24FPS.
All the steps are explained in this YouTube video, but the theory is further explained next, so please continue reading.
Edit: I cannot show the direct link to the video because it shows a "One Piece" character, and this is not allowed in the CSP tips service rules. The title of the video is "Papagayo and Clip Studio Paint (Lip-Sync made easy)", I'm sorry for making the mistake of using copyrighted characters...
Such a simple tool helps the process of Lip-sync greatly, but the data you get is not compatible with CSP, in the file obtained in Papagayo there are just two things, a frame position and a layer name (The name of the mouth). In Clip Studio, there is a way of use external data for the animation files and is by using the “Toei Animation Digital Exposure Sheet”, but if you want to use it for Lip-sync you must open the dialog file in an audio software, and manually decide the position of each phoneme, this is not going to save any time in CSP, it will be better to do it in Clip in the firs time… but after export a previous animation Exposure Sheet and analyze the content of the file with the Notepad, I realize that the data requirements are the same, is just a frame position and the layer name, plus other info like the name of the animation layer, cut, scene, etc.
So, because of the simplicity of the data obtained with Papagayo, is quite simple to integrate it in the CSP Exposure Sheet, and to do this I try several options, first with NOTEPAD++, and macros, but when I finish the task, I found out that you can’t share macros, so I try whit a spreadsheet and it works in a simple enough way. I’m sure a programmer will laugh at my crude approach, but I’m not a programmer and this is the way I find out to work, and I hope it can be useful for some of you…
To use this template just download the files in:
The process is as follows. Open the .DAT file you export from Papagayo (If you don’t know Papagayo process find a tutorial in YouTube, like the one by Darren T, https://youtu.be/dK6qg58xNzs) in this file copy all the data except the first line “MohoSwitch1”, then paste it under the “Paste .DAT” in the template file. Then you need to separate the frames and the layer names into two columns, to do this click in the paste icon at the end of the paste data, and select Split text to columns, then use the space as separators (look at the animated gif as reference). If you can do the split data in two columns, go to Data/Split Text to Columns and if don’t do it automatically select “Space” as the separator. Finally set the duration of the animation, by filling the number of frames in the red square called “Duration in Frames”

After you finished, is important to reduce or extend the information in columns A to E to adjust the data to the one you required. Then copy the info until before the F column and paste it into a Notepad file. Erase all the Tab spaces in the notepad by selecting one, copy the space, then go to Edit/Replace and replace it with nothing. Finally save the file as, the name you want, and .xdts extension.

To use this file we just create, is important:
1. You must create the ten layers whit the mouth shapes use in papagayo, the names are AI, E etc, FV, L MBP, O, rest, U, and WQ.
2. You must have created an animation folder called "Animation folder", you can use the file “Animation.clip” I shared with the template, to test the process.
3. Import the same audio file use in Papagayo start in the first frame, to keep it synchronized.
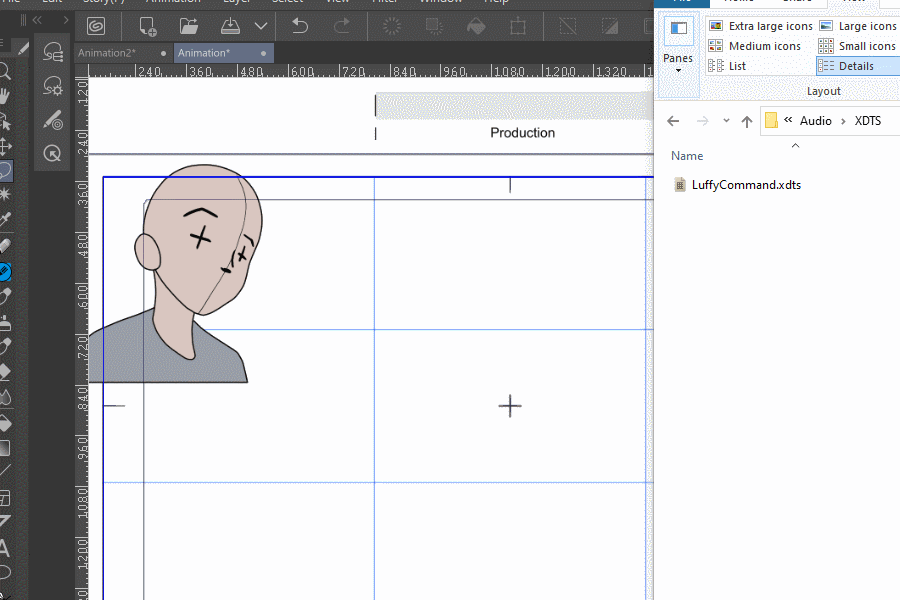
4. Drag the .XDTS file over the CSP canvas and enjoy the result.

That is how you can use Papagayo with Clip Studio Paint, which is not bad, is quite simple and you can save a lot of time because lip-sync is a time-consuming process and there is no Scrubbing option in CSP. Thank you, If you have any questions please ask, I'll try to answer all the questions, and please visit the YouTube video I made, there is a more in deep explanation there.


Comment