
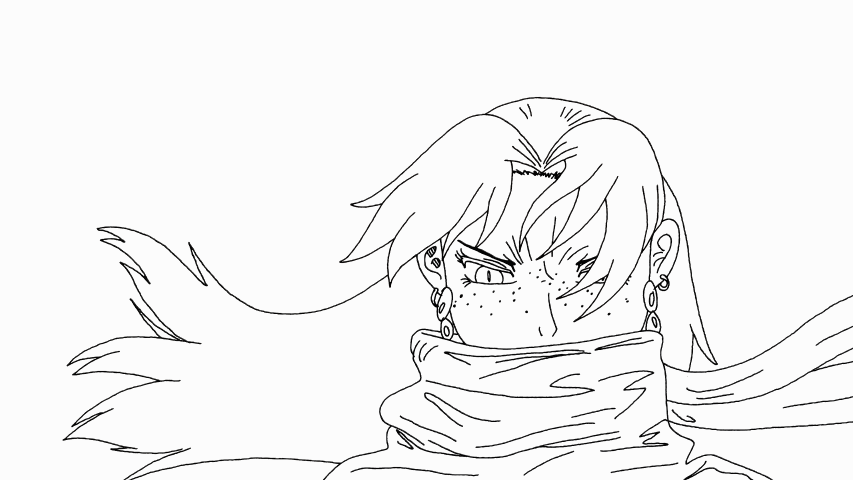
Greetings! In this tutorial, I'll demonstrate a simple and efficient method to merge animation folders into a new folder containing the merge animation on a new raster layer. You might have seen this done in various videos, but those methods can be quite laborious and complex. Here, I'll show you how to simplify the task using auto actions. I've created many auto actions and shared them, and this particular one will be available on my Gumroad store.
You have two options for following the tutorial: you can either watch it on YouTube or read this article-style version.
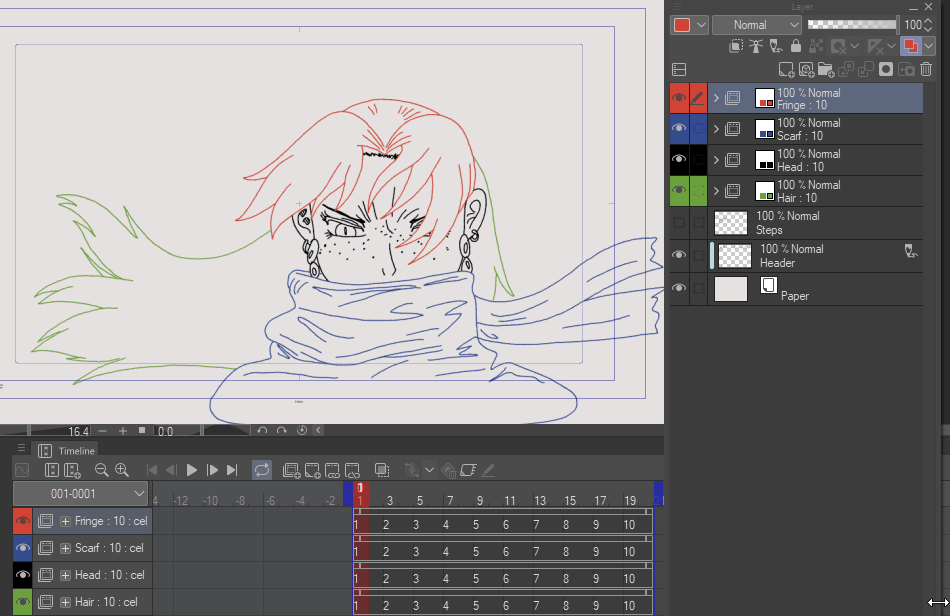
To begin, let's understand that, auto actions can record many Clip Studio commands, though not all of them. The reason I used several animation folders is to avoid animating the entire character in each frame. Instead, I focused on individual movements of specific parts like the bangs, scarf, and back hair.
Before using the auto action, clean up the animation folders by removing any lines you won't be using. This step is crucial to avoid complexities and potential errors later on.
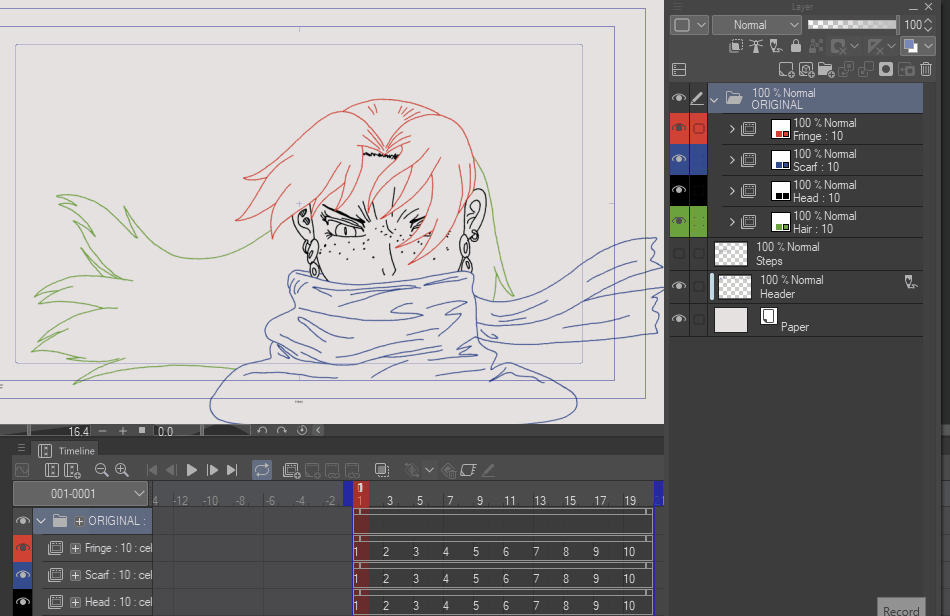
Once everything is neat and organized, group all the animation folders you want to merge under a new folder named "ORIGINAL." This name is VERY IMPORTANT as the auto action will specifically look for it; otherwise, it may generate errors
Next, create a new animation folder named "MERGE." The position of this folder isn't critical, but I suggest placing it at the top for better visibility and to avoid interference with other elements. Remember to name it in all capital letters for the auto action to function correctly. Recreate the frames in this folder to match the positions they have in the original animation group. This step is made this way to ensures a more generic approach, accommodating different animation styles.
Now, let's use the auto action. To install it, simply drag the file "MergeAnimFolders.laf" onto the auto actions window. This will install the action and make it ready for use.
To apply the auto action, go to the first frame of the "MERGE" animation folder and ensure it is selected. Locate the "Merge Animation Action" button in the auto actions window and click the play button on the bottom right (the triangle pointing to the right).
The auto action will begin, and it's important to have the desired line color selected because it will use that color for your new animation. When you press the button, the last action of the auto action will be to move to the next frame. So, initially, it may seem like nothing has happened. However, if you go back to the previous frame, you'll notice that an identical copy of all your animation folders has been created. Now you're all set to enjoy your animations!
Users who liked this post


Comment