
I rely a lot on 3D models for animation, which makes the drawing of key positions so much faster, without this help my animation process will be considerably slower, and in animation, every aid that can speed up the work is welcome for me. When I confess this, some people tell me that Clip Studio 3D models are too difficult to pose, but in my opinion, the problem is that they don't know the best approach to do this efficiently. In this tutorial, I want to show everything I know about using 3D models.
Camera
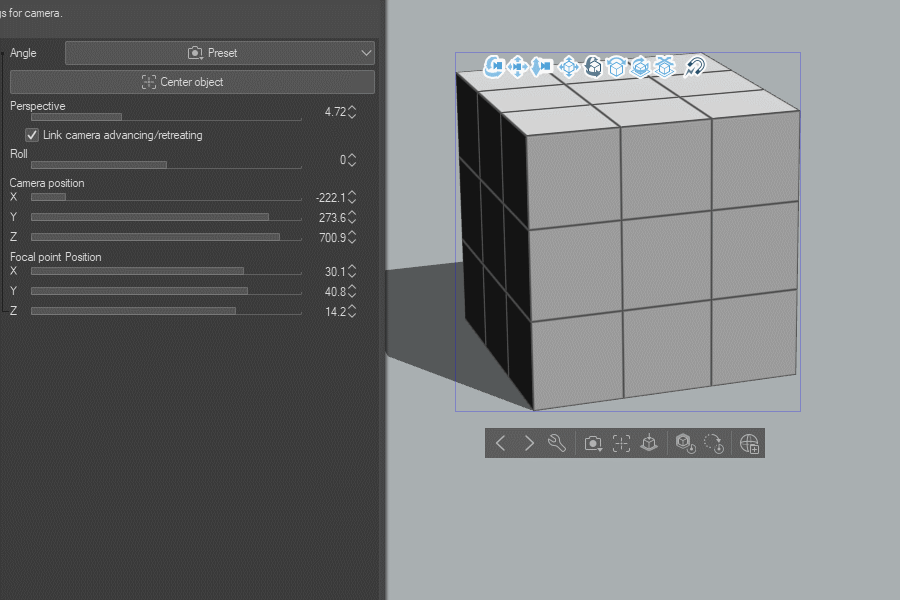
Let’s create a new 3D layer, this can be done in Layer/New layer/3D layer, the most important thing we can see here is the camera (to modify the settings go to the wrench icon (S3) in Allocate/Camera/Perspective), you can change the focal length to create the emotion of the fixed lenses used in movies, Clip Studio doesn't use a 35mm sensor equivalent FL lenses but a number between 1 to 100 called Perspective... Is so funny, I was writing this and it took me 4 hours, but I finally understand how the Perspective for the camera 35mm equivalent works. To transform the (FL) Focal Length to the Perspective equivalent in Clip you must divide 236 by the focal length, for example, to know the equivalent 28mm lens perspective to use in Clip just do this operation, 236/28 = 6.74. Because the Perspective values in Clip go from 1 to 100 the maximum focal length is 236mm and the minimum 2.36mm equivalent.
I can explain in more detail the focal length in traditional cameras or the meaning of all these numbers, but this is not the tutorial for this, the only thing important is that there is a way to transform the lenses to a value in Clip Studio that works, and there is a fun fact about this equation, the result value for 50mm is 4.72 and every time you drag a 3D object to the canvas, the initial value for the camera in Clip is 4.72, so the initial camera is a 50mm lens.

To know more about lenses in cinematography, I recommend this website:
Movement
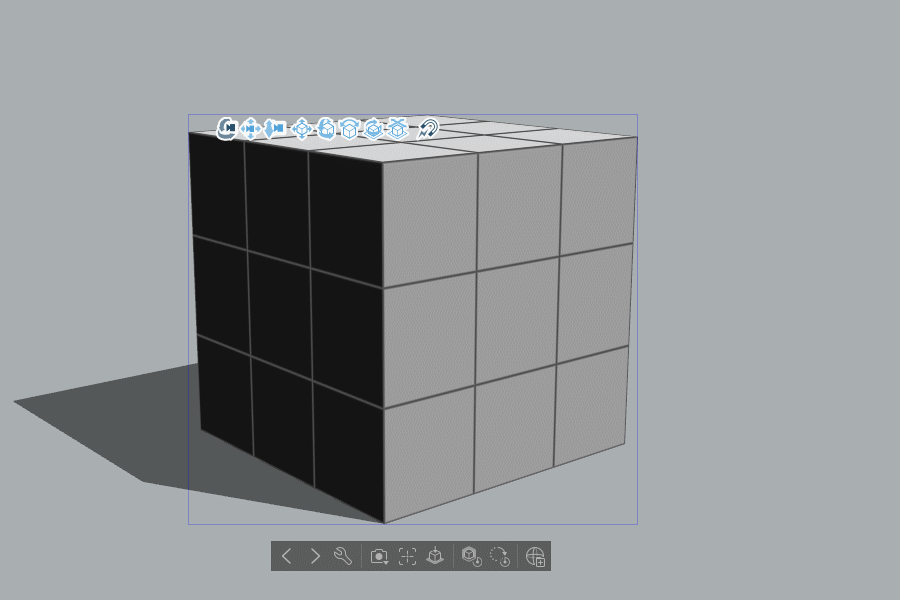
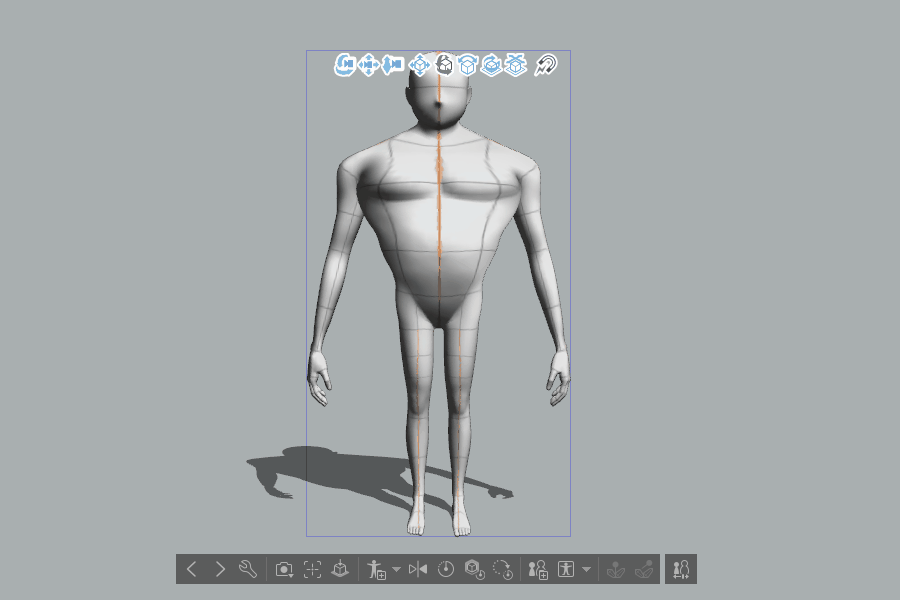
Now I will explain how to move objects, every time you drag a 3D object to the canvas a group of icons appear on the top left, these are the Movement Manipulator icons, they are used to move the models, the first three are the Camera controllers and these move the camera around the object, You can Rotate (C1), Pan (C2) and Zoom in and out (C3), you can use this functions without using the icon by left click on an empty area to rotates, center click (the scroll wheel Click) to pan, and right click will zoom in and out.
What these three options do is to move the camera around the object, this movement doesn't change the camera perspective, but if you turn the scroll wheel it will change the perspective, so understand that scroll wheel is not a way to zoom to the object but to change the perspective of the camera. One important clarification is that if you press any of the icons that move the 3D object (Move on plane, view rotation, Plane rotation, Rotate in 3D space, or Snap and move) this will lock the left click function to execute this movement, so to rotate the camera you must press the first icon to lock this function.
The next button (M1) moves the object up, down, left, and right from the camera plane.
The following (M2) rotates the object up, down left, and right from the camera plane, but if you drag horizontally will rotate the material along the Y axis and on the X axis if you drag vertically, and freely if you drag diagonally, I personally find this operator to unpredictable to be useful but you must decide.
M3 icon is the Plane rotation, that rotates the object perpendicularly to the plane of the camera.
The icon after (M4) is the Rotate in 3D space, this will rotate your object horizontally, perpendicular to the floor plane in the Y axes.

Next (M5) is one of the most useful functions. This icon allows you to move the object while it slides in the floor plane, I use it all the time to place characters and objects one around the others.
The last icon (S1) is an On/Off magnet that allows you to connect objects by proximity but it works only when you use the root manipulator, this option doesn’t work with the Movement Manipulator icons.
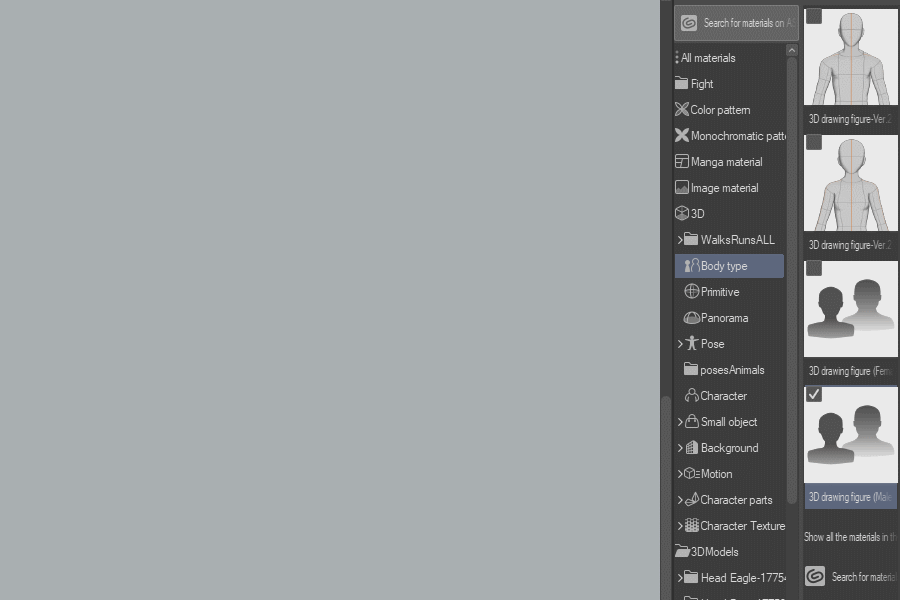
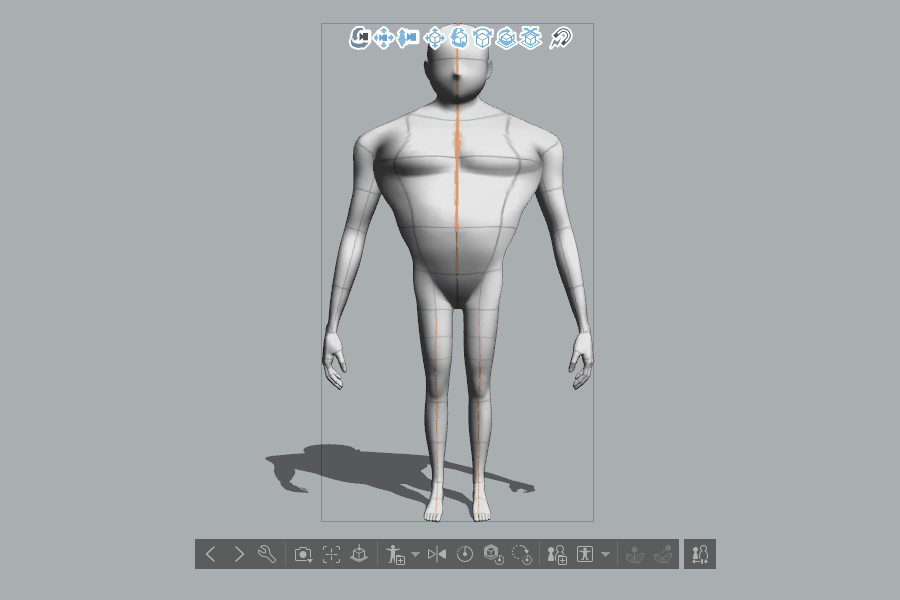
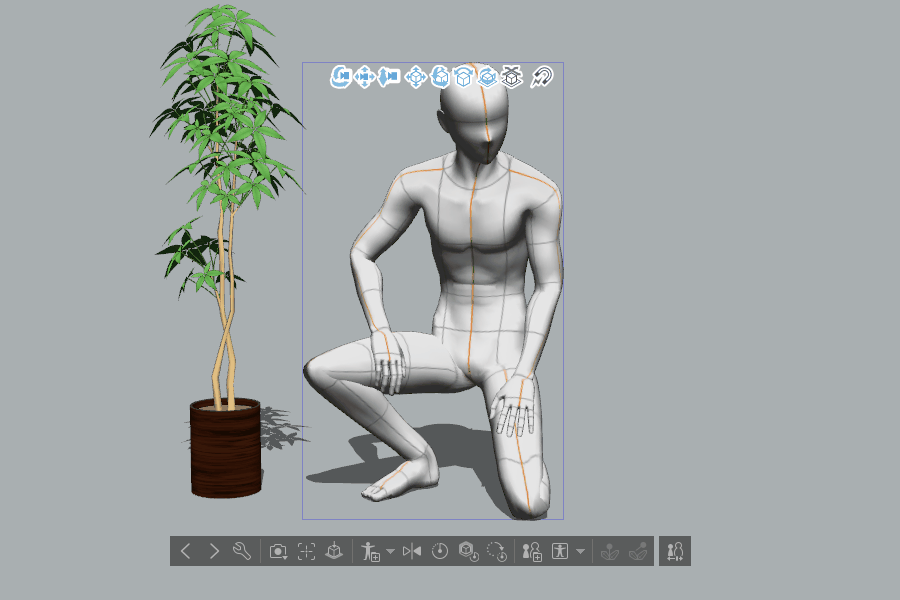
Body Type
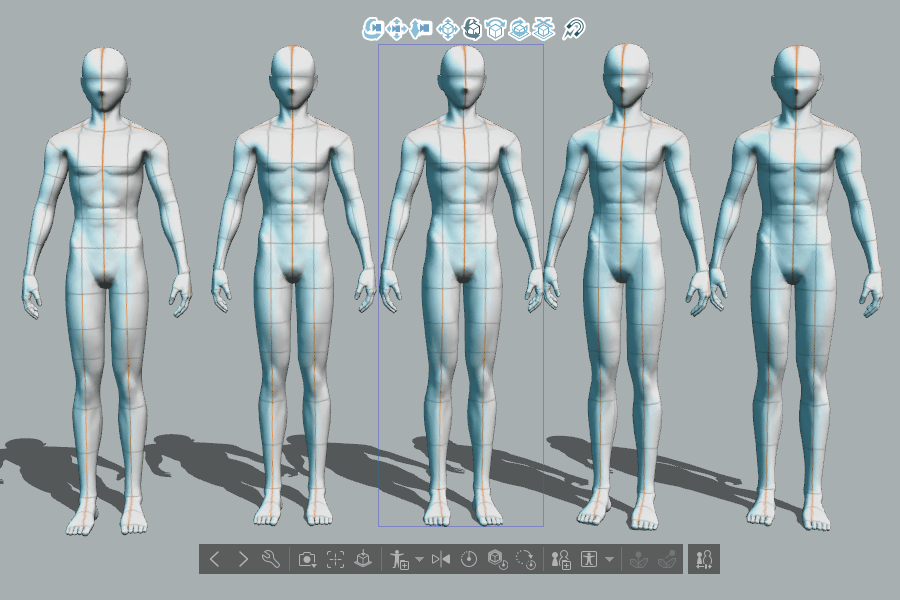
There are four main body types in the Material window of Clip Studio, these materials can be found in window/material/Material[Body type]. These body types are free, there are two old models of Female, Male with human proportions, and two new ones with anime proportions, these are quite versatile because they can move the body parts to any human pose, and can change the proportions to adjust a character to your own necessity.
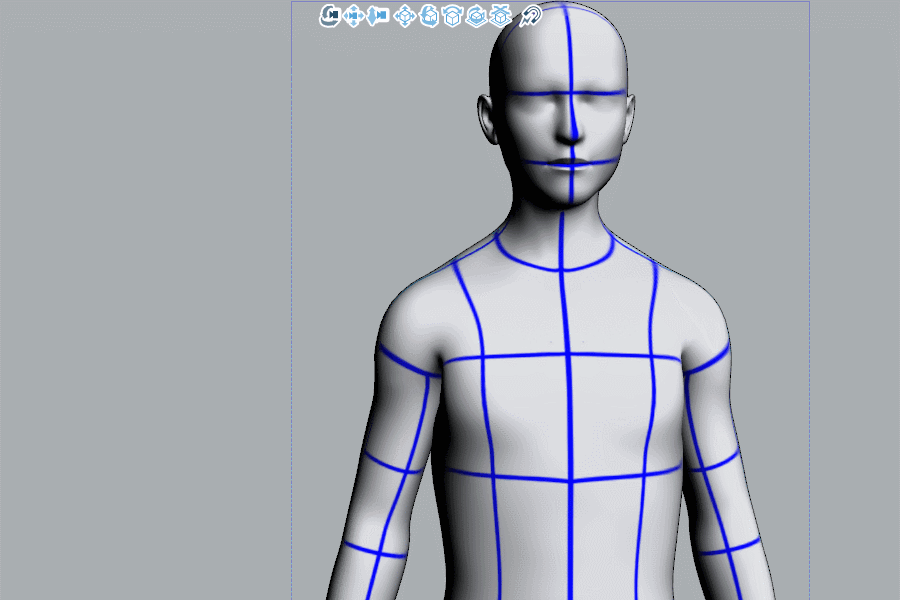
One of the most useful features of these models is that the body texture shows lines that divide the body into different regions. These are extremely useful in order to understand the shape of all the body parts, and are quite useful for drawing foreshortening in a simple way.
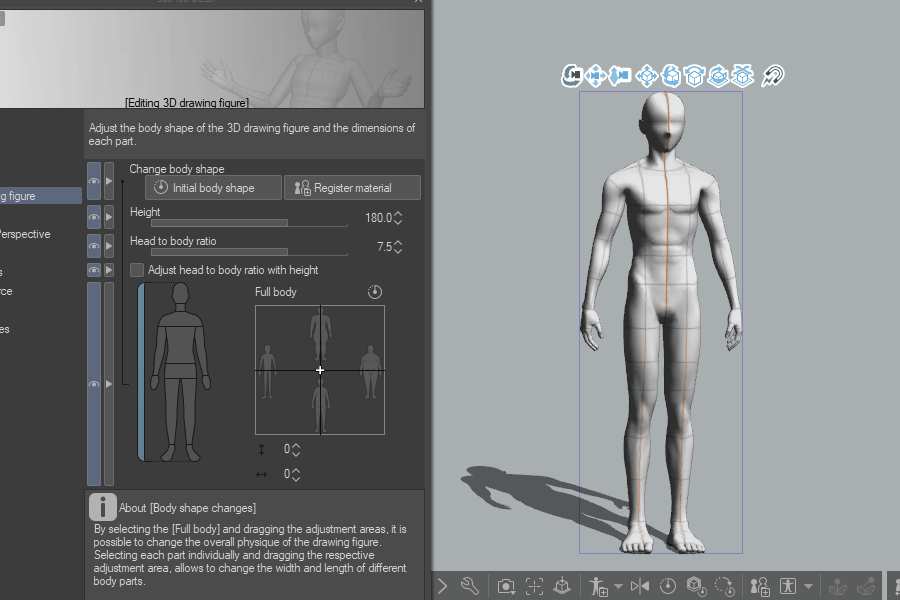
Proportions
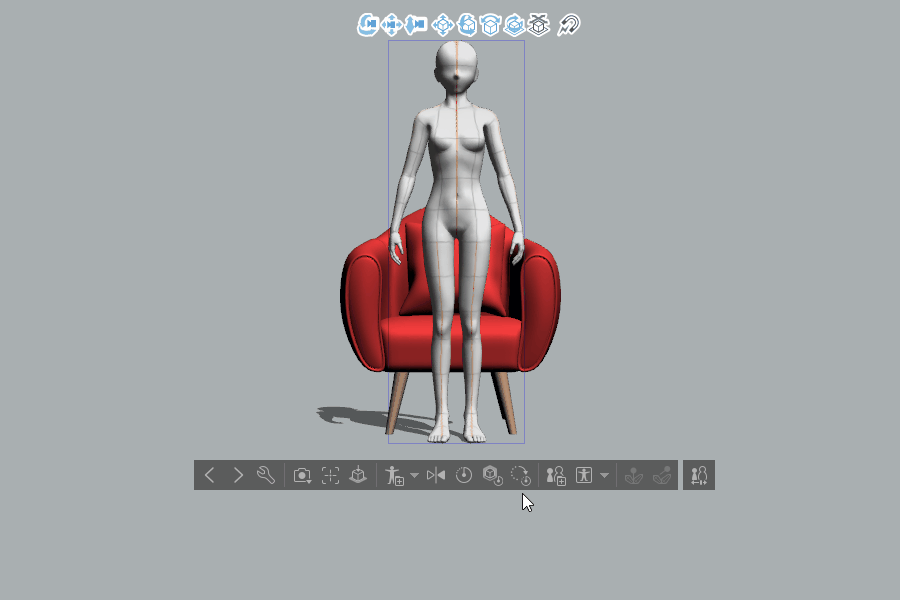
3D models are useful, but if the model isn’t close to what you need, the functionality will be restricted to be a reference, but the strength of Clip Studio is that the proportions of the characters can be changed and the results are very varied, from human-like proportions to clearly cartoonish characters, this makes these characters very versatile for quick development of unique characters, I personally use this feature to make my character sheet, so I know what it looks like in all views, and I only have to make the specific features and clothes for my characters.

To adjust the proportion of the character just go to the wrench icon (S3) at the bottom of the character, and in 3D drawing figure, you can adjust the height, and the Head to body proportions, these are the most basic adjustment to create your starting point, but you can adjust individually the different parts of the body too. At the bottom you can see a human drawing with different parts separated by lines, if you start with the bar that represents the height of the character, on the right side you will see an influence chart, it has four basic options, on the left, skinny, on the right fat, at the top muscular and at the bottom without muscles. You can use any in-between from these options to create your character.

But besides these basic proportions, you can change specific parts of the body, like the head, shoulders, arms, hands, chest, hips, legs, and feet. Just press in the part of the drawing and use the same influence chart to adjust every part until you get the desired shape.
Poses
Now that we know how to use the Body Shape editor, how to create personalized characters, and how to use the Clip Studio camera, we can continue with the next step, pose the character. This step is hard to understand for some people. Several people comment that, posing a character in Clip is hard, but I find this quite easy if you know the correct methodology. There are three basic ways to pose a character.
The first way is to select and drag a part of the body, except the hips, this will create a force that will move all the joints of the character as much as you pull it until you reach the hips, this part will not move, so if you pull the hand, all the upper body will move, if you pull the foot, the corresponding leg will move. This method will move the character in an unpredictable way, if you use this method with care you can create interesting poses.
You can lock parts of the body by pressing the icon Lock selected joints (S12) in the lower menu, so you can move the character in different ways like for example, lock the head, so the center of the movement is the head and all the otter joints will move around it, this will unlock the hips joint. You can lock several joints too, so parts of the body will try to stay static while others move around it, and in this way, you can achieve the final pose. To unlock one joint you can press the same button that locks the joint (S12) or if you want to unlock several joints at the same time, press the icon Release all joints(S13). This joint lock function will not work when you use inverse or forward kinematics, I’ll explain this later.
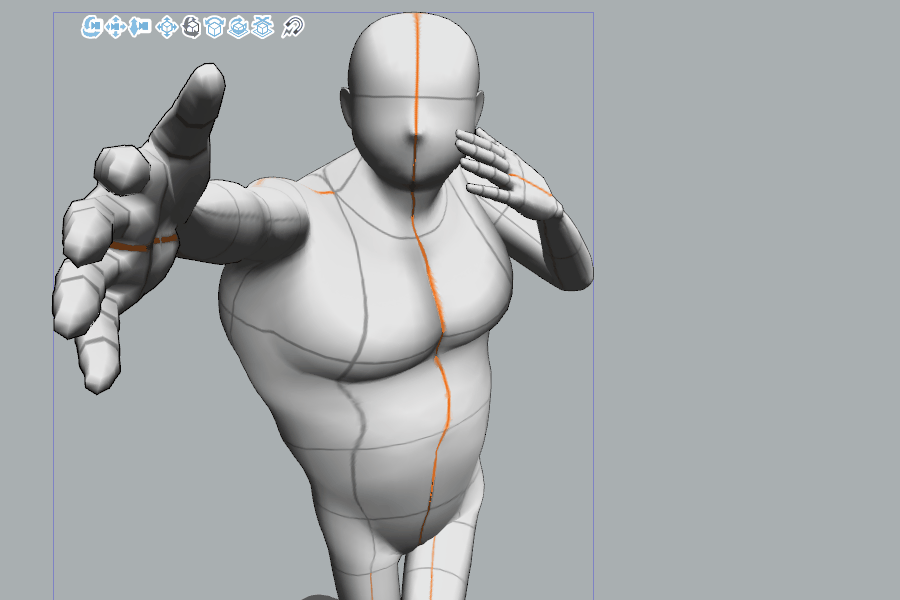
Second, forward kinematics (FK), the concept is that any character skeleton, has a hierarchy and everything below the main hierarchy will move. So the hip is at the top of the hierarchy, when you move this joint, all the body moves, the upper arm is higher than the hand, so everything under the upper arm will move including the hand and the fingers. So to move a joint you need to press any part of the body that turns purple when you hover the mouse cursor, when it turns pinkish, a rotation gizmo will appear, this allows you to rotate in any direction possible for this specific joint, this function has limits in the angles of different joints, it will move until is humanly appropriate, using this method you can't break the joints, meaning that you can’t exceed the standard limit for the joint.
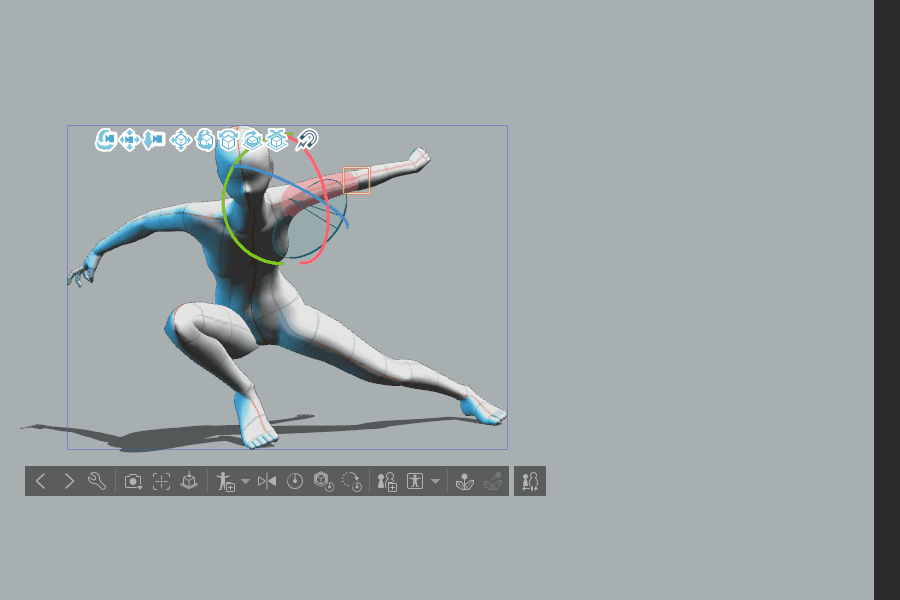
Third, Inverse kinematics (IK), this method is the one I use mainly. In it, there are some manipulators that let you move the different parts of the body from the bottom of the normal hierarchy to the back, so if you want to move a hand, you move it from the wrist manipulator and the movement spreads to the shoulder. This functionality is good because you can move areas of the character's body without affecting others, so I can move the pelvis, without changing the position of the feet and hands.
To use it you must click on any part of the body, if there is a body part selected pink, you must click over the selected part again to change the FK to IK movement, and then you can select the purple circles that appear in different parts of the body. The wrist manipulator move from the hand to the shoulder, the manipulator outside the body can be used to select where the character is looking, the one in the foot move the entire leg, the one in the hips moves and rotates the hips, and finally, the one in the neck moves the shoulders and the chest. An important option is that all the limbs have an extra controller that allows you to move the direction of the knees or elbow, this is important to achieve a correct pose for these parts. When you use the inverse kinematic you can overwrite any block joint or limits in the joint movements.

All the IK manipulators allow you to move and rotate the corresponding part of the body, but the manipulator for the hands and feet allows special movements that I want to explain. When you press the manipulator for any of the limbs, you can move this extremity normally, but another rotation wheel appears, this allows you to move the corresponding elbow or knee, to place the character in the desired position. If you want to create the perfect pose without changing the camera position you can use the All sides view (go to window/All sides view ), but this is exclusive to the EX version, so if you use PRO you must orbit the pose to achieve the same result and use another layer with the camera set to the perfect camera composition, then you can copy and paste the character in the correct pose.
Hand Poses
The hands are so important that Clip Studio offers a separate method to create the poses. Let’s say that you have the perfect pose for the character, now you must pose the hands, you can use the FK method, but to do this with every finger will take forever, this is why Clip Studio has a dedicated tool to pose the hands. In the wrench icon (S3) at the bottom of the character, go to Pose Hand, there you’ll find the image of a hand with three main poses, hand opens closed fingers, hand opens extended fingers and closed hand, in the last one there are four poses that place the thumb in different positions. If you drag the cross to any of the corners or any in between, the hands will move to a hand pose equivalent. If you select a hand like when using FK, the pose will be applied to the selected hand and not to the other. Is possible to lock different fingers, these are from left to right, thumb, index, middle, ring, and pinkie, this allows you to move the pose keeping one or several fingers static to create the perfect hand pose.
Modify and Registered Poses
There are three options you can use to pose a character, the first one is to pose a character from cero, using the tool I described in the previous point. Another is to go to the asset Store of Clip Studio and purchase one, there are thousands of poses, some free, some to pay with gold or Clipis, I really recommend this one, because it can save you a lot of time, then remember to organize the poses in folders. Every time you purchase something in the asset store it will download to the folder “Downloads” but if you are not organized, there will be no way to find anything when you need it. To use the poses you can drag over the character you want to affect and release, this will apply the pose to the character, you can modify the poses if you feel is not correct, or if the pose is too stiff. To avoid stiff poses remember to avoid symmetry if possible and check that the center of mass of the character is correct, look at the character, if it looks like it is going to fall, correct this to have a more stable pose.
The third option is to use the Pose scanner (S11/Pose Scanner), this option uses artificial intelligence in Clip Studio servers to try to copy the pose of a picture, this will never be perfect but is a starting point for you to finalize the pose using the different controllers, this option will reduce the time you will take to find the perfect pose.
Before talking about how to save poses I want to describe the tools in the bottom menu. First, the arrows (S1-S2) allow you to select different 3D models in the layer, if you have several models you can use the arrows to navigate to the one you are looking to change, then (S3) Display object list, will allow you to access the parameters of the 3D objects, next the Specify camera angle preset (S4), is just that, some camera presets you can use, next the center object (S5), useful for when you can't find the 3D model, just press and the object will be placed in the center of the canvas. Now there is the register button (S7), this will allow you to save the position of the entire body or the right or left hand individually. The next button is the symmetry tool (S8), this will reflect the pose. The next three (S9) will reset the character to the starting position, these options reset the model, the scale, and the rotation that the character has applied.
Save a pose is quite a straightforward process, when you have your perfect pose, go to the Register full body pose as material (S7) Select the first option in the drop-down menu, a new window will appear, and give the pose a new name, try to create an image of the pose beforehand, this will make easy to find the pose later, find a folder in your asset Material, and click OK. Now you can use your Perfect pose in any compatible character.
Lighting
Besides the tip about how to find the equivalent of a 35mm camera in Clip Studio, everything I have told you has been told countless times in different tutorials, but what I have never seen is a good compendium and any talk about the lighting of 3D objects, this topic, although it is mostly aesthetic, I think it can be an interesting guide, of where to apply shadows and lights to your characters. Here I am going to explain how to light a character.
There are 3 main lights for 3D models, the Ambient Light, in which you can change intensity and color. Directional light 1, the direction of this light can be modified by clicking and dragging over the sphere called Light source, you can change the color and intensity, this light affects the position of the shadow. Finally, there is a third option called Directional light 2, you can select this light in the Tool properties drop-down list, make visible the light and select it, then you can change the color, direction, and intensity, but this light will NOT affect the shadow.

Personalized Characters
If none of the models from Clip Studio can satisfy your character features, you can create, buy or download the character you need. If the character has equivalent bones you can even pose the character in Clip Studio, but you can’t use poses from your library because the conventions of bones are not the same in other software. The most efficient way of using a personalized character in Clip is to create the bone rigged in Mixamo, this is quite simple, and there are lots of tutorials that show the process.
Clip Studio offers a free software that converts Mixamo rigs to a Clip Studio equivalent, the software is called Clip Studio Modeler. The process is simple enough. Open the software, new 3D Character, then select Body in the Character configuration TAB, now you can drag the character to the canvas, is better to use a .FBX or .OBJ, but remember OBJs don't have the texture included, so you must drag both to the canvas. If you select the folder called Body, you can change the height of your character, this is especially useful if the scale of the character is wrong.
Now select the folder of your character, in my case is called Male01, but it will have the name of your model, in the lower right there is a bone with two arrows in a circle, press it and it will explain that this action is permanent so click OK, then a new window will explain the step by step process, first try to match the position of the arms of your character with the reference, next it will show what chain of bones you must select in your character to map the skeleton to the standard. When this step finalizes, just click on Complete, you can test the bones before, but it is not necessary.
Now you can register your new Character material, but first, go to the folder called Body, select it, and in the tab Character information you can change the Blue picture that says “NO image” just click over it and move the character with left click drag until you are satisfied, click Complete. To register the material, go to File/Register as new material, a pop-up window similar to the one in Clip for register poses will appear, Change the name, and select the folder where you want to save the model, then OK. Finally, if you don't want to save the character in the materials of Clip Studio, you can Save As .CS3C, just go to File/SaveAs, and in the drop-down list at the bottom select the format .CS3C, save the file in a folder of your PC or Mac, and you can use this character by just dragging the model over the canvas in Clip Studio, this will work with poses and the compatibility is almost perfect.
And that's all I have to say about that. Thanks.
PS. I haven't finished the video companion of this article, when finished I'll post it here>>
Users who liked this post


Comment