
Hello! In this article I will teach you How to make a LOFI Animation in Clip Studio PAINT in the Anime style of the 90s.
We will create a simple Animation using retro colors and apply some effects to make it look like 90's Anime.
Whether you have Clip Studio Paint PRO or Clip Studio Paint EX, you will be able to make the Animation that I will show you below:
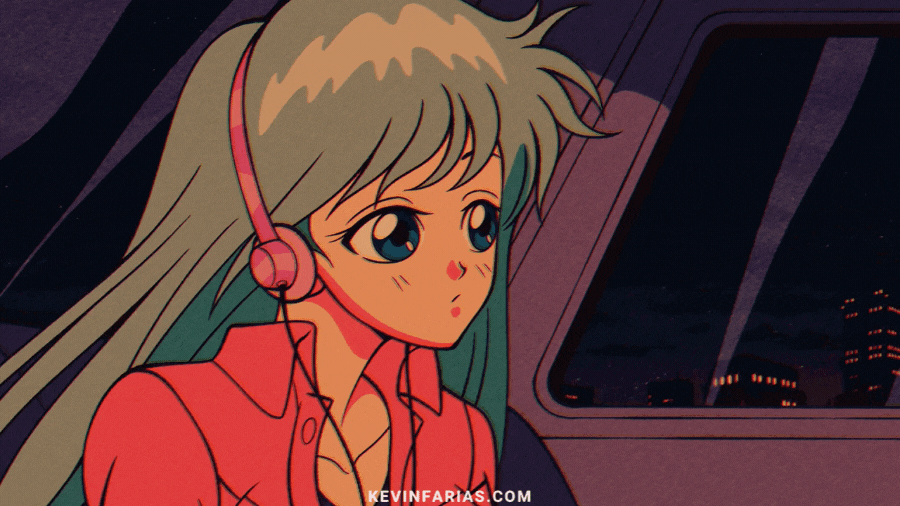
This is the Animation that we will make
I share the 2 versions that we can achieve.

VIDEOTUTORIAL: How to make LOFI Animation in Clip Studio PAINT
The video is in Spanish but you can activate the subtitles in your language, I assure you that you will find it.
What do you think about the video? I tried to make it as short as possible since there was a lot of content to show.
Step by step of the 90s Anime style LOFI Animation
Now we go with the step by step process of this animation, so you will understand it even better.
1. Animation Project Creation
We open Clip Studio Paint and go to File - New, to create an Animation project with the following characteristics.
Don't forget to activate the Timeline in: Window - Timeline.
And I recommend you delete the Animation Folder that is created by default.
And create a New Raster Layer and rename it to: LAYOUT
Also do not forget to save your project in: File - Save
Always save your project in File Type: CLIP STUDIO FORMAT
2. Animation Layout
This is the drawing that we are going to animate, it will be our base to achieve our Animation.
On the Layout layer we activate: Activate Layer Color.
Finally we lower its opacity to 50%
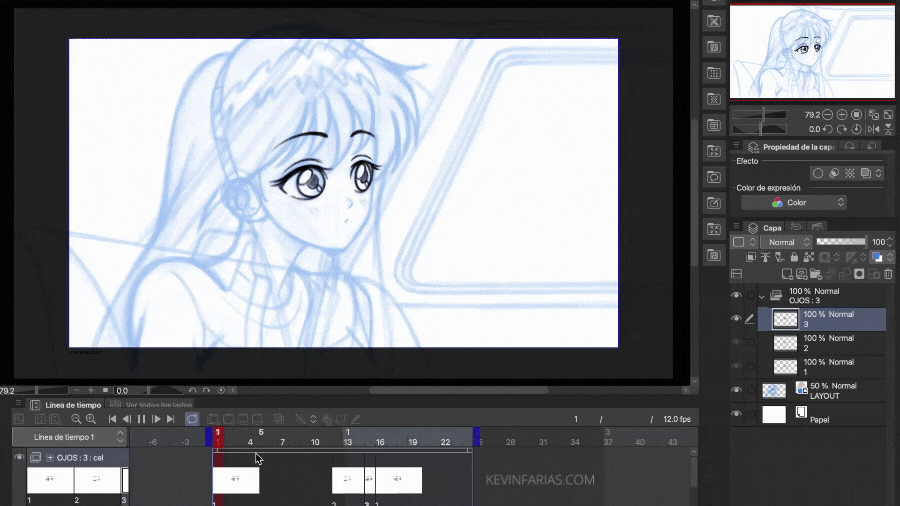
3. Eye Animation
We are going to start with the simplest Animation, the blink of the eyes, for this we are going to the timeline to create one: New Animation folder above the Layout layer.
Name: EYES and create a New Animation cel in Frame 1.
And the drawings will be the following: The open eyes in Frame 1, the closed eyes in Frame 12, the half-open eyes in Frame 15 and we call the open eyes again in Frame 16.
Achieving the following result:
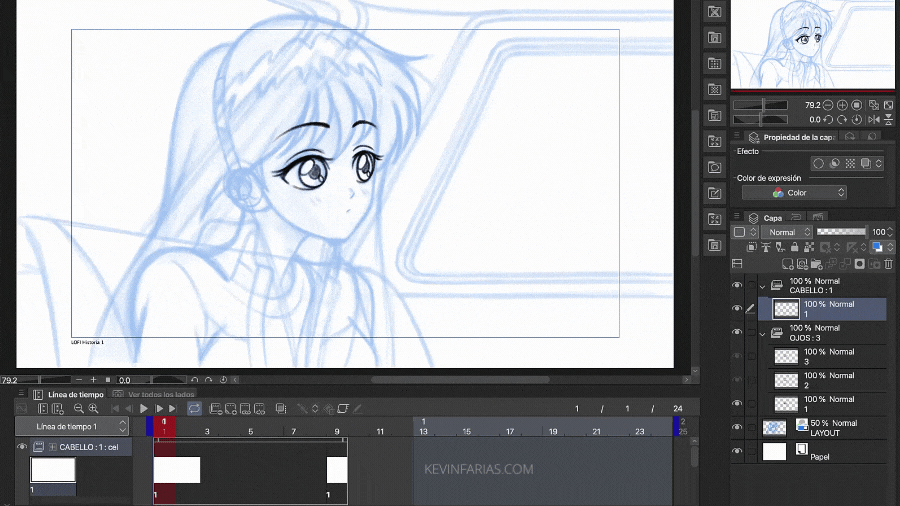
4. Hair Animation
Next we are going to do another part of the Animation which can be a bit complicated, the first thing is to create a New Animation folder with the name: Hair.
We add a New Animation cel in Frame 1.
We edit its duration up to Frame 9.
On Frame 9 we activate the option: Specify cels
To activate Drawing 1 of our Hair Animation, this drawing will be very useful to have as a guide, since we will be able to do the animation cycle of the hair movement in the best way.
And we make the first drawing of the Hair Animation, in Frame 1 and it will have this form:
Now we create a New Animation Cel in Frame 5 that will be the Breakdown without forgetting to activate: Enable onion skin
And the drawing will have this form, it will be a movement of the hair in the wind.
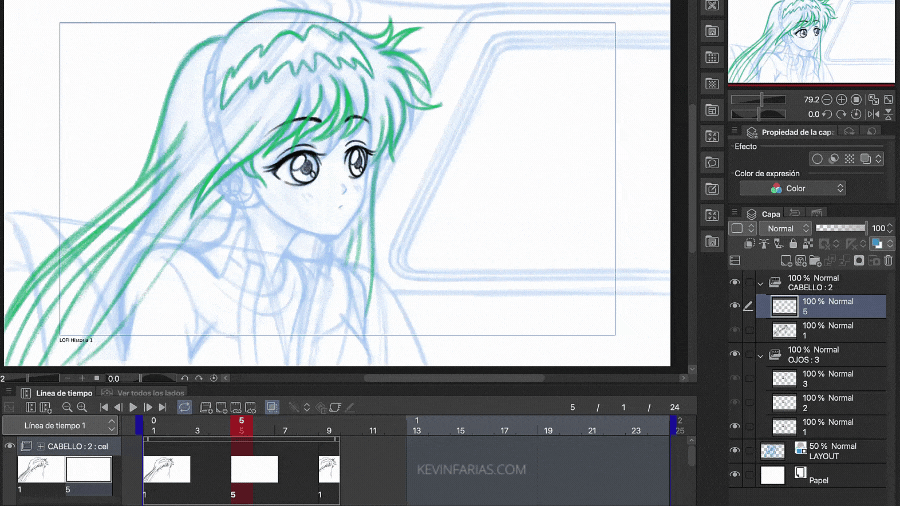
And we complete the Animation by adding drawings in Frame 3 and 7.
Once we have finished we edit the duration of the Animation up to Frame 8.
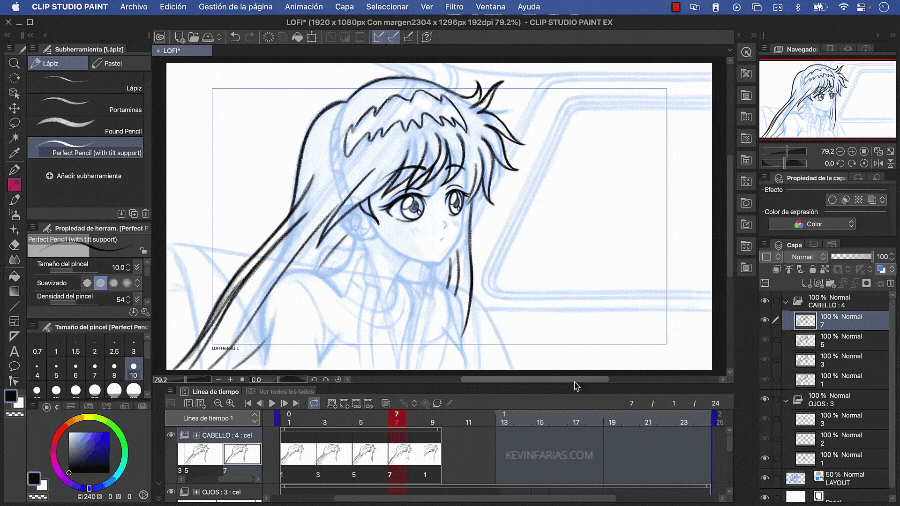
And we activate Play to see our Hair Animation.

Although it works we can make it even better, for this we will add new drawings in Frames 2,4,6 and 8, in Animation they are called Inbetweens. Also make sure to rename the drawings based on their location on the timeline, to keep everything tidy.
Now we will edit our Hair Animation, for this we take frame 9 from the upper right corner reducing it to Frame 8, which is its original duration, and then extend the original duration of the Animation back to Frame 24.
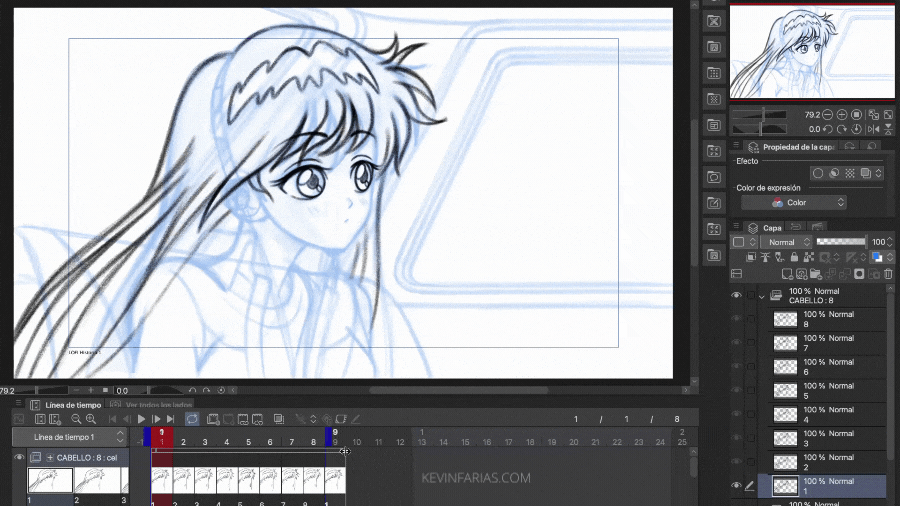
To then duplicate this Animation 2 times as follows:

5. Clothes Animation
For the clothes we are going to carry out the same process that we did with the animation of the hair, in the same order and the same number of drawings, to achieve the following result:
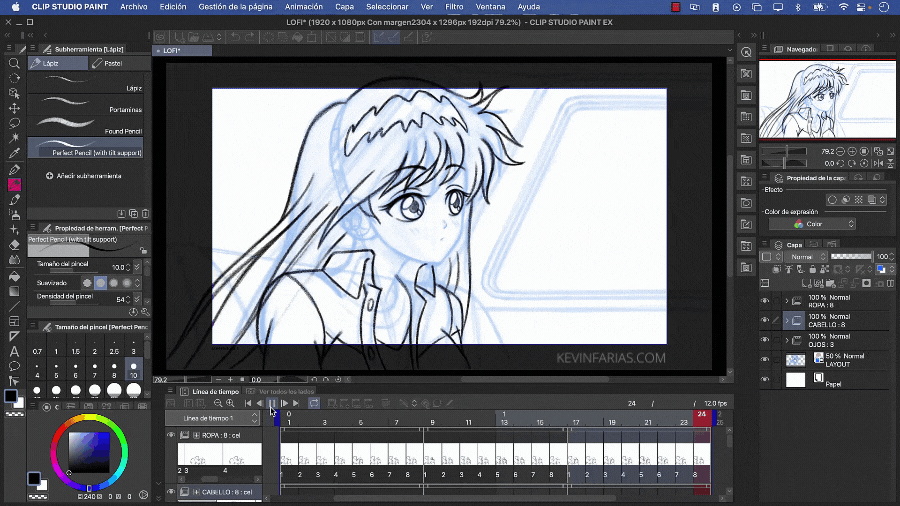
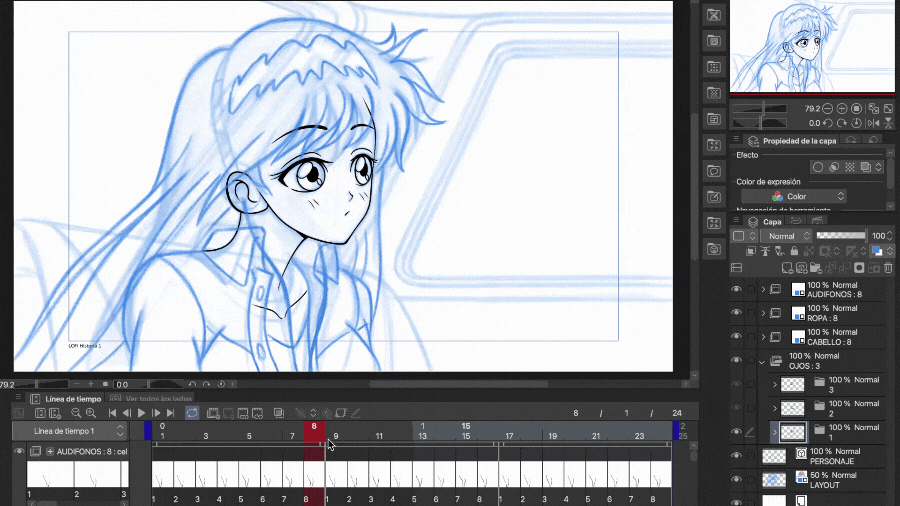
6. Headphone Animation
For the headphone cables we are going to carry out the same process that we did with the animation of the hair and the clothes, in the same order and the same number of drawings, to achieve the following result:

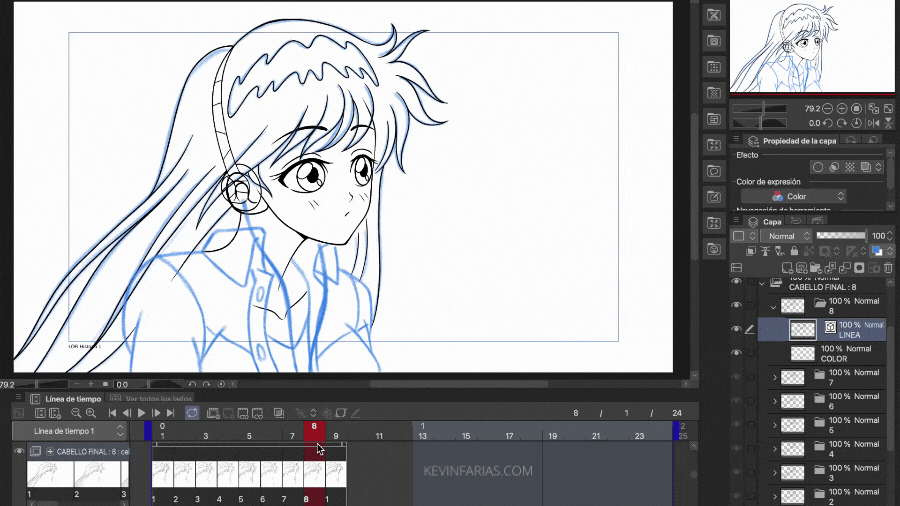
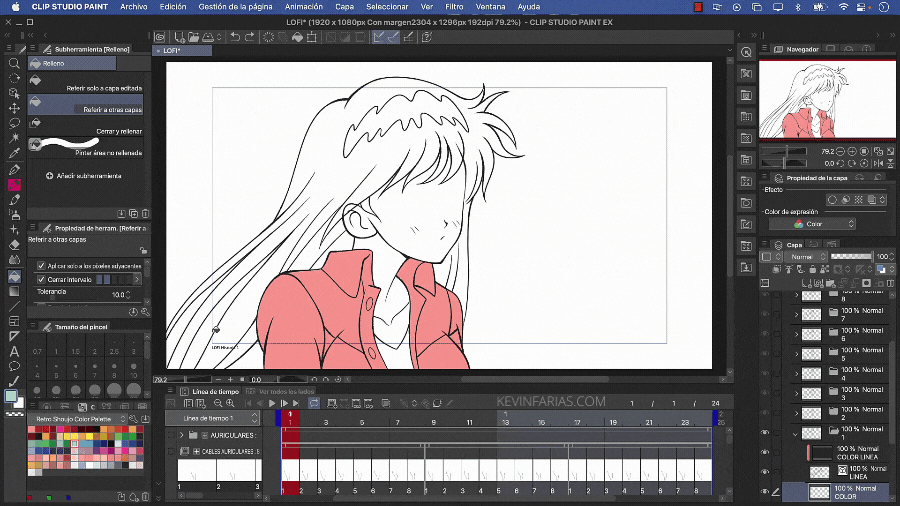
7. Line of Animation elements
For the Animation line we are going to use the vector layers, for this we will first create a New vector layer in the layers panel above the Layout layer.
We change the name to: Character or Girl, since this layer will only cover the fixed body of the girl, in this case the face and neck.
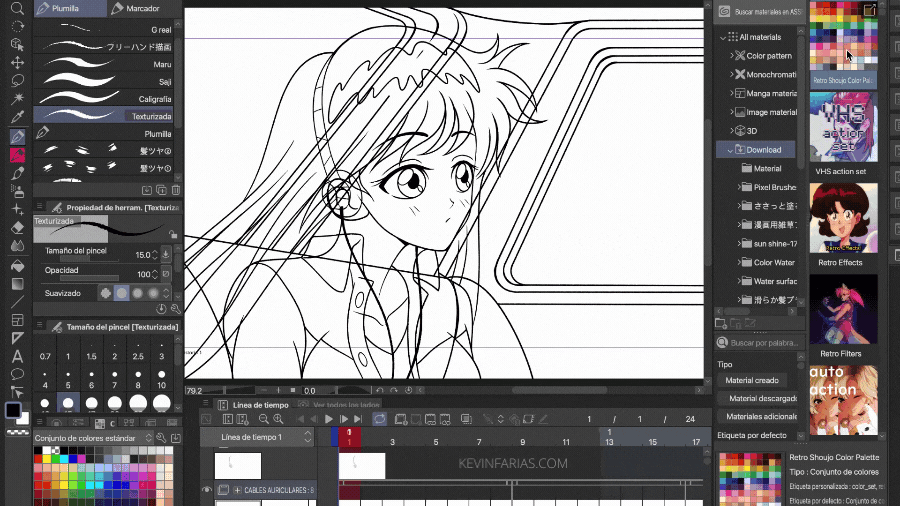
To make the Lineart we are going to use the Pen Tool in the Textured Sub Tool. Why? Because we need to make natural strokes, just like they were done in the Anime of the 90s.
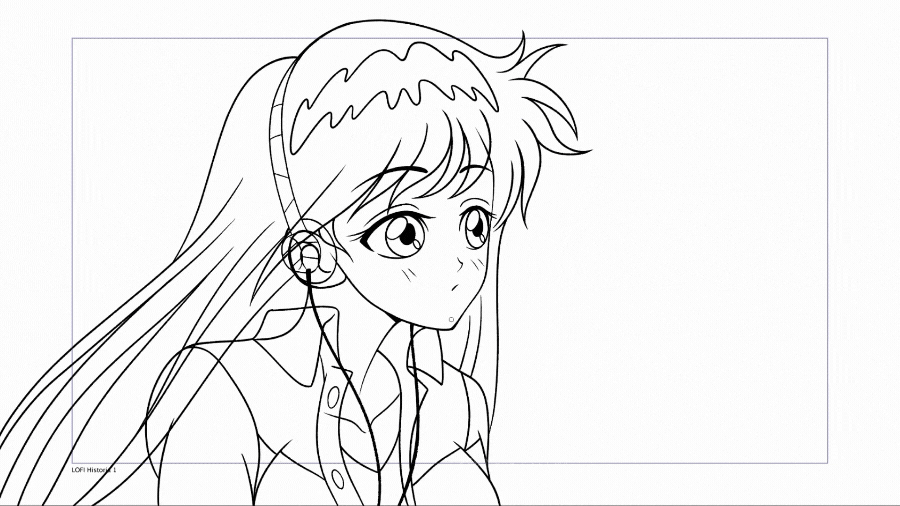
And so we managed to make the line of the fixed body of the girl.
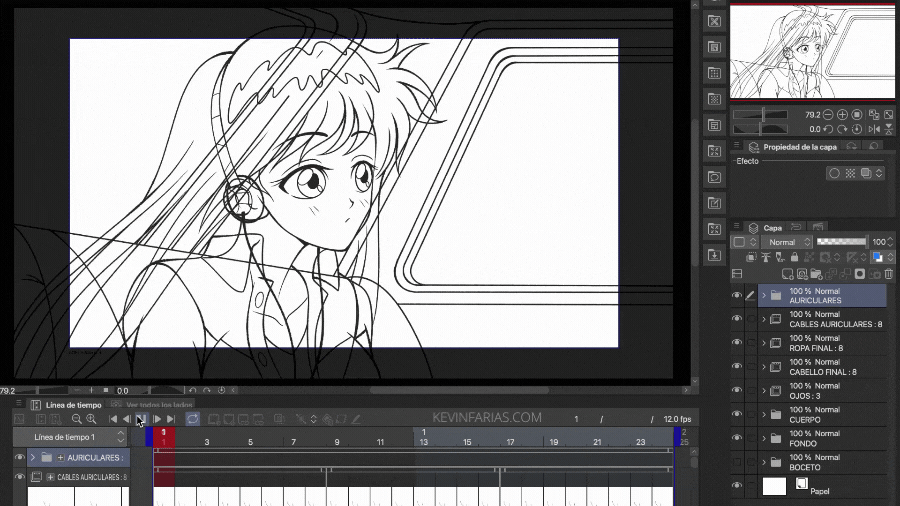
For the background we do the same, we create a New vector layer above the Layout layer and below the Character layer, named: BG or Background. We make the line with the pen tool, if we want to make straight lines we can help with the SHIFT key.
And for the headphones we do the same process, we create a New vector layer above all the layers, called Headphones and we make the line of this object.
8. Eye Animation Cleanup
We start with the cleaning of the Eyes, for this we go to the Eyes Animation Folder, select the first drawing and create a New layer folder with the same name as the Frame, in this case the name is 1. We take the layer of the drawing of the open eyes and we put it inside this new folder, we add a New layer of vectors named Line and we make the Lineart of the open eyes.
We repeat the same steps with all the drawings of the eyes and once you finish, do not forget to deactivate the layers of the sketch of the drawings of the eyes, to only see the line of the Blinking Animation.
9. Cleaning Hair and Clothes Animation
For the cleaning of the hair we go to the timeline to create a New Animation folder, without first changing the name of the animation of the hair sketch, to know how to identify them.
The name will be: Final Hair and just as we did before, we edit the duration of this Animation folder, up to Frame 9 and in that same frame we activate Specify cels to call Drawing 1 again.
In the layers panel we select Layer 1 and create a New Layers folder.
We change the name to the same one that the Frame had, that is, 1.
We take Layer 1 and put it inside this new folder and rename it color.
Finally we create a New Vector Layer above the Color layer.
And this layer of vectors will be called Line.
This step is very important to do as it will save us a lot of time.
Before doing the cleanup I suggest you lower the opacity of the Animation folder of the hair sketch and if you want, you can turn off the background to just focus on the hair.
The cleanup of the first drawing of hair would be like this.
Now we go to Frame 5 to create a new animation cel.
We renamed it to 5, just like its location in the timeline.
And in the layers panel we have frame 5 as a folder with all its respective layers, including their names. It's one of my favorite Clip Studio Paint tools.
Drawing 5 looks like this, always remember that we can use the Onion Paper tool.
And finally we have all the clean drawings of the Hair.
We edit the duration of the Animation Folder up to Frame 8, like all Animations, and duplicate the Animation so that it lasts the entire duration of the Animation.
And we do the same with the headphone cables, ending with the following result.

10. Animation Color Palette
I have downloaded the following material from Clip Studio Paint Assets, it is a retro color palette from the 90s which is free and I share it below:
I am very grateful to the Artist who created this beautiful color palette.
We choose the third tab in the color window:
We take the palette and drag it to the color panel.
11. Animation Line Editing
Let's activate the tool: Line Correction
In Subtool we choose: Modify line width and in Tool Property we choose Increase.
We apply this tool managing to make our strokes thin and thick.
12. Animation Line Color
We create a new layer called Line Color and paint with one of the colors from the retro palette.
And we activate: Adjust to lower layer so that the color is applied only to the layer that is below.
Achieving the following result:
13. Animation Color
We select the Fill tool and in Sub tool we choose: Refer to other layers.
And we start to paint each part of the Animation, like the clothes, the hair, the body, the eyes and the headphones.

And we managed to paint all the Animation of the girl.
14. Background Color
To paint the Background I recommend you deactivate all the layers of the character, so you can add color freely.
Once we have finished we make all the layers of the character visible again.
15. Shadows of Animation
We can add shadows to both the fixed body of the girl, the hair and the eyes.
16. Background Animation
Being an animation cycle, we need a background that is constantly repeated over time, for this we are going to go to Clip Studio Paint Materials to choose one of the Backgrounds that it has available, it is a Background at night of a city .
We take it and drag it to the work area, this background must be below all the layers of the Animation and if you want, you can change its name.
To animate the background we must first select the background layer and go to the timeline and activate: Enable keys for this layer.
Then in Frame 1 we activate: Insert Key, a Keyframe is created.
And in the options we must select the option: Linear.
We go to Frame 24, we move the background to the left and a Keyframe is automatically created.
Now we extend the duration of the animation to 25 frames, we also extend the duration of the Background layer to 25 frames, we move the Keyframe from Frame 24 to Frame 25.
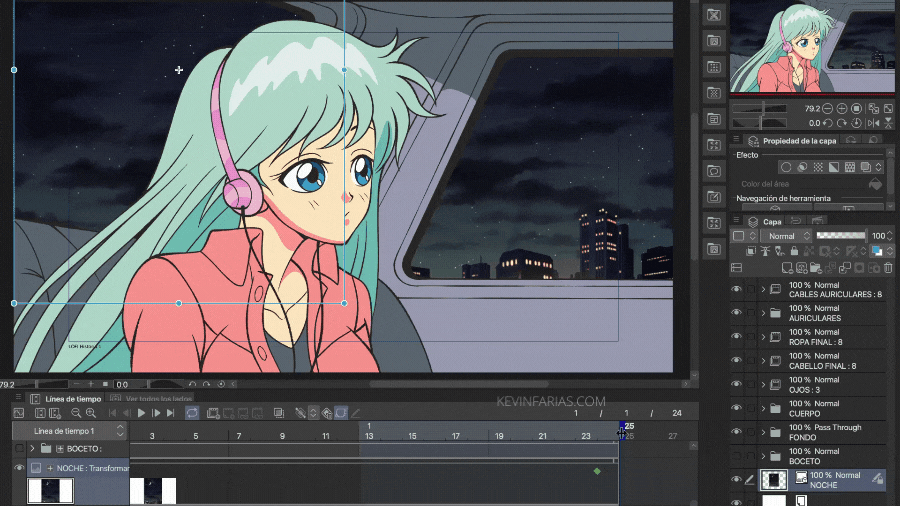
Making the Background Animation cycle perfect.
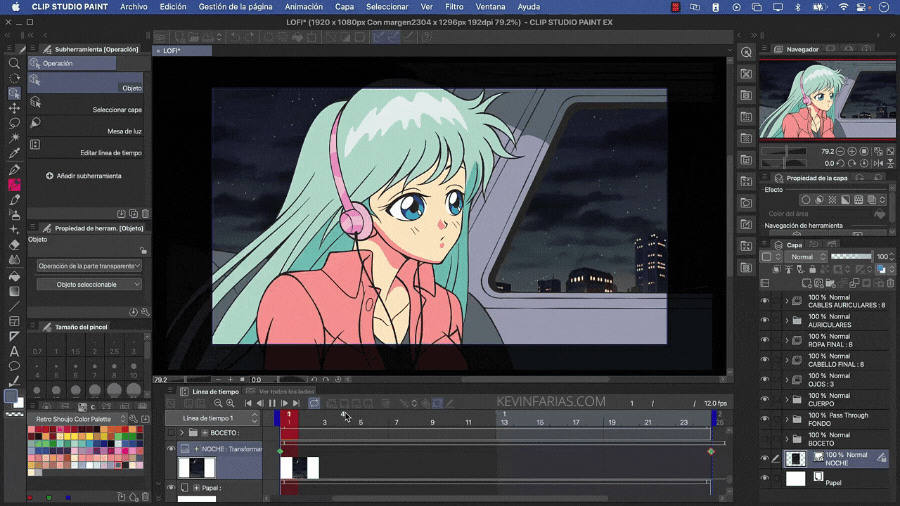
17. Animation Details
We create a new raster layer called Noise where we are going to add the following effects, this layer must go over all the layers of the project.
Then we go to Filter - Perlin Noise
And in this new window we edit the option: Scale, it can be 5, 3, 2 or, as in my case, 1.
And now we go to the layers panel, to the blending modes and we choose: Overlay.
Achieving the following result, a texture that integrates very well with our Animation.
Now we create a new layer called: Night, where in blending mode we choose: Overlay.
Then we duplicate the Noise layer to apply a blur, for this we go to Filter - Blur - Gaussian Blur...
And in Quantity we can try 5 or 10.
18. Animation Export
We go to File - Export Animation - Movie.
Remember to leave FPS at 12, which is how we initially created our project.
19. Animation Post-Production
We are going to create a new project in: File - New, with the same characteristics of the original file in which we have been working.
Then we go to: File - Import - Movie.
We choose the previously exported Animation.
We have our Animation as a video imported into Clip Studio Paint, if you want you can change the name of the animation layer, as in my case: Original.
Now we are going to add a Camera, for this we go to the menu: Animation - New animation layer - 2D camera folder
In the layers panel we take the animation layer and put it inside the newly created 2D camera folder.
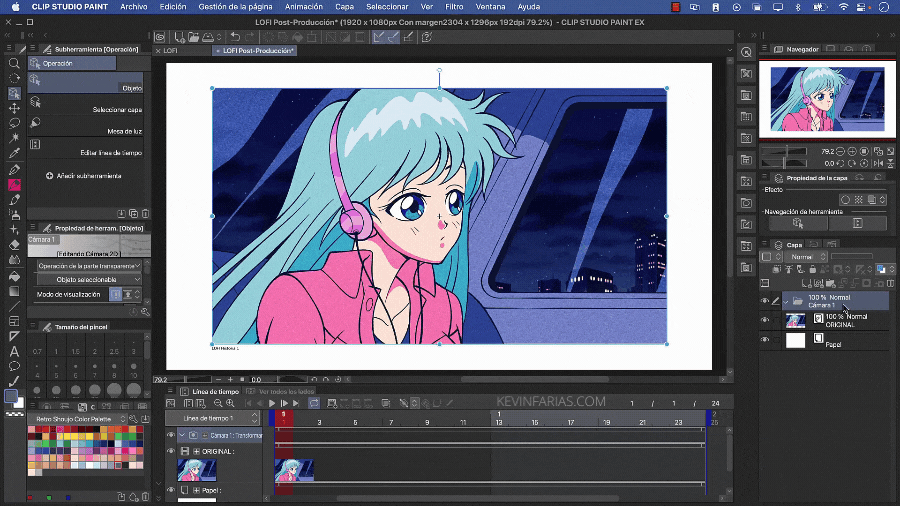
With the Operation tool, Object Sub Tool, we can make a new reframe for the camera, we can do this in Frame 1.
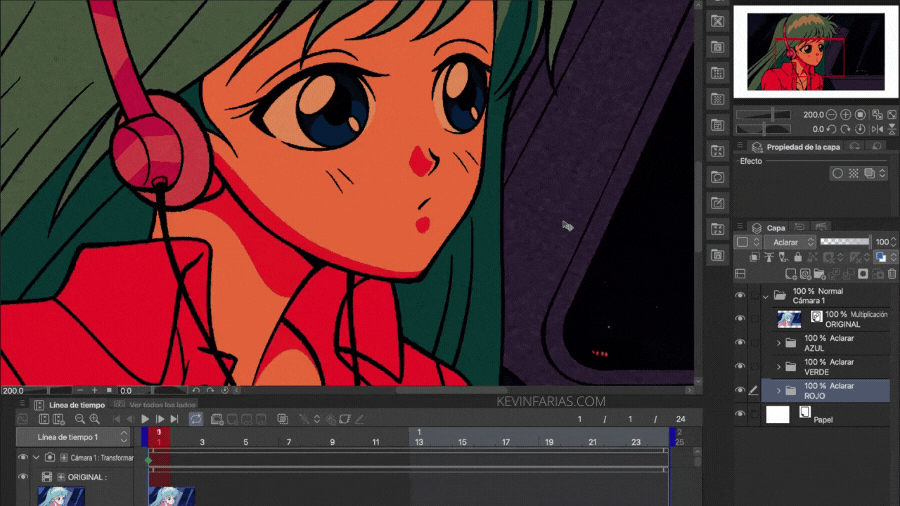
Then in the layers panel we duplicate the animation layer, changing the name to: Blue, Green and Red.
We create 3 new raster layers of names: Blue, Green and Red, we position them above the animation layers of the same name.
And now we create 3 new layer folders with the same names: Blue, Green and Red,
And the raster layers and the animation layers we join them to the layer folders, each one corresponding to the same name.
Then we select the blue layer, we choose a blue color from the retro color palette, we paint and activate: Adjust to lower layer, finally, in blending mode we apply Multiply.
We apply the same adjustments to the green color:
And the color red.
And to each of the layer folders we apply the blending mode: Lighten, achieving the following result.
20. 90s Anime Effect
We take the original animation layer and leave it above all the layers, to apply the blending mode: Multiply.
With the Move Layer tool we select each of the folders.
With the arrows on our keyboard we move them a little, either to the left, right, down or up. We start with the color red.
Then the color green:
And finally the color Blue:
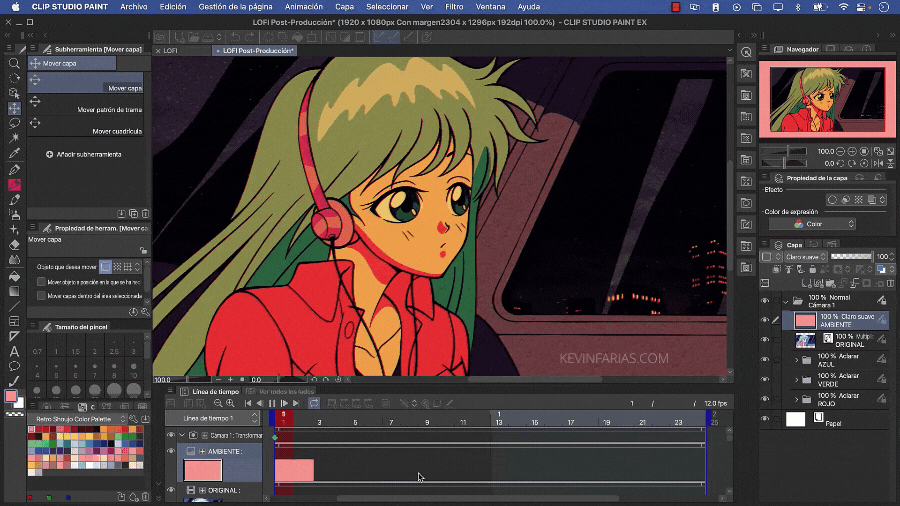
Finally we create a new raster layer called: Environment, we add a color and in blending mode we apply: Light soft.
And we see our Animation. It's beautiful, isn't it? :)
21. LO-FI Animation Export
We go to File - Export Animation - Movie.
Choose the folder where you want to export your animation, in addition to the format, it can be .mp4 or .mov
And in the Movie Export Settings window I recommend the following settings:
22. 90s Anime LO-FI Animation
This is the animation we were able to make:
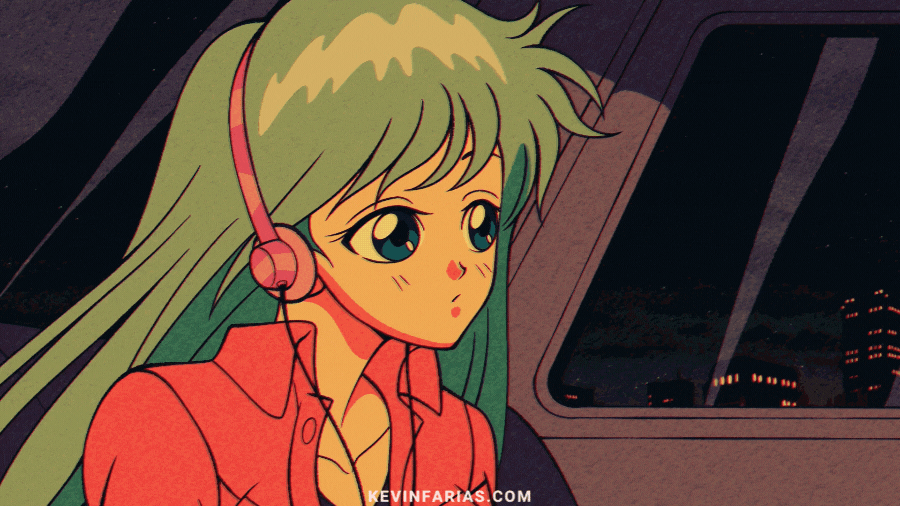
And if you activate: Apply to layer below in the Environment layer, you will get this result:

I like both animations, that's why I share them with you :)
I hope this article helps you and encourages you to create your own lo-fi animation, recreating the nostalgia of the 90s.
See you in the next TIP!
Users who liked this post


Comment