4 functions to save time and improve efficiency
CLIP STUDIO PAINT should be customized to save time and improve efficiency
I will introduce four functions.
We have also prepared a video, so if you understand Japanese, please see here as well.
① Let's prepare the workspace
In CLIP STUDIO PAINT, you can register the palette layout, shortcut settings, command bar layout, and unit settings for environment settings as a "workspace".
Reference: CLIP STUDIO PAINT Reference Guide
It is okay to recognize that "the setting of the entire screen is called the workspace".
I'm right-handed, so I'm collecting palettes on the right.
Also, the more often you use it, the closer it is to the center.
If you don't know how to set up your workspace yourself,
Popular workspace materials in CLIP STUDIO ASSETS
Why don't you download it?
If you work with an awareness of "which function you use most often",
You will find the workspace layout that suits you.
● Recommended window
Color history palette
It can be displayed from the [Window] menu → [Color History].
Record the history of drawing colors. It is recommended because you can quickly access the colors you used.
Also, it doesn't have to be displayed all the time
Assign shortcut keys to windows that you use moderately,
It is convenient to be able to switch between display and non-display immediately.
I'm in the material, sub tool details, navigator, and subview windows
Each key is assigned.
・ Material: F5
・ Sub tool details: F6
・ Navigator: F7
・ Subview: F8
② Let's utilize the quick access palette
The quick access palette is a palette where you can register frequently used tools, menu commands, auto actions, drawing colors, and other functions.
Reference: CLIP STUDIO PAINT Reference Guide
For those who are not good at remembering shortcut keys
Even if you don't have an iPad keyboard
Because the functions registered for Quick Access can be seen in a list
You can use the function just by selecting and clicking.
Basic functions are registered by default.
You can use it as it is, but
Arranging it to your liking will lead to efficiency.
● Let's register the function in Quick Access
By default, [Set 2] does not have any functions other than [Quick Access Settings] registered.
Let's register any function in this set.
-Drag and drop to the palette
・ Set from [Quick Access Settings]
You can register the function by either method.
● Quick access recommended function
This is my quick access palette.
The more frequently used functions are located below.
We will introduce the recommended functions from these.
Functions that cannot be set by drag and drop
Let's set from [Quick Access Settings].
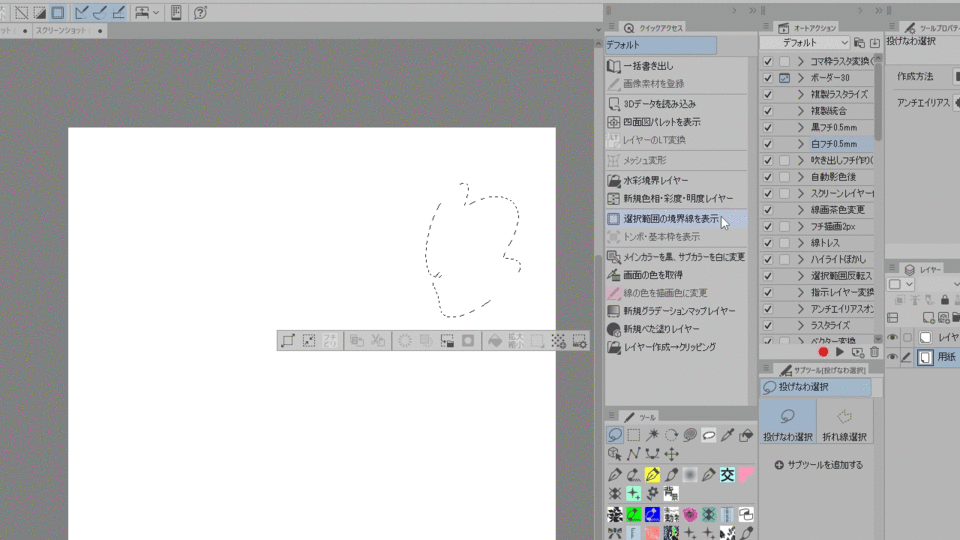
-Display the border of the selection
You can turn on / off the display of the border of the selection.
Switch when the line is flickering and you are worried.
From [Quick Access Settings] → [Main Menu] → [View] → [Selection Border]
You can add it.
・ Display registration marks and basic frames
You can turn on / off the display of registration marks and basic frames.
From [Quick Access Settings] → [Main Menu] → [View] → [Register Mark / Basic Frame]
You can add it.

・ Create a new layer
It is also a good idea to register the function for creating new layers that you often use.
You can add it by selecting [Quick Access Settings] → [Main Menu] → [Layer].
・ Create a new gradation map layer
・ Create a new solid layer
I have registered this in the Quick Access Palette.
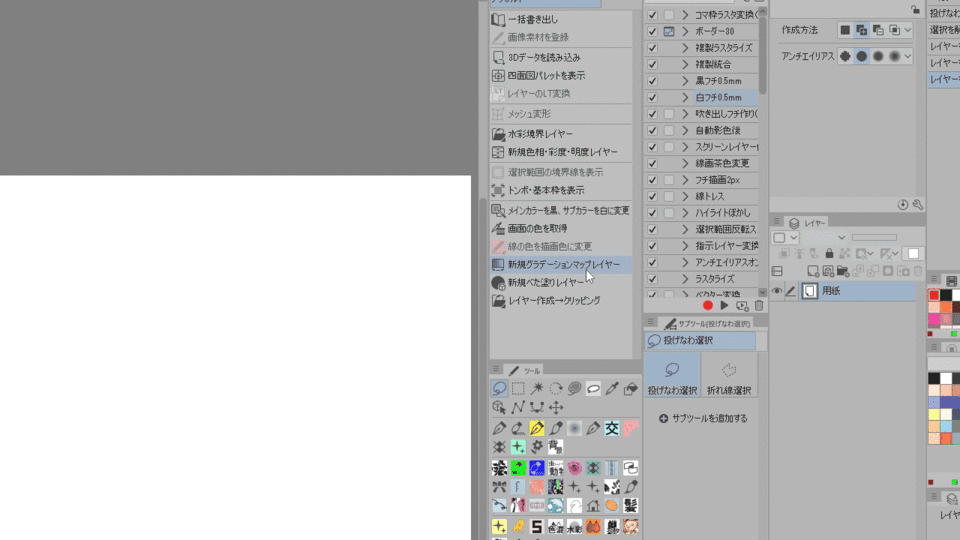
I have registered this in the Quick Access Palette.
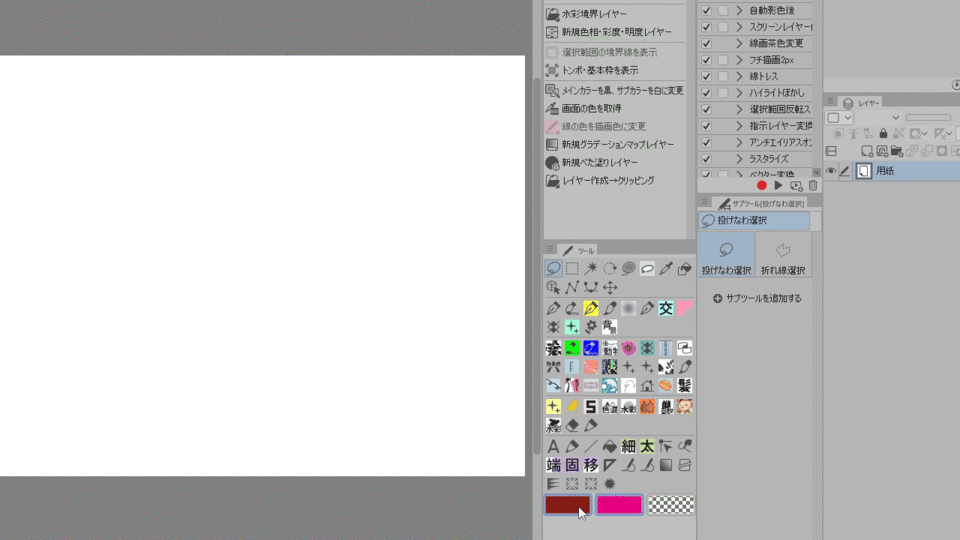
-Changed the main color to black and the sub color to white
I use it quite often. Recommended for those who draw both monochrome and color.
I sometimes press it like a color reset.
From [Quick Access Settings] → [Options] → [Drawing Color] → [Change Main Color to Black and Sub Color to White]
You can add it.
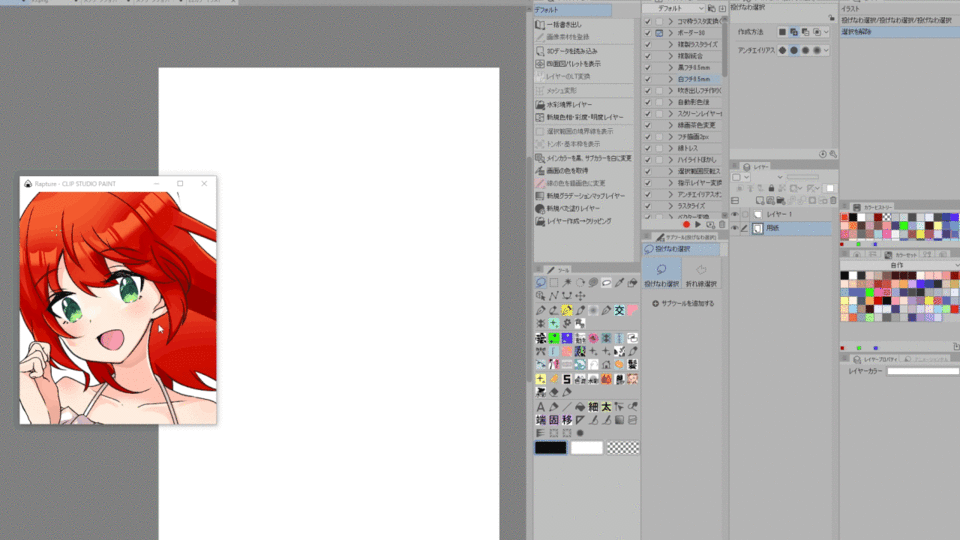
・ Get screen color
Among the functions I registered in the quick access palette,
You may be using this most often.
You can easily take the color of the material displayed in a separate window.
It is very convenient because it will drop the color from another app.
From [Quick Access Settings] → [Main Menu] → [Edit] → [Get Screen Color]
You can add it.
-Change the line color to the drawing color
This function is also frequently used.
Changes the line color of the selected layer to the current drawing color.
Lock transparent pixels in a layer until you know this feature → Fill
I changed the color of the line of the layer,
Now you can change it with just one click.
If you have created a selection, it will only change the colors in the selection.
It is also convenient for color tress work.
From [Quick Access Settings] → [Main Menu] → [Edit] → [Change Line Color to Drawing Color]
You can add it.
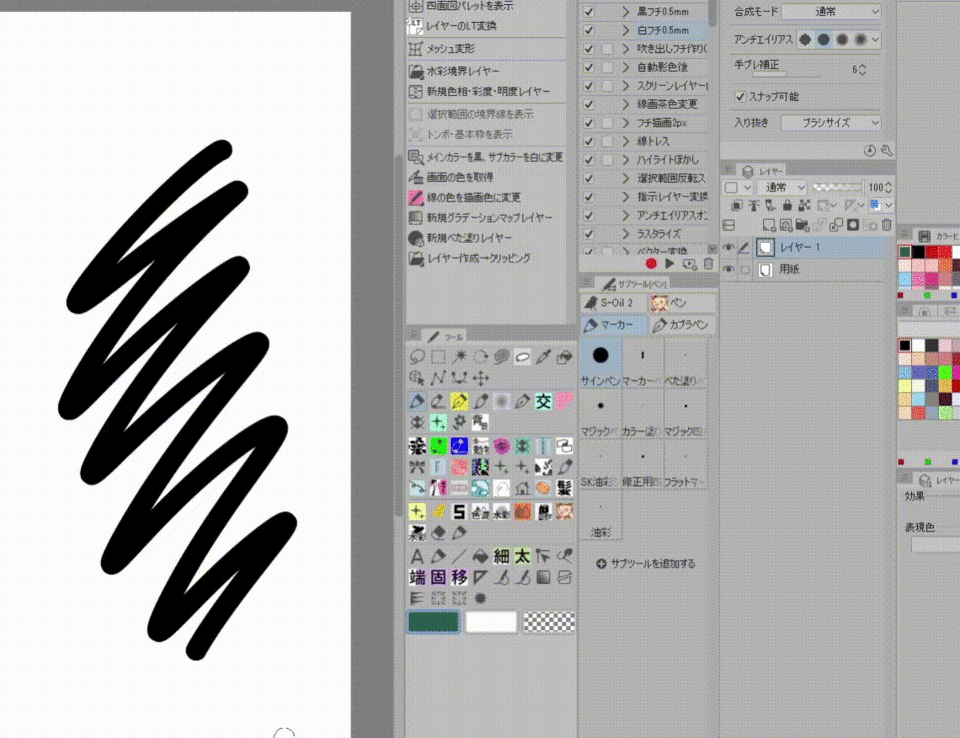
There are many useful functions other than the ones I introduced, so
Please try various things yourself.
③ Let's use the selection range launcher
The selection launcher is the window that appears at the bottom of the selection.
You can register the functions related to the selection here.
If you make a selection and the selection launcher doesn't appear,
It can be displayed by selecting [View] → "Selection Launcher".
In the initial state, such a function is registered.
From the left
① Deselect
② Adjust the canvas size to the selection
③ Invert the selection
④ Expand the selection range
⑤ Reduce the selection range
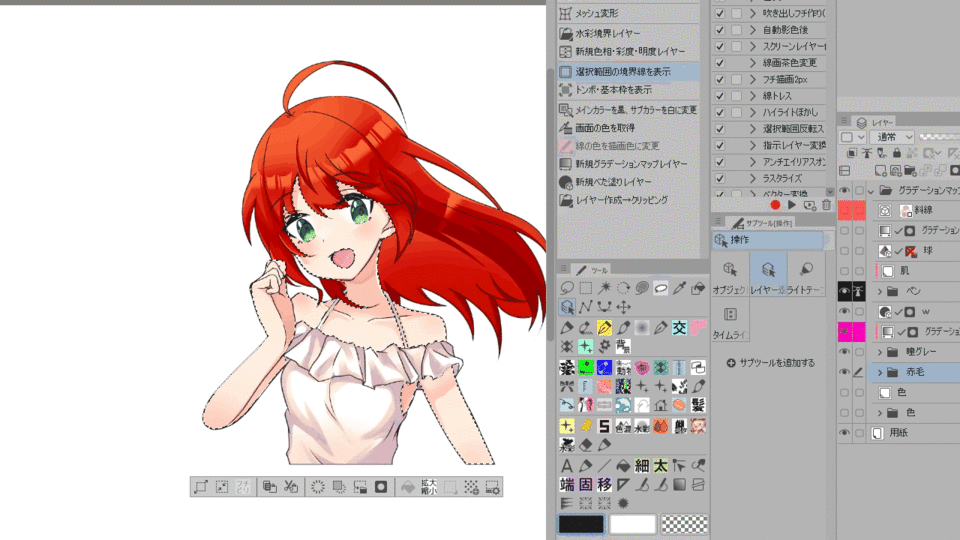
⑥ Erase
⑦ Erase outside the selected range
If you use the erase within the selection range and the outside of the selection range properly,
It is efficient because there is no need to invert the selection range each time.
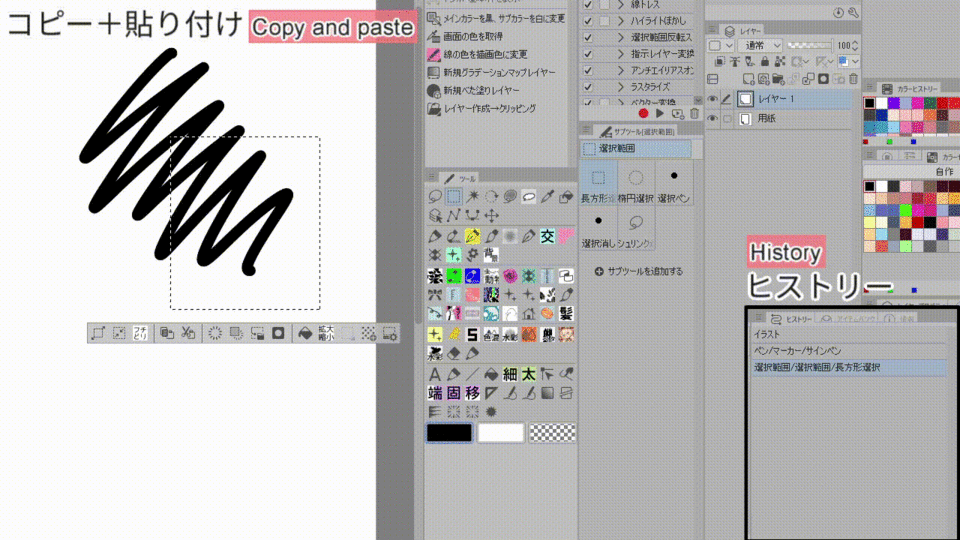
⑧ Cut + paste
⑨ Copy + paste
If you work by yourself
Three steps are required: cut (copy) → new layer → paste.
Use the selection launcher feature and you're done with just one click.
⑩ Movement and transformation
⑪ Fill
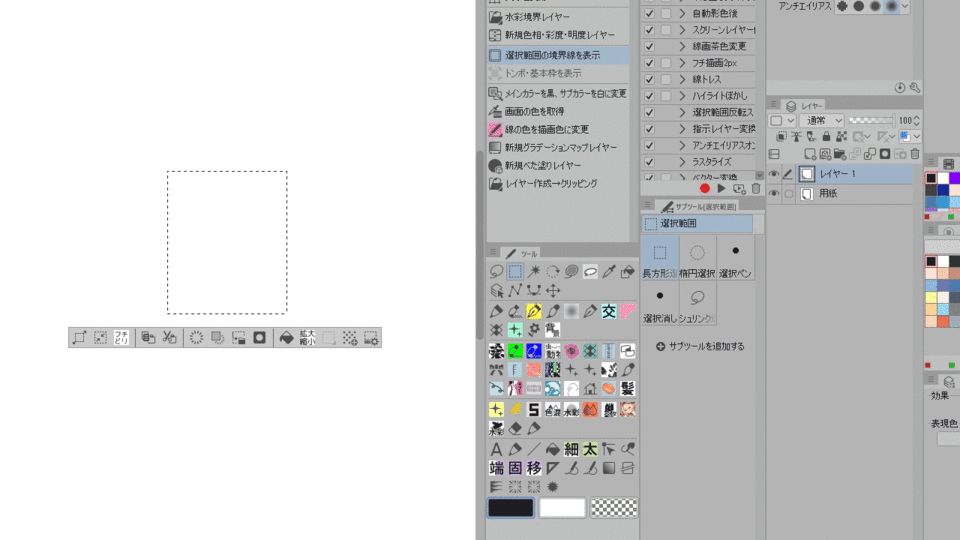
⑫ New tone
Creates a tone in the shape of the selection.
Create the area where you want to paste the tone with the quick mask → Remove the quick mask →
You can quickly apply a tone by creating a new tone from the selection launcher.
⑬ Selection range launcher setting
You can edit the function to be registered in the selection launcher in [Selection launcher settings].
● Selection range launcher recommended function
Other than the ones initially registered in the selection launcher
Here are the recommended features.
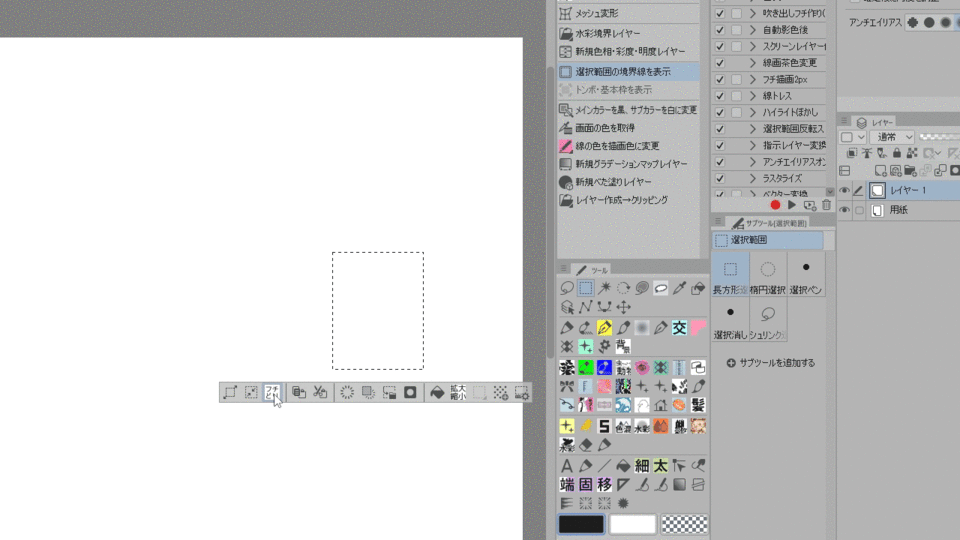
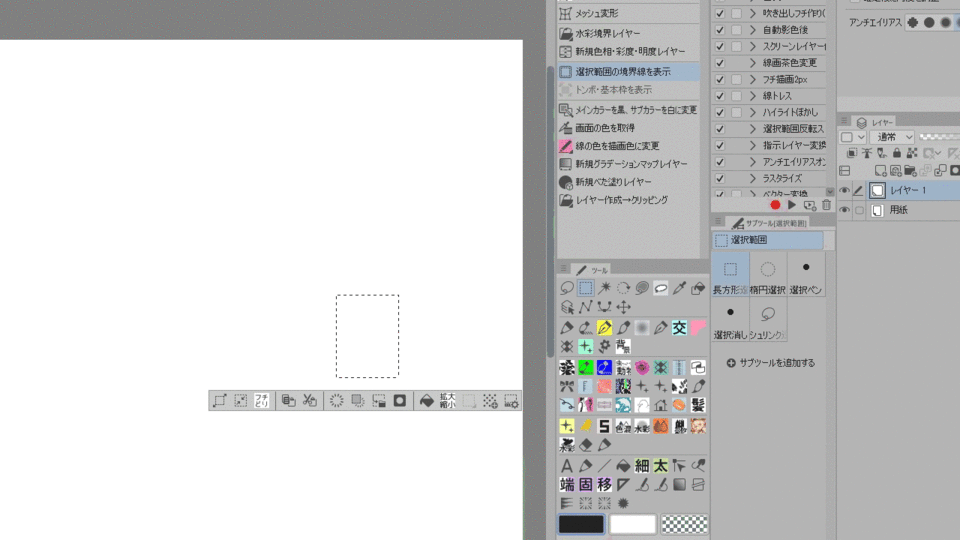
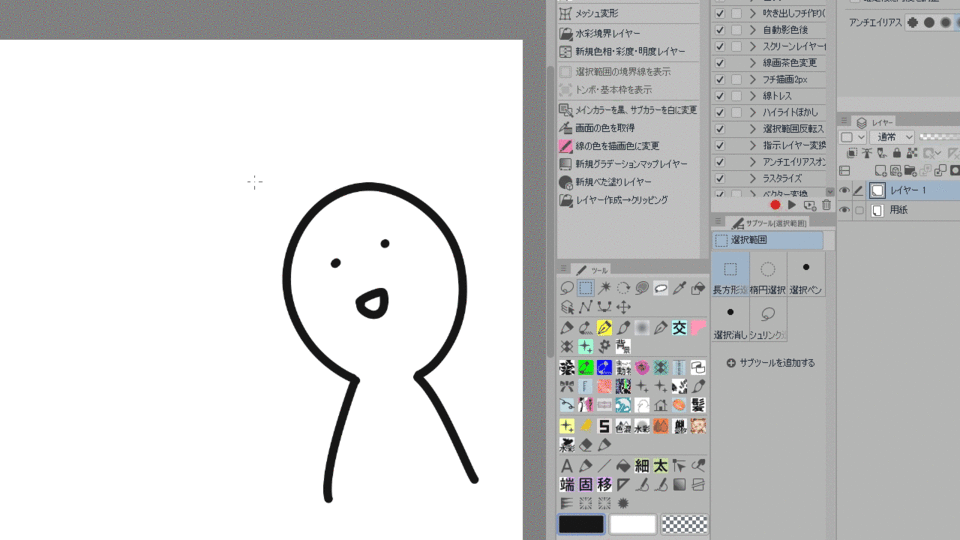
・ Border removal of selection
Draw a line in the selection.
You can add it from [Selection Launcher Settings]-> [Main Menu]-> [Edit]-> [Border Selection].
・ Stock selection
Converts a selection to a selection layer.
This is useful when you want to save your selection.
You can add it from [Selection Launcher Settings] → [Main Menu] → [Selection] → [Stock Selection].
・ Mask outside the selection range
Create a layer mask outside the selection.
Since the mask function only hides the outside of the selection range,
This is useful when you don't want to edit the layer itself, but you want to erase some parts.
You can add it from [Selection Launcher Settings] → [Main Menu] → [Layer] → [Mask Out of Selection].
・ Select the vector that covers the selection range
This is a feature that I would like people who use vector layers to try.
Please watch the video because it is difficult to explain with just this sentence.
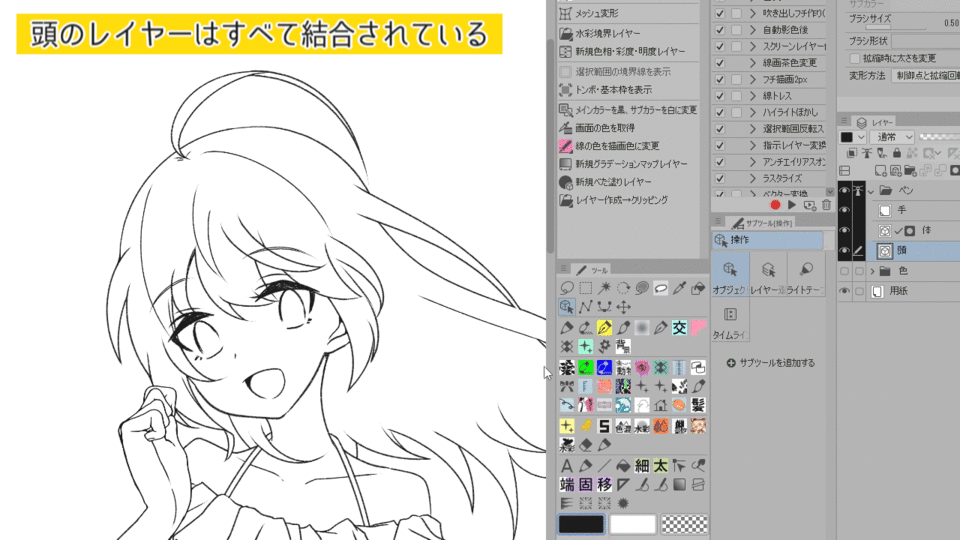
Would you like to separate the combined layers later?
I have integrated the layers of the person's head here,
I want to separate layers only for the eyes.
In such a case, if it is a raster layer, there is no choice but to cut off the eyes steadily,
Vector layers and selections will solve it with a little effort.
Create a selection so that it covers the line of the eyes.
Click [Select Vector for Selection] to click
Only the part of the vector that covered the selection was selected.
Cut → Paste in this state (If a vector layer is selected, it will be pasted to that layer, so prepare a new vector layer or select a raster layer, layer folder, etc.)
Then, I was able to separate the layers only for the part of the eyes selected earlier.
Select the part of the eye that is still on the head layer and paste it into the eye vector layer.
I also got a line of hair in the vector layer of my eyes,
You can also select this, cut it, and re-paste it on the head layer.
It took less than a minute in real time, and I succeeded in cutting out only the eyes!
You can add it from [Selection Launcher Settings] → [Main Menu] → [Selection] → [Select Vector for Selection].
④ Let's utilize auto action
Auto action is a function that allows you to record multiple operations and perform them all at once.
Reference: CLIP STUDIO TIPS
This is my auto action palette.
Some are self-made and some are downloaded.
Because I use screen layers a lot
I registered the procedure to create a screen layer in Auto Action.
If you can't make your own action,
Action material from CLIP STUDIO ASSETS
Let's download it.
Because there are efficient materials that I never thought of,
You can also study the functions of CLIP STUDIO PAINT!
Here are some recommended auto actions.
Some of them are created by myself, but I would like to recommend them, so I will introduce them.
Also, in the thumbnail of this article (the part like the stamp drawn with 4 selections)
I used this action.
If you have action materials, you can easily do difficult things if you do it yourself.
At the end
The above are the 4 selections for time saving and efficiency improvement techniques.
It may have been a little difficult for beginners,
Why don't you introduce the functions that you can use or want to use little by little?
I didn't learn these features all at once,
It's all that I learned by studying little by little over the years.
Let's go at our own pace!
It's best to have fun and work.
I enjoy working more efficiently when I'm thinking about efficiency.


Comment