Learn How To Create Animation by Rotoscoping
Learn How To Create Animation by Rotoscoping
In this video I will show you how to animate in Clip Studio Paint. From the best industry practices to the secrets of the animation folders and the interpolation tool. I hope you can tell all the love that went into making this video. Can’t wait to see what you will create with it.
I hope you find it useful! and if you have questions about any specific Animation wise and Art feel free to shoot me a message and I'll do my best to help in your art!
A bit Of Information that allows you to understand Rotoscoping
Rotoscope animation describes the process of creating animated sequences by tracing over live-action footage frame by frame. Though it can be time consuming, rotoscoping allows animators to create life-like characters who move just like people in the real world.
The technique of rotoscoping also made the lightsaber possible. To create these visual effects in the original Star Wars films, animators drew the colour and glow of each lightsaber over the sticks the actors held on every frame in which they appeared
Reference and Steps
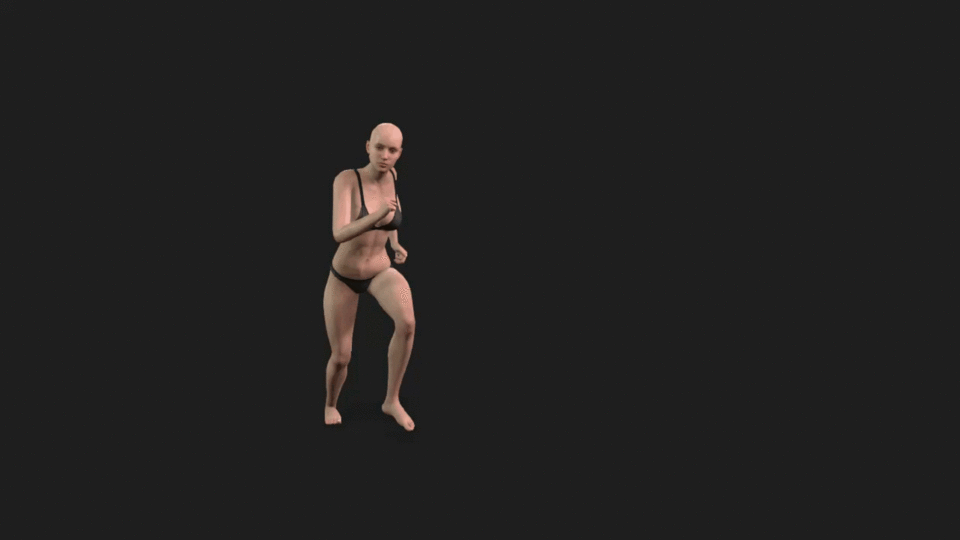
As i said in the video i used , used a 3d animation as a reference to help me out with the animation. i simply used a free software mixamo for animation ( you can also get 3d modal there to use as reference.) i then used Iclone 8 to render the animation but you can use a free software like blender to render the animation. just remember to export it at 12 FPS , the footage may not look good in 12Fps but since you are turning this into animation , this will allow you to get good 2D animations.

Sketch
now for the sketch part , this will be much easier since you have reference to work form .my YouTube video above will tell you how to apply the reference video to clip studio. But just in case , >just click file in your project ,
select import , >click movie >and you will have your reference footage to work on.
here's a link to my google drive for the Realtime process of my animation :
https://drive.google.com/drive/folders/1T0-kwSSik9UwiKqs6hfuGsfKe0z3_PXg?usp=sharing

steps on importing the animation movie
Line Work
now this part includes you drawing in your character and clean up the animation , one thing i suggest you do is use vector lines since this allows you to easily connects you lines, without you worrying about coloring .

Colour
well this part is relatively easy , you should just select your flat colors and put them in the animation,( remember each process is in a different animation folder) this allows you to navigate easily.

Shading And Details (Final)
now as for shading ,this part is not that challenging only thing you should is just watch the video above this will help you understand the process of shading.

Conclusion
rotoscoping can help you achieve the types of animation you always wanted , but cant get. this animation i did was quick , but if i had the time to focus on it more , i would have achieve something better , even competing with professional anime , so can you achieve this with enough time on your belt , so what are you Waiting FOR!!! i you have the time , grab you pen and get started. Trust me you will like The End Result 😁


Comment