How to Draw Flat Art Easily
Introduction
Hello! In this article I'm going to explain how I made this flat art of a picnic using Clip Studio Paint.
What is Flat Art?
Flat art is characterized by distinguishable, flat and very vivid colors. Also geometric shapes that provide structural order. Large fonts and simple, direct information. This allows for a clear understanding and easy interaction for the user. It is a style that is very attractive due to its simplicity of transmitting messages and aesthetics.
Making flat art is easy, but there are some tricks that can make the process easier for you.
Organization
My first recommendation is to create folders to organize the layers, because the more you progress in your drawing the layers will increase and it can get confusing to find the layer you want.
In the Layer window you can find the create folder option.
Then you add as many layers as you need, it doesn't matter if you put less than you need because you can add more at any time.
You do this by dragging the layers into the folder.
In this case I created 3 main folders, for the sketch, line art and colors. The number of folders depends on the person and their tastes.
Background Sketch
Once ready I started the drawing making a sketch of the background of the idea I had in mind.
Using the pencil tool to make them smooth strokes.
Use of 3D Models
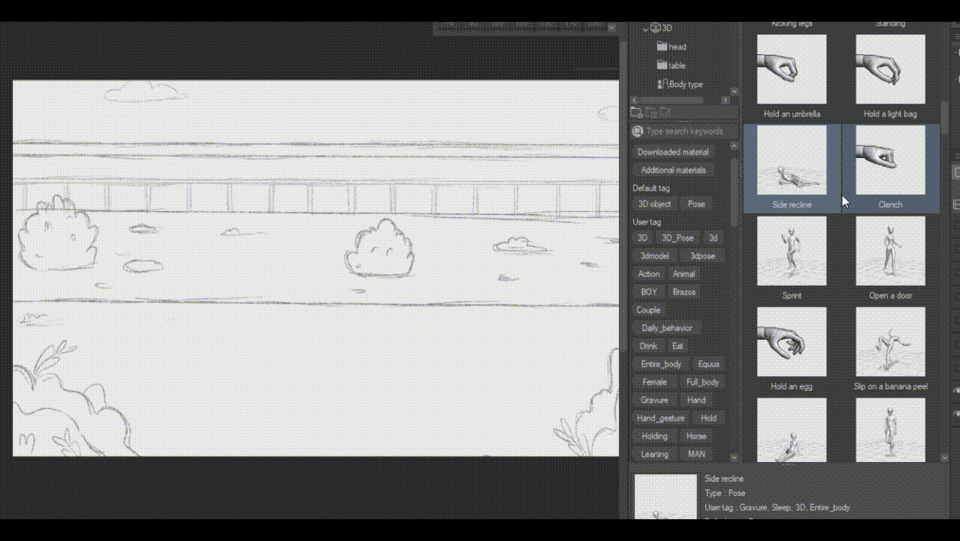
Then I moved on to drawing the girls, to make the process of drawing the characters easier, I used the 3D models provided by Clip Studio to get the poses I wanted.
The window that shows the materials is usually hidden, by pressing that arrow they could already see it.
There you will see different types of materials that Clip Studio offers, searching a bit you will find the 3D materials
In the event that you do not find one that you like, you can search and get more 3D models by pressing the Search for materials option. This will take you directly to Clip Studio.
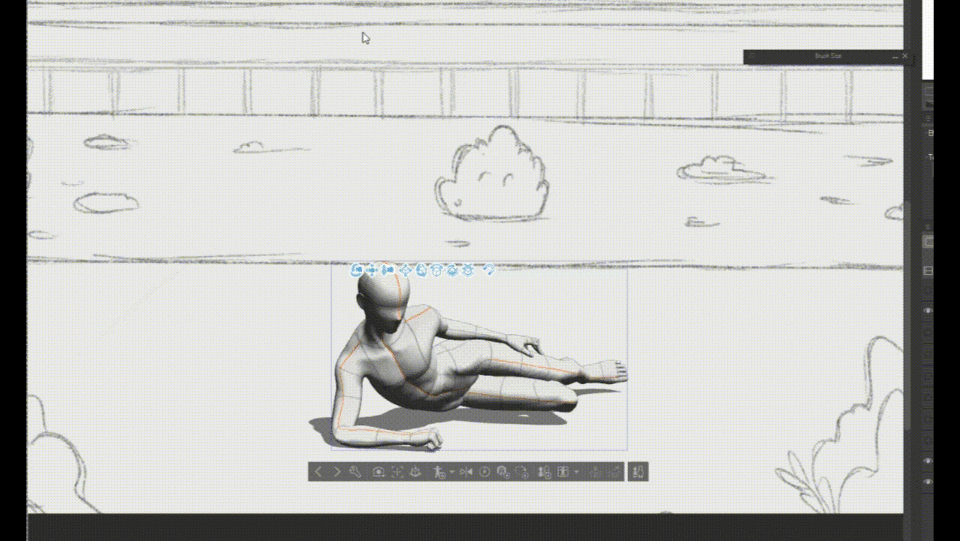
Once they have the model they want, they drag it onto the canvas.

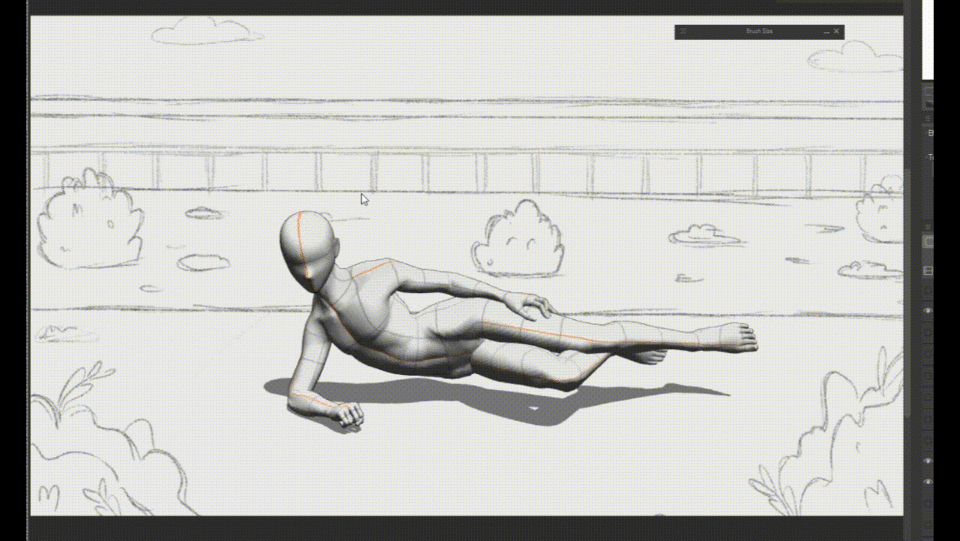
On the canvas they can modify the angle, rotation and direction of the model.

One of the most useful aspects of 3D models is that you can modify the poses of the models. This helps to get the closest to the ideal model for each drawing.

Sketch of the Characters
Since we are going to use the 3D models as a guide, we must lower the opacity of the folder that contains the 3D models in order to better see our strokes.
I draw the girls and all the details that I want to include in the final drawing.
After that, I start drawing some additional details, like the food and the picnic blanket.
I observe and try that there are no empty spaces so that everything looks uniform.
Line art
Once I am clearer about the composition of the drawing, I continue doing basically a line art so that my lines look cleaner.
For this I used the pencil tool to make the lines strong and clear.
These lines won't show up in the final product, so they don't have to be perfect. This will only help us to paint with ease.
Colors
Once everything is ready, I start painting, this part is the one I personally enjoy the most, first I painted the background with base colors.
Since the base of the background is basically rectangle shapes, we can use the Shape tool and select the shape that we need the most, in my case it is the rectangle.
We select the option that makes each shape that we generate have a fill of the same color as the border.
That way we have our broad base fund in no time.
Painting the characters is not complicated either, we just have to make the border of each part that we want to paint.
Using the Bucket tool we can paint everything in seconds, we just have to make sure that all the lines are together without leaving spaces, because otherwise it won't work.
With this same technique we paint the other details, such as the bushes and the food.
Once all the colors are in, I begin to see if all the colors are in harmony. If they are not, it is very simple.
First we make sure that what we want to modify is on a single layer, without anything else on the layer. Then we go to Edit, Tonal Correction and there we will find the tool we need.
Or you can press CTRL + U
There we can change the hue, saturation, and lightness of the entire layer. This is very useful for making quick changes.
Modifications
It is common to see errors halfway through when you are working on a drawing, the lasso tool is one of the best, this time I am going to use it to change the positions and size of parts of the drawing.
In my case I wanted to make the bucket of strawberries smaller and move it further to the right. So I selected all the layers that contained those parts and then with the lasso tool I marked the area.
Depending on where you press, you can move, enlarge, shrink or rotate the selected part.
When you are done with your modification, press OK.
Details
Once I was satisfied with the colors and the order of the drawing, I went on to make the details, like the seeds of the watermelon, the patterns on the characters' clothes and the details on the plants like leaves and more.
GARMENTS: For the garment patterns, I first created a new layer. In this one, I started to make horizontal lines of the same size
On another layer, vertical lines.
Then lower the opacity of both layers.
Having this result, join both layers into one. To do this you must right-click on a layer and then on the option Merge with the layer below.
We are going to put the Texture layer above the dress layer
Being inside the Texture layer we are going to click on this tool.
Then that red vertical line will appear. This tool makes everything inside that layer visible only inside the layer below it.
Now we would only have to do the same with the pink dress. We duplicate the texture, we take the Texture copy above the layer of the pink dress and we can change the color of the texture by pressing CTRL + U that allows us to change hue/saturation/lightness
Message
Lastly, I'm going to write the message using the Text tool.
In the tool settings, we can change the font, color and style. This depends on your preferences and the message you want to convey.
As soon as its size appears it will be small, you can modify it just like an image, dragging the corners.
This is the size I decided to use. But as you can see, it covers the faces of the girls.
This can be fixed by moving the layer below the layer the characters are on.
This is the final product.
Thank you very much for reading, I sincerely hope you have found it useful.


Comment