
Become a master of vector lines! It is not necessary to know everything, better to practice a movement a thousand times than to practice a thousand different movements. So what do you need to know to get started?
1: open a vector layer
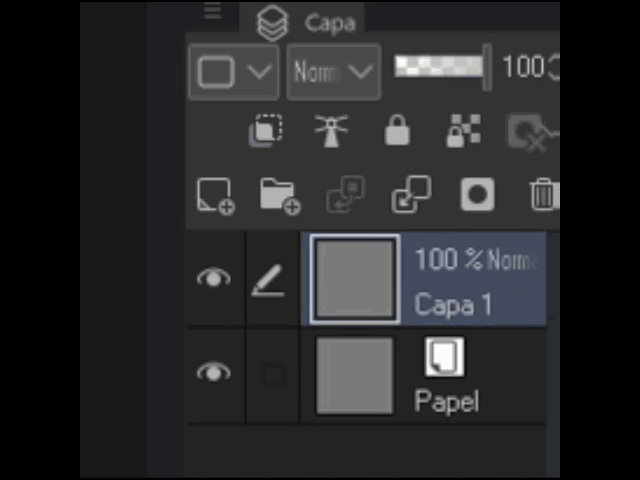
It sounds simple, but in some cases this option is hidden, and just enlarge the [Layers (L)] panel until you can see the [New vector layer] icon, you can see the vector layers in the following way:
Basic Fundamentals 1
You can use the [Vector Layer] together with the [figure] tool to draw perfect geometric shapes and curves, and drawing lines will become faster and easier from one moment to the next.
Let's try a sphere and then move on to something more complex.
Please open a [Vector layer] and select the [Ellipse] sub tool which is in the [Figure] tool, Once the tool is selected, you should draw a perfect circle by drawing a line while holding down the SHIFT key on the keyboard and once the circle has been made, you must click outside the circle to be able to continue editing as shown below:
Now comes the fun part, we are going to change the thickness of the line without losing its quality using the [line correction] tool, in it we will find different tools, we will take the sub tool (modify line width) and after To select it, it is very important to visit the [tool properties] window. The two options that interest us are: (Increase and reduce) These two options will help us make our line look more interesting.
Let's select the [increase] Option and draw a line at the bottom of the circle to increase its thickness as follows
Now we do the same but with the [Reduce] option and this time passing through the upper part of the circle as follows
One piece of advice that I will give you is to make the lines where the shadow is supposed to be thicker and where the light is supposed to be thinner.
Just as we made a circular shape, we can also use the [straight lines and curves] and use the [line correction] tool to increase or decrease the thickness of the line at will
Basic fundamentals 2
Now let's have some fun and learn more about the [vector layer]. First let's sketch a character in armor on a [normal layer]. In my case create one for this tutorial
Once the sketch is ready we will open the [vector layer] and use the sub tools of
[figure] to make our line art.
Learn to toggle tools with keyboard shortcuts using the [dot“.”] key to select the next sub tool and the [Comma “,”] key to select the previous sub tool. This will save you a lot of time and it works with all tools. See an example in the following video
Let's start making the curved lines on our sketch using the sub tool
[Curve] as follows
As you can see, I painted several lines without fear of making a mistake or worrying about going over the other lines. Why? Because using [vector] Erase I can do the following, please watch the video
Instead of deleting manually, we can automatically delete the excess lines.
Also if we keep the [Ctrl] key pressed in the [vector layer] we can edit the lines of it as shown below
Curved lines made with the [shape] tool use 3 vector points, while freehand curves will have many vector points and are more complicated to control. For that reason I am teaching you how to use [vector layers] with the [Figure] tool, although you can use the [Brush] and [Shape] tools to get various results as you see fit. I show you an example below
We finished our Line art using the tools we learned to use. We will make perfect lines and curves with the [Figure] tool and we will easily erase unwanted lines with the [vector] eraser tool. In the areas where there is light we will reduce the thickness of the line with the [line correction] tool using the [modify line width] sub tool and we will increase the thickness of the line in the areas where the light does not reach using the same tool. With this you are well prepared to do anything you can imagine, but there are still some things that could be very useful and get you out of trouble when using the [vector layers]
Basic Fundamentals 3
change the color of the line.
Go to the [Operation] tool and select the [object] sub tool then go to [tool properties] and once there select the color of your choice in the color circle. Or click on the [main color] option and select the color of your choice. An example below.
simplify line
If you make a freehand line you will get a lot of vector points and therefore it will be very difficult to edit the line. But you can reduce the number of vector points with the [line correction] tool and press the [simplify line] sub tool. In this way you can better edit the line without deforming or losing quality. Example below
Change stroke style
You can make your line look like another brush without having to do it all over again, to do this go to the [Operation] tool, [object] sub tool, and in [tool properties] select the [brush shape] option and use your favorite brush. Here is an example.
And that's all I can teach you about vector layers for drawing armor. I hope it can help you to make your life easier and draw without stress I hope you have a nice day. Keep practicing and you'll be a master of vector layers!!!
Users who liked this post


Comment