
Welcome to a new tutorial. Do you want to learn how to draw a face in a side view, but do you spend more time looking for tutorials without getting results? I have the solution for you, this tutorial is designed so that you can draw a face in a side view in a quick and easy way and do not give up trying. The tutorial contains gifs that will help you to have a better understanding, as well as details to make it descriptive. Without further ado, let's get to it!
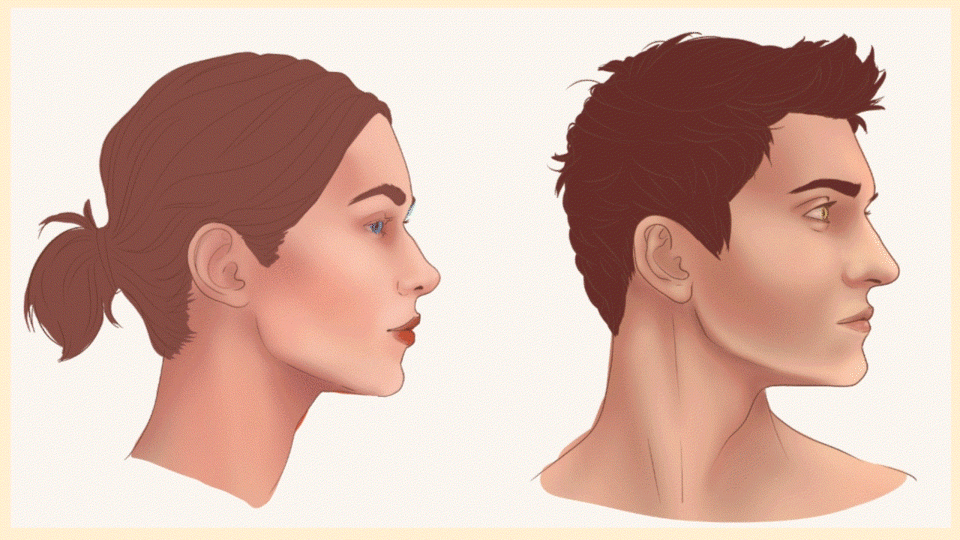
👩 👨 Differences between a female and male face
The female face: it is delicate, the most significant feature is found in the forehead that has a slight slope, and the jaw is not so marked.
Masculine face: His features are much coarser, the forehead has a higher sloping angle and his jaw is more pronounced.
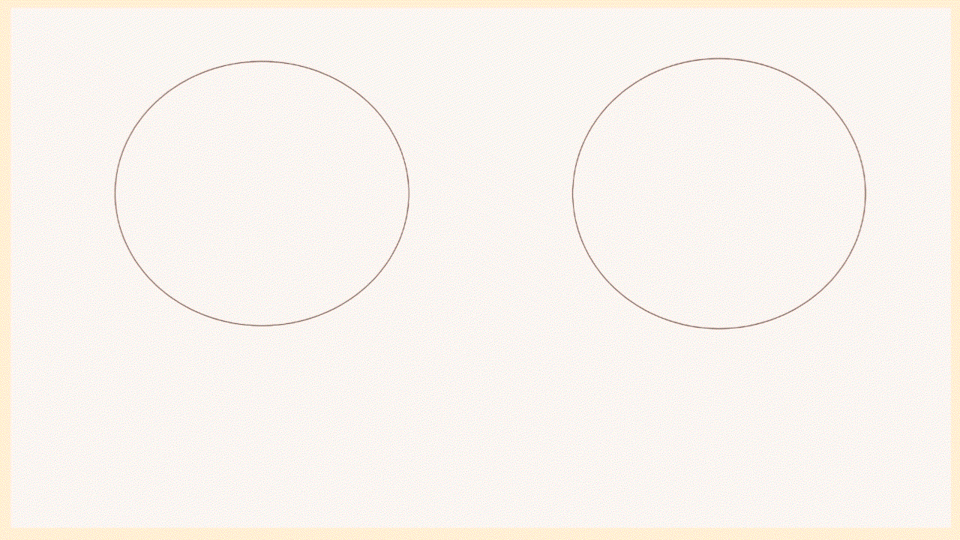
Steps to draw a face in profile or from the side
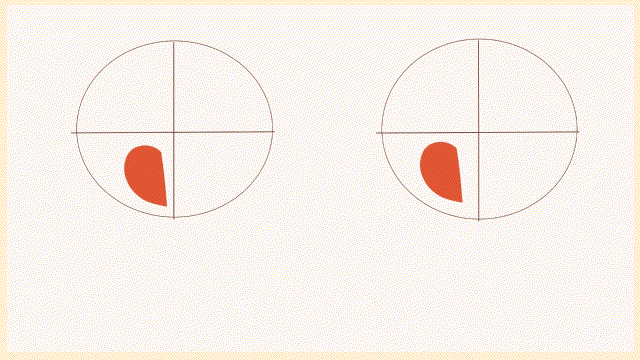
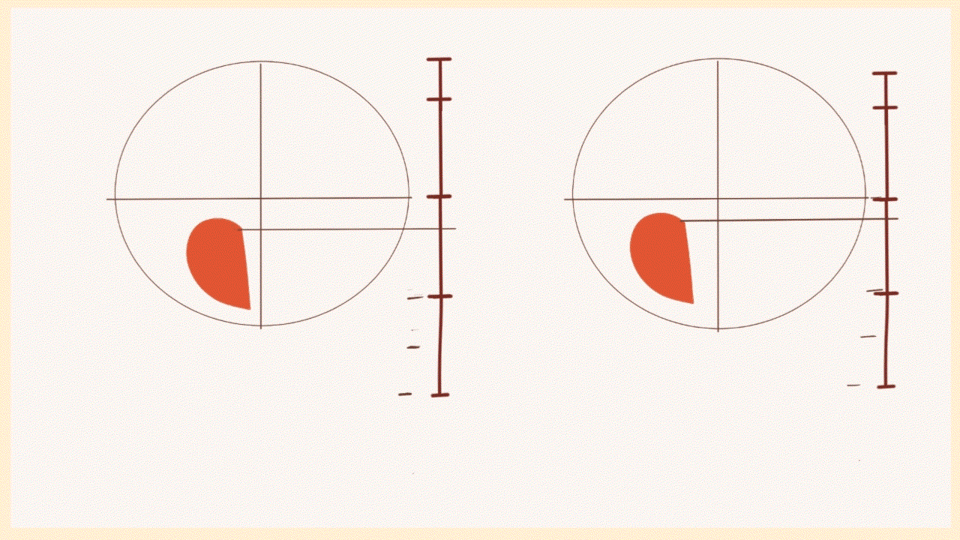
1. Draw an attached, flattened circle. Divide it into four equal parts. In the lower right quadrant is the ear, represent it as a slightly inclined letter "D".
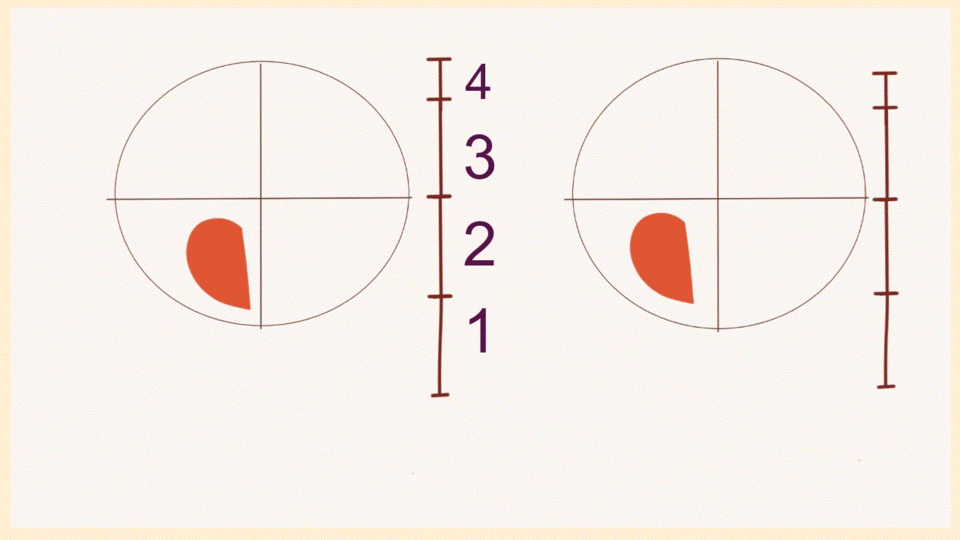
2. The edge of the ear will be the reference for the distances that the forehead, eyebrows, nose, mouth, and jaw have. It has the same ratio. In the last slice, it is one third or even one half of the baseline.
3. In total, four parts will be made, from bottom to top: jaw (chin), nose, eyebrows, beginning of the hair.
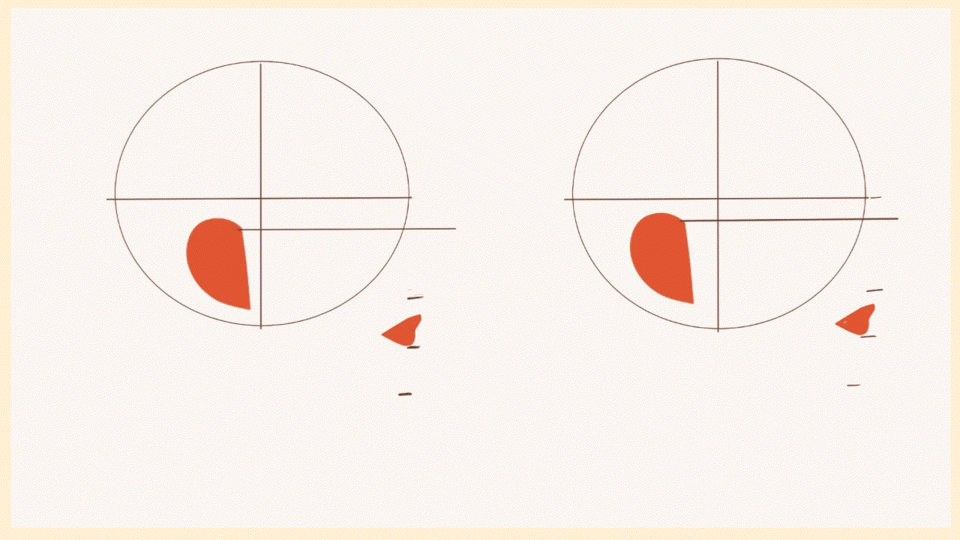
4. With other subdivisions: base of the mouth in the middle of the first portion, the eye is in the upper third of the next portion.
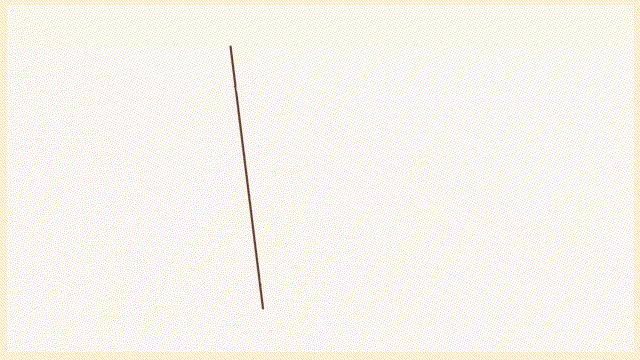
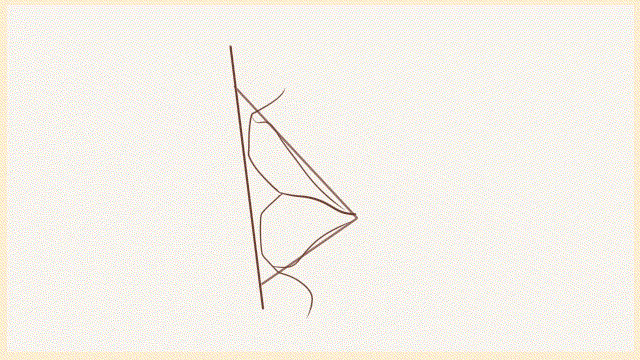
5. Draw the jaw, a downward sloping reference line, and a curve as a reference for the face.
6. Draw two circles for the eye and the tip of the nose.
NOTE: the earlobe coincides with the edge of the nose.
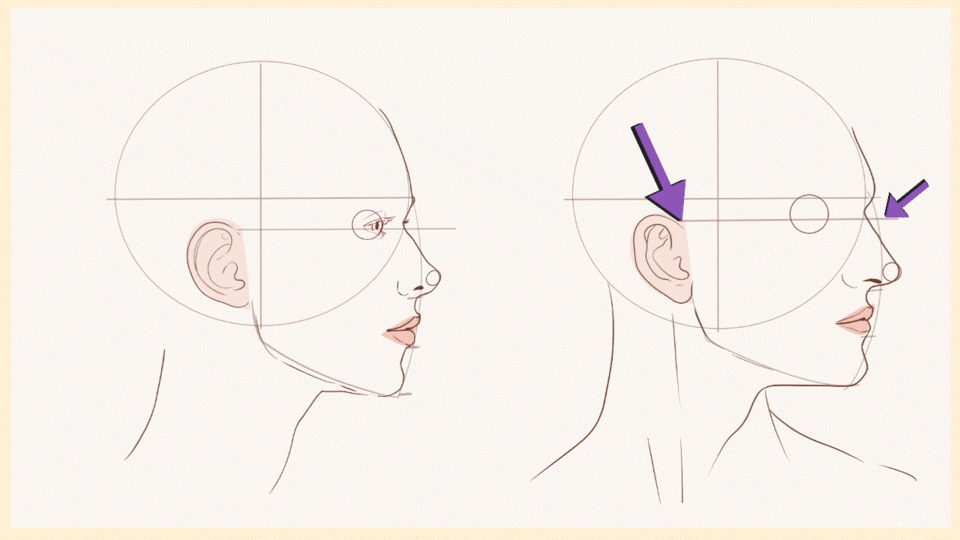
7. Contours the face. The KEY POINT for the beginning of the nose is just on the line of the upper edge of the ear.

8. The eye begins in the middle of the circumference.
9. To draw the eyebrows: draw a line between the wing of the nose and the edge of the eye. The curved red lines are volume lines of the upper eyelid and the arch of the eye.
10. Draw guide lines for the contour of the forehead and the beginning of the hair.
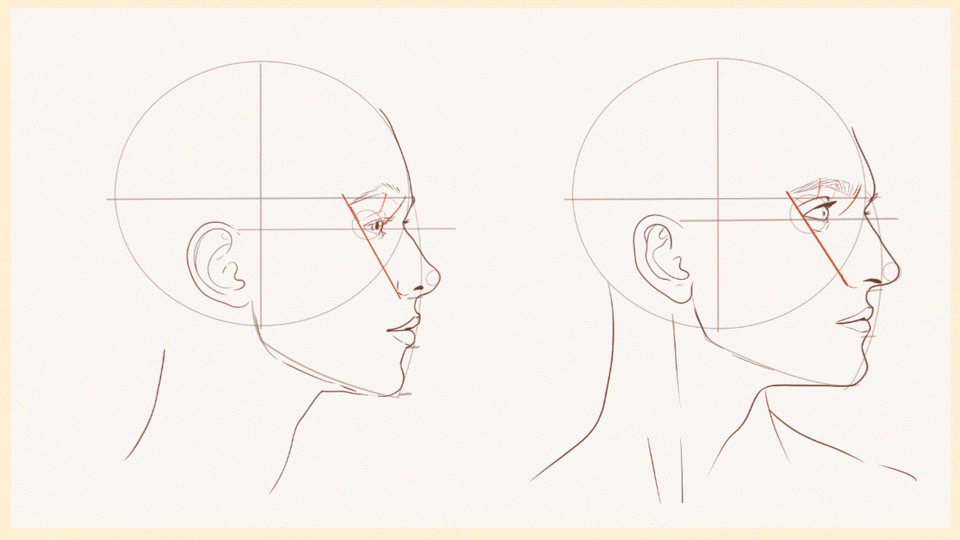
eleven. There is a small space at the base of the jaw, it is the double chin as such. Draw it as an elongated triangle.
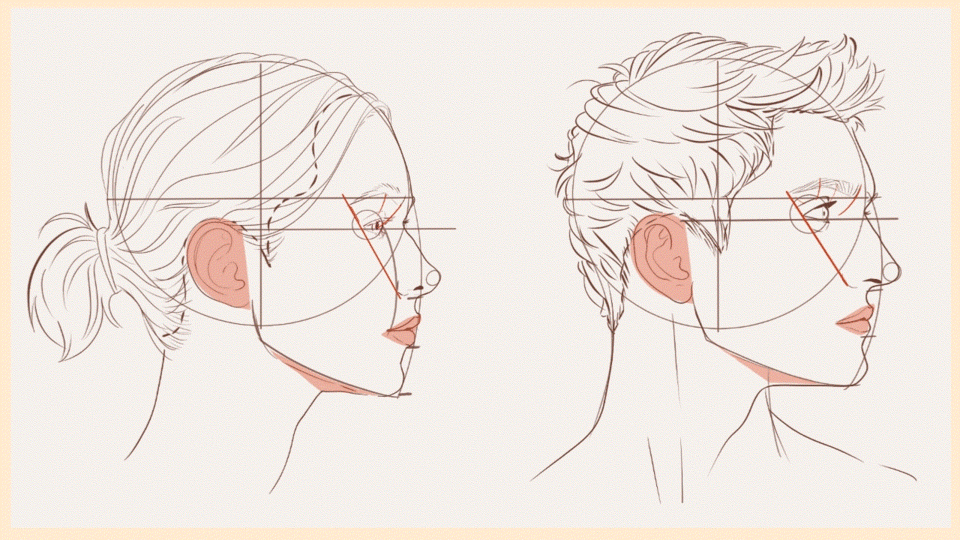
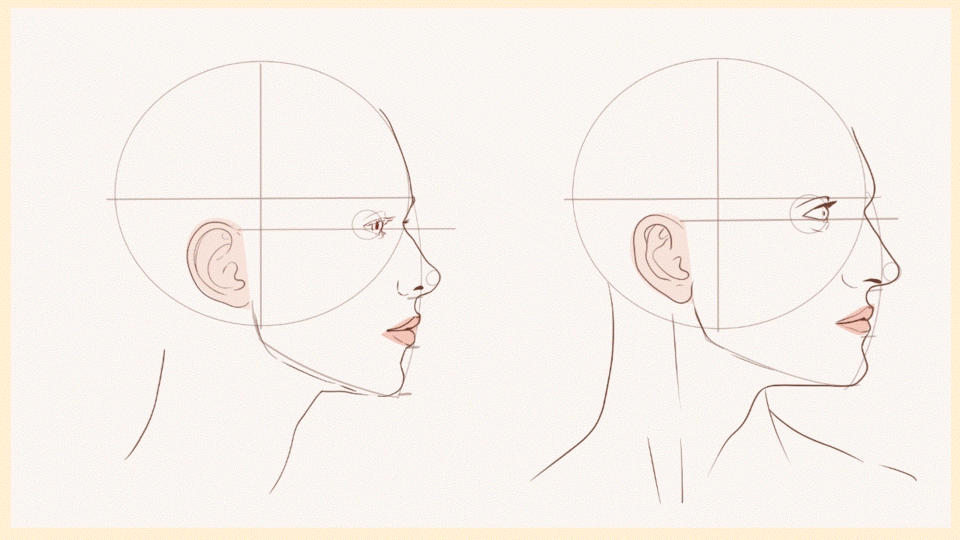
Summary of the steps of a face in side view
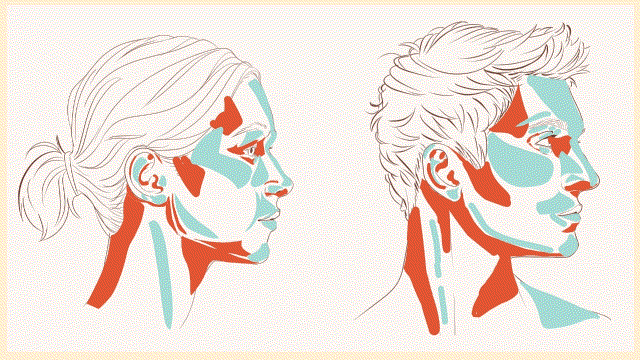
Light and shadow
Color: to define the volume, let's see the points where the light (blue color) falls on the face in this direction. Dark orange defines the shadows to give depth to the face.
Light source in the front area:
Shadows from front light source:
Final result
👁 ️ 👁 ️ Draw eyes in a side view
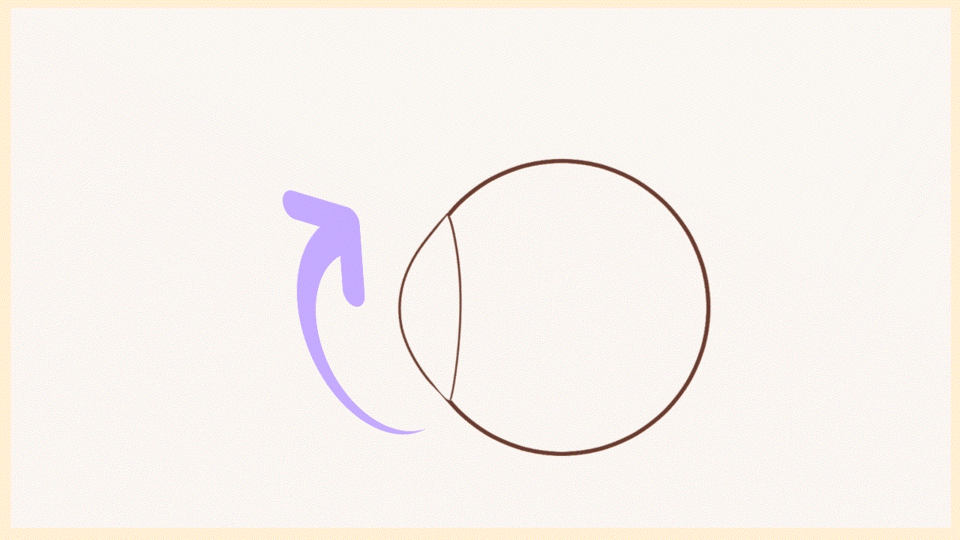
1. To draw the eyes on the side, a circle is drawn. The front part sticks out a bit through the lens of the eye.
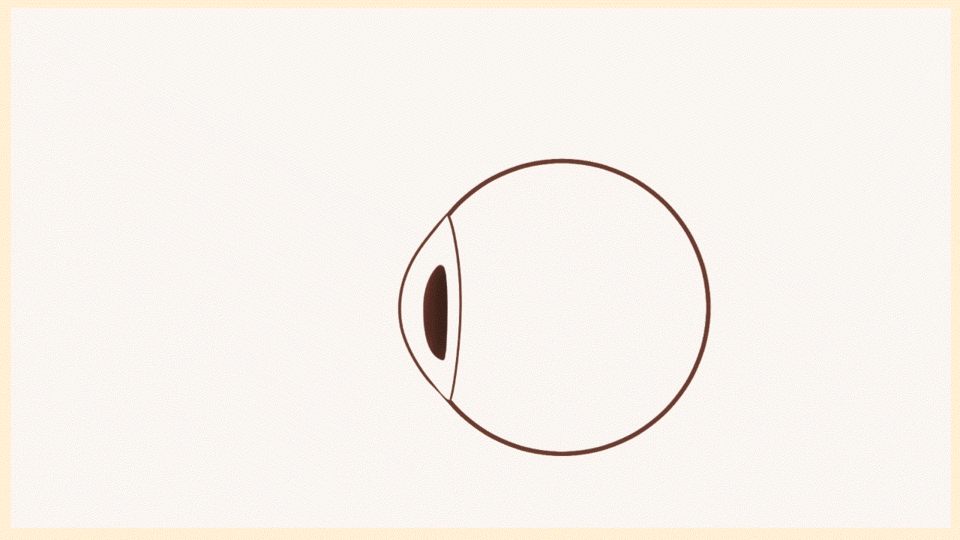
2. The pupil is the dark part of the eye and is drawn in the center, it is not entirely oval. The base of the pupil in this side view is somewhat flattened.
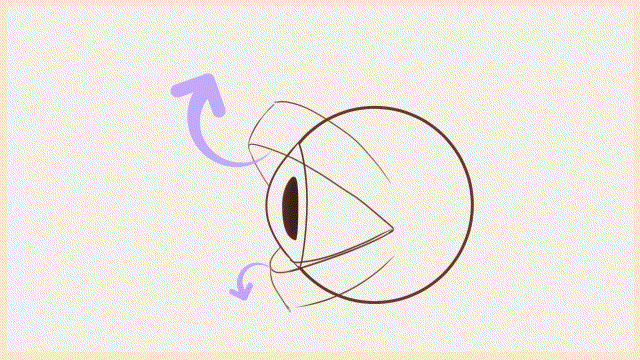
3. For the upper and lower eyelids, a triangle is drawn up to the middle of the circumference. The base of this triangle is inclined with the most prominent point at the top.
4. Add the brow lashes in that direction.
colored
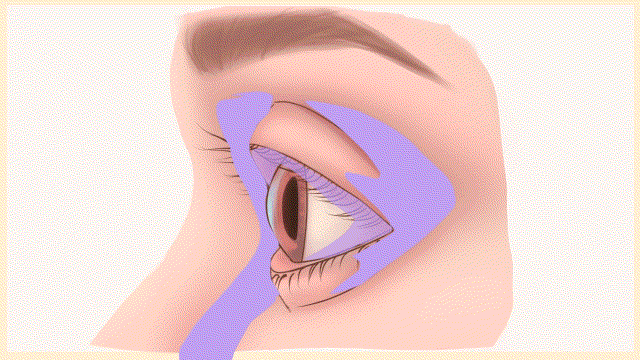
To give depth to the look, the purple color defines the shadows. With a yellow color are the areas where they most contact light. The red lines are reference points that can help you to give more depth.
👃 How to draw a nose in a profile view
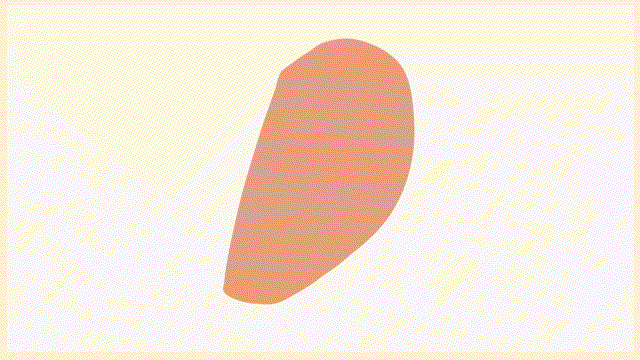
The following image represents a simplified structure for the nose.
The lights and shadows make sure to use colors that are more in line with the skin, and avoid pure white colors to give light and pure blacks for the area of the nostril.
The part that hits the light is with pink color.
Shadows are dark orange.
colored
💋 How to draw lips in a side view
Draw a slanted line, then draw a slanted triangle.
The upper lip is darker than the lower.
The lights hit the skin of the lip and a small shadow is generated below the bottom.
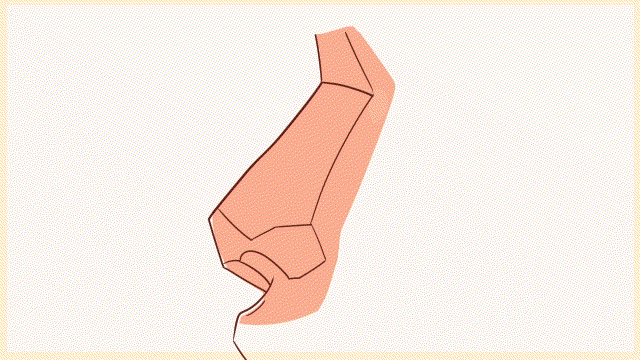
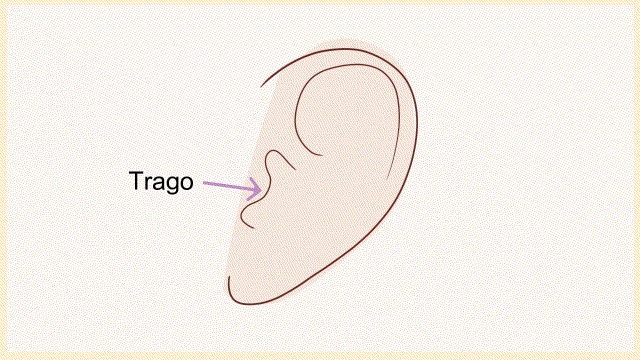
👂 How to draw the ear in a side view
With the figure of a "D" slightly inclined, the ear begins to be shaped.
Draw a curve from the helix and decrease the thickness to the lobe.
The internal part characterizes it is the "tragus", the protruding part and the one that gives the entrance to the auditory orifice.
The antihelix divides into two branches, the lower one being thinner than the upper one.
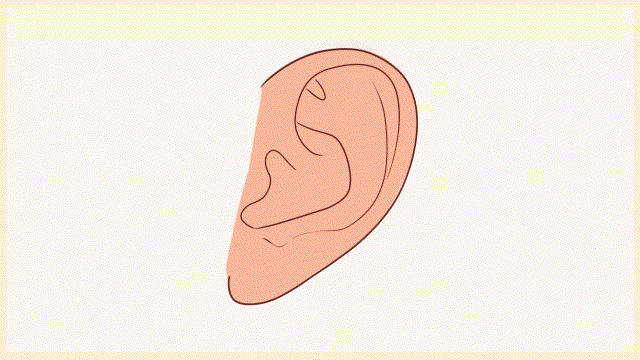
colored
For coloring, the hardest colors are around all inner edges. The meets the antihelix, the lobe and part of the helix.
sketches
To finish, two small sketches with what was previously applied. When the person looks up or down, the same applies, just be careful with the neck: if one part stretches the other shrinks.
final thoughts
To end this tutorial, there are different ways to draw faces, starting from the simplest will help you understand more about the subject. I hope I have contributed something to the community, and see you in another tutorial. Have a good day! Bye.
Users who liked this post


Comment