Learn to draw hands, and use of 3d model
Video tutorial introduction
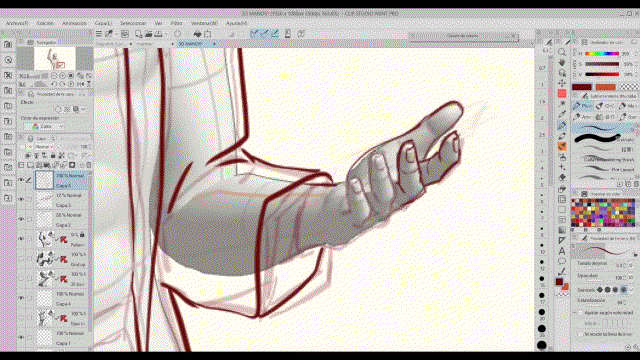
Welcome once again, today we will learn to draw hands. In this tutorial you will find how to draw a hand starting from a basic structure and other points that you must take into account, such as the dimensions of the hand, the fingers, the most notorious muscles so that you can learn a little more about anatomy.
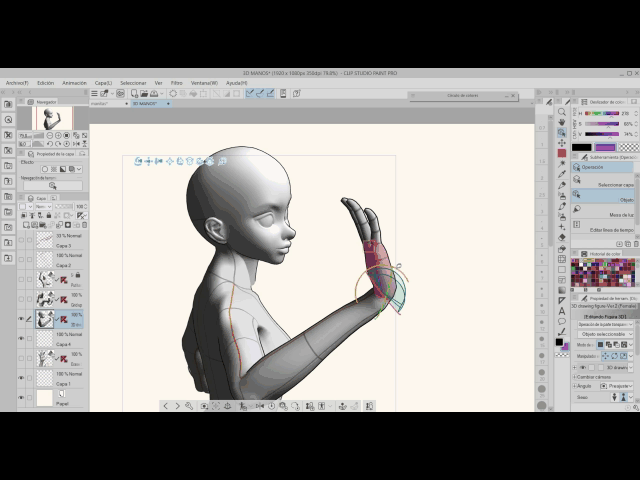
On the other hand, the teaching of 3d models in the CSP program will also be applied, and the use of the camera in version 2 of PC.
Anatomical structure of the hand
First let's start with understanding the anatomy of the hand:
1. Carpus.
2. Metacarpus.
3. Phalanges: the thumb only has 2 phalanges compared to the other fingers that have 3 phalanges.
Hand proportion: palm, back and fingers
The hand will have a 1:1 ratio. It is taken into account that the distance is from the carpal bones and the last phalanx.
For better reference, here's my hands so you can see the structure we're going to use.
I recommend using the technique of perspective and depth to practice, that is, from the 2d figure to a 3d one, so that your eyes get used to seeing the hand in different positions.
Muscles to watch out for
Here we can see the most notorious muscles that we have in our hand, which makes it soft. These muscles are what will shape the hand in different positions.
Practice in different positions, each time adding what you have learned so far. Palm view.
The thumb, seen from the side when moved toward the center of the body or away from the other fingers, have these peculiarities:
Orange color: represents the metacarpus of the big toe or thumb.
Purple color: the movement generated by the big toe causes the skin to stretch.
Observe how the muscles are in this arrangement (blue, green color)
Yellow color: they are the pads of the palm of the hand.
How to draw fingers
Each finger except the thumb has 3 phalanges. The distance of each phalanx is less than the previous one.
The red lines represent where the finger will generate the folds.
The orange triangles represent the joint capsules at the junction of the phalanges. They serve to represent a little the elevations of the knuckles.
The yellow: it is to represent the softening of the finger.
- To practice the position of the fingers, which are practically opening and closing. Use simple shapes, such as rectangles and cylinders.
- The fingers when we support them on a surface become flattened and expand a little.
The arrangement of the fingers forms a curved line, the highest point being the middle finger and the lowest the index and thumb.
Now, add what you have learned, respecting the distance and length of the fingers.
Remember that the fingers at the moment of closing do so inwards, they never fall straight.
Result of what has been learned
Men's hands are much thicker and coarser than women's.
Bonus: Learn more about 3D hands in Clip Studio Paint
If you want to follow the process of drawing hands and learn more about the use of 3D models, I recommend that you watch the video at the beginning of this tutorial. I would appreciate it very much!


final thoughts
To learn to draw hands, it is necessary to start with the simplest, which are geometric figures. Learning anatomy will help us understand how our body works to apply it correctly in our drawings. Do not despair of wanting to get something perfect, make mistakes, analyze them and improve each process. Good luck artist friend!
Hearts are free to give ❤ . See you 👩🦰.


Comment