
Hello everyone
In this month’s teaching
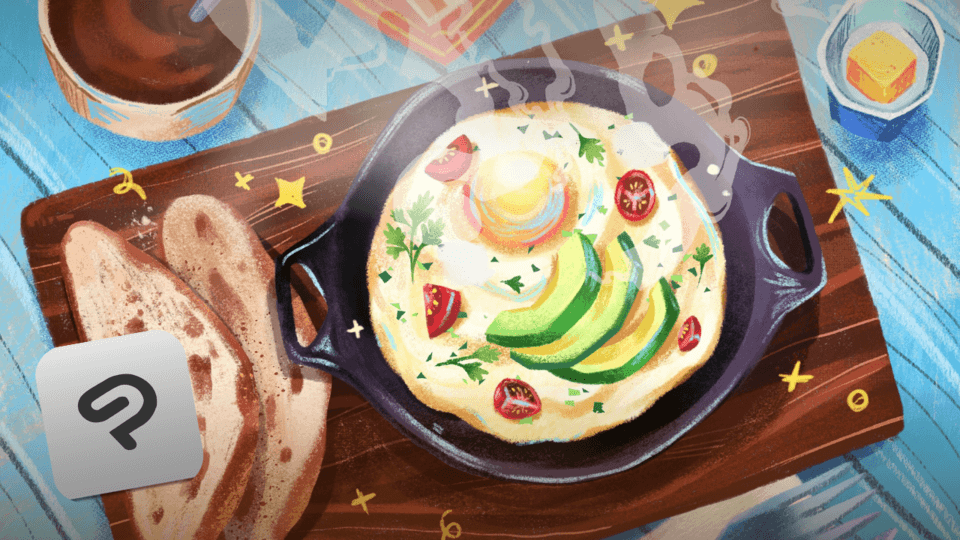
I will share how to paint desserts like hand drawn watercolor style
There are also recommended brushes
Without further ado, let’s get started!
Notice
I will find some reference pictures before drawing
This will be of great help to the drawing process
I also recommend this to everyone
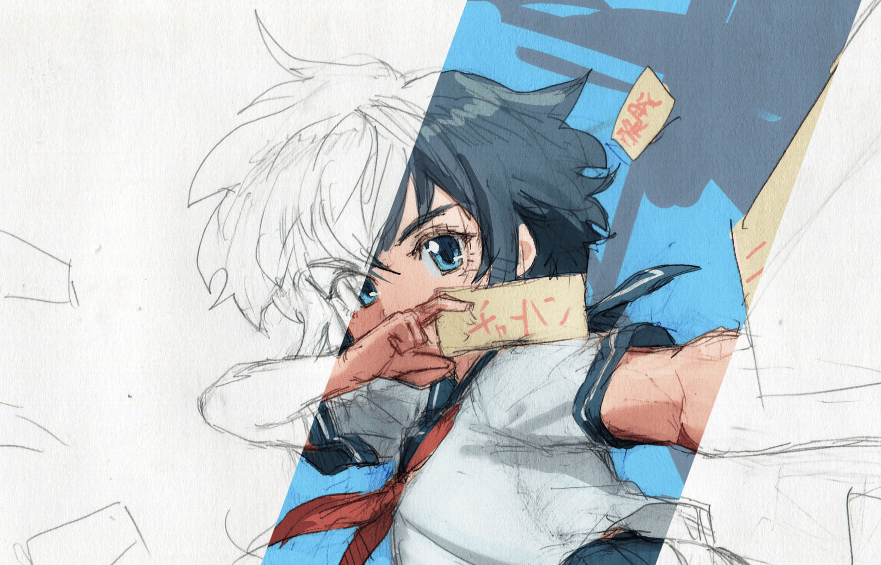
step
draft
First make a rough draft
In this part, just pay attention to whether you have grasped the shape well.
★ Remember to flip it horizontally to see if the model is crooked
background color
The next step is to lay down the base color
Here are the brushes I use
Color in circles
Try to complete it in one go
Otherwise, there will be traces at the connection when overlapping.
At this time, you can use the blur brush to blur out the traces
smudge
This is the brush I used this time
Just choose a brush with texture.
This will look richer
Color the areas where you want to enhance the highlights and shadows
You can choose warm colors
This will look more appetizing
Paving a large area can increase the level
There is no requirement to complete it in one stroke here
On the contrary, some overlapping textures will look more like watercolor.
Here is a small demonstration picture
★ Note: even if you want to brighten, don’t use white
Add detail and color
Just choose a brush with a watercolor border
The purpose of this step is to increase the amount of information and make the screen look rich.
You can add some colors with higher saturation to make the picture less monotonous.
For example, I added some reddish color to the syrup
You can take advantage of the overlapping properties of brush watercolor borders
Make it look more hand-drawn
Draw some embellishments on the cake body to show the air holes of the waffle.
Add details
This step of drawing is basically the same.
★ When you are almost done drawing, you can turn off the draft so that it will not affect the coloring.
Highlights & Sculpting
The last step is to draw the brightest part of the picture and do some finishing touches.
Usually in this step I will redraw the line
This is done!
Tips
Here's a little trick
Cool colors can be added around the edges
Make the picture look more transparent
These are the steps I took to draw the dessert
Just remember these steps and other desserts can be drawn too!
Fruit demonstration
Fruits often seen on desserts
All can be done using the same steps
I hope my sharing can help everyone
See you next time :)
brush
Here is a link to the brushes I use
Users who liked this post


Comment