
Introduction
When we add frills and laces to clothes or accessories, it gives them more detail and enhances their impression. By adding different types of frills and laces we can customize the garments to look cuter, more elegant, or lively.
Let’s explore how, starting from the basics, in the guide below:
1. Drawing Frills
Finished frills can look more complicated than they actually are. So, we will start by breaking down the process into simple steps and then move on to some essential tips that will help you get more creative when drawing frills.
1.1. Basic steps for drawing frills
Here is a six-step guide to drawing frills:
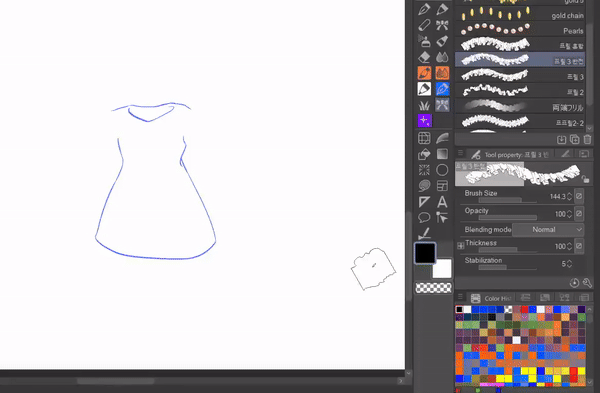
i. Base shape and direction of flow
First, create a base shape for the area covered by the frills. For medium to long frills, add lines for the direction of flow to determine the connection of the seam to the hem. These lines will help guide the external and internal folds we will draw.
ii. Frill waves
Draw a wavy line along the border of the hem to determine the shape of the frills. Here are a few different types of wavy lines we can use depending on how we want our frills to look:
a. U’s and V’s
b. Flat M’s and W’s
c. Mix of U’s and V’s & M’s and W’s
d. Organic squiggly line
e. Rounder wavy line
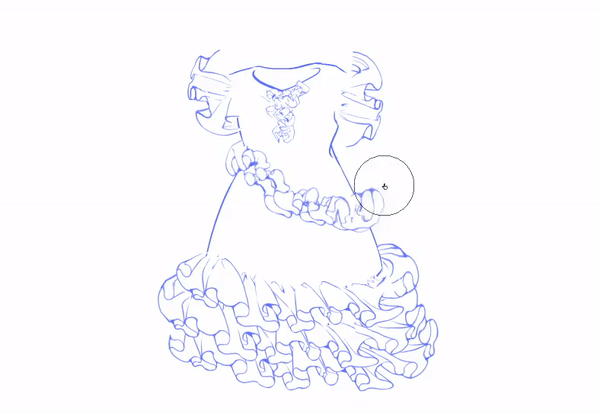
iii. Inner fabric folds
Now add inner fabric folds while following the lines of the direction of flow, without going beyond the frill waves. Depending on the perspective, some inner folds might not be visible and so, those will not be drawn.
iv. Outer fabric folds and seam marks
Now follow the lines of the direction of the flow lines to draw the outer fabric folds.
At the seam, add little thin folds to express the gathering of the fabric. For tighter frills, having some puffs and dips at the seam will help give a more dynamic look.
v. Fold marks
Near the seam marks and in the flatter areas of the fabric, you can add folds resembling a stretched-out number 6 or teardrops.
You can also add some of these folds using the shadow color rather than line art.
vi. Further detailing
To take it a step further, you can add core shadows, and line weight, etc for a more detailed look.
Here’s the final detailed look:
1.2. Layering frills
Once a frill layer is complete, you can go further and add frill layers underneath or above by repeating the same steps. Depending on how the frills are layered, some seams might be hidden while the hems show.
1.3. Frill styles for different vibes
Frills can be of numerous types and they all have their own vibes and impressions. Here are five significant ones illustrated:
i. Energetic vibe with short and perked-up frills
ii. Elegant vibe with long and soft frills
iii. Neat and prim vibe with pleated frills
iv. Soft vibe with loose and puffy frills
v. Dramatic vibe with layered and cascading frills
1.4. Adding fabric thickness to your frills
When the inner and outer folds are connected with the frill waves, it gives the impression of frills made from thin fabric.
So, if we want to add fabric volume to our frills, we need to erase and adjust the frill waves at different connection points. This also helps make the frills look more dynamic.
First, draw a line from one edge of the hem to the other while following the frill waves. Now erase the connected points that overlap with this line to clear a path for the line. Also, erase the points of the frill waves where it connects with the inner folds.
Lastly, do some refinements and that's it!
1.5. Stiff vs. Soft fabric
When drawing frills, thinking about its fabric can help us draw more believable and versatile frills. Stiff fabrics, like denim, tend to perk up and have sharper creases. Soft fabrics, like chiffon, tend to flow down and have softer folds.
For example, when drawing medium-length frilled sleeves, I can go for a more lively and youthful vibe with stiff fabric, or a more elegant vibe with softer fabric.
1.6. Different perspectives
Depending on the perspective we are drawing, the amount of inner and outer folds visible will differ. Looking from above, the amount of visible inner folds will decrease. Whereas, when looking from below, the amount of visible outer folds will decrease.
Similarly, the more we go off to one side, the thinner the frills would appear.
1.7. Following the angle of the last fitted place for the angle of the hem
The angle of the hem can change according to the angle of the area where the garment is last fitted. Depicting this change when drawing your frills can help the drawing look more well-rounded.
For example, if the blouse frills are fitted near the shoulders, then they will follow the tilt of the shoulders.
However, while following that tilt, the frills will also be pulled downward by gravity, the intensity of the pull depending on the fabric’s stiffness and the frill’s length.
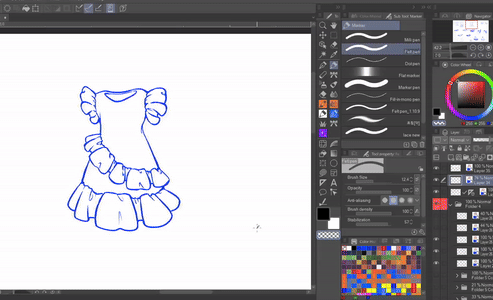
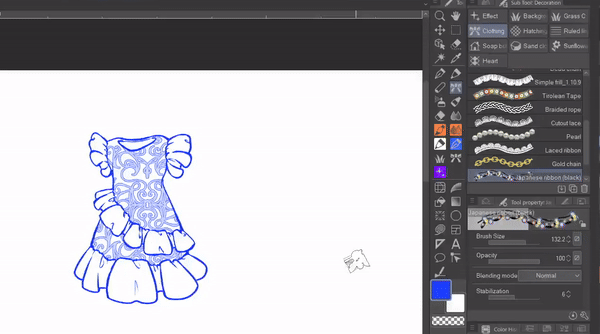
1.8. Custom Brushes
There are a few frill brushes already available in CSP’s presets in the [Clothing] section of the [Decoration] sub-tool, and plenty more are accessible through the Assets Library. Of those, I have listed some good free ones below:
When drawing frills with custom brushes, we can easily make minor adjustments with the liquify tool for adjusting perspective, size, etc.
2. Drawing Lace: 3 Best CSP Tools
Lace is often quite detailed, and it can take some time when drawn manually. However, with the following three CSP tools, you can make decorative and elaborate lace quickly and easily.
2.1. Border Effect
The border effect adds borders to your strokes, and this comes in very handy when drawing lace. Using the border tool ([Layer property] > [Effect] > [Border effect]), you can quickly draw intricate parallel lines and shapes for your lace, rather than outlining everything yourself.
2.2. Symmetry Ruler
Symmetry rulers are perfect for drawing complex designs very quickly and you can create a diverse variety of lace patterns and lace fabrics by adjusting the number of symmetry lines in the ruler settings.
Use it in combination with the border effect for more efficient results.
2.3. Converting Your Lace Patterns into Lace Brushes
For more custom lace designs, you can easily convert your quick lace samples into proper lace brushes with the following three simple steps:
i. Rasterizing border effect
If you made the sample using border effect, first rasterize the layer by right-clicking on the layer and selecting [Rasterize].
ii. Registering the material
Select the central part of your sample using the Selection tool. Go to [Edit] > [Register material] > [Image].
In the opened window, name the material, select the boxes for [Use for paper texture], [Use for brush tip shape], and [Scale up/down], and choose a storage destination for the material.
iii. Applying the brush tip
Select a preset lace brush tool such as the [Laced ribbon] tool ([Decoration] > [Clothing] > [Laced ribbon]) and duplicate it.
Click on the wrench icon in the [Tool property] palette and go to [Brush tip].
Delete the previous tip shape and and search and select the lace material you just registered.
Your lace brush is now ready for use.
Final Thoughts
I hope you found this tutorial useful and that it helps make your frills and lace drawing process more dynamic and easy. Thank you for reading!
Users who liked this post


Comment