
Video version
Text version
Hello!
I’m .avi. I work as a professional game illustrator and creating comics and webtoons is my hobby.
Today I’d like to show you super-quick ways to create illustrations with the help of 3D figures and objects in Clip Studio Paint without having to trace a 3D model or shade the character manually. I use the EX version, but this process was made to work in PRO as well.
Don’t worry, it may look intimidating at first, but it’s actually pretty easy! So don’t be afraid, because it’s worth it!
To make the tutorial more beginner-friendly, some steps are marked as optional, so if you don’t feel up to it, you can skip them or follow an option you’re more familiar with, and you’ll still get a similar result, but I still recommend trying them out to broaden your techniques! :)
This method can be used on any 3D model, not only figures and head models. I use it for the car in my comic, for example - that’s where I originally developed it, and this tutorial shows its application to make a character.
Making this illustration took me about 1 h 20 mins, dinner included :D
Note: I’ve included all necessary screenshots needed to follow this method, but this tutorial doesn’t cover detailed description of all the 3D tools and settings available. If you have never worked with 3D before, please refer to corresponding tutorials:
🟧 3D models and poses
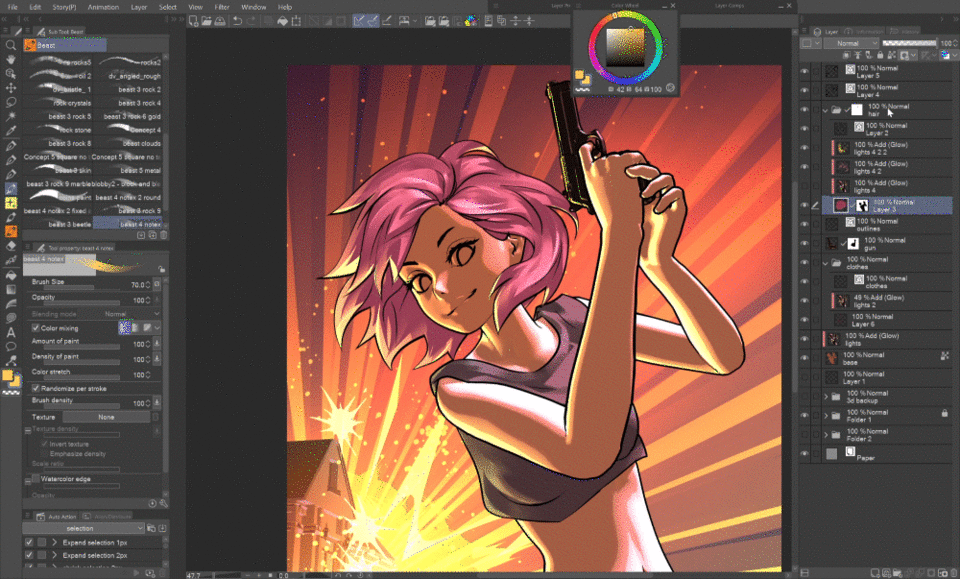
I’m not good at posing 3D figures, so I downloaded this pose from the Assets. The gun is also from the Assets. Just drag and drop it from the Materials palette onto the same layer as the 3D figure.
If you’re going to re-use the character with the asset again with a different pose (in a comic, for example), I recommend parenting it to the figure, but in a one-off illustration it’s not necessary.
🟨 Optional - Parenting asset to figure for re-using in another pose
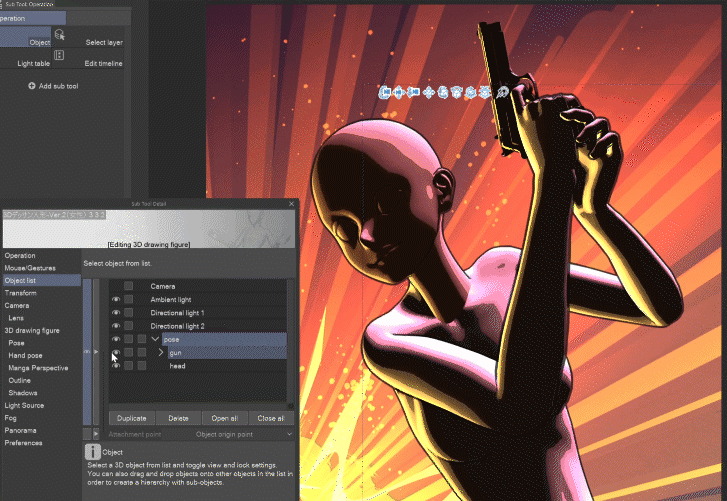
You can do this by going to the Sub Tool Detail palette and in the Object list drag the gun into the figure folder.
In the drop-down menu Object origin point set to which part the asset should be attached.
Now you just need to transform it to the right position.
Use the camera settings to set the angle of the figure and perspective.
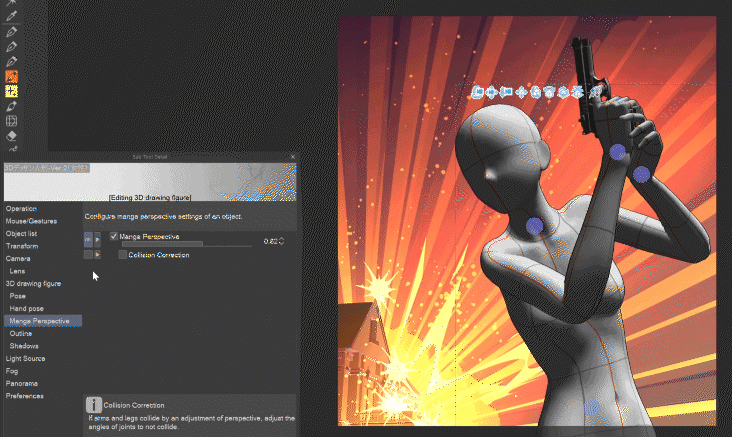
🟧 Lighting
Now we get to the secret that only a handful of people seem to know about! :D
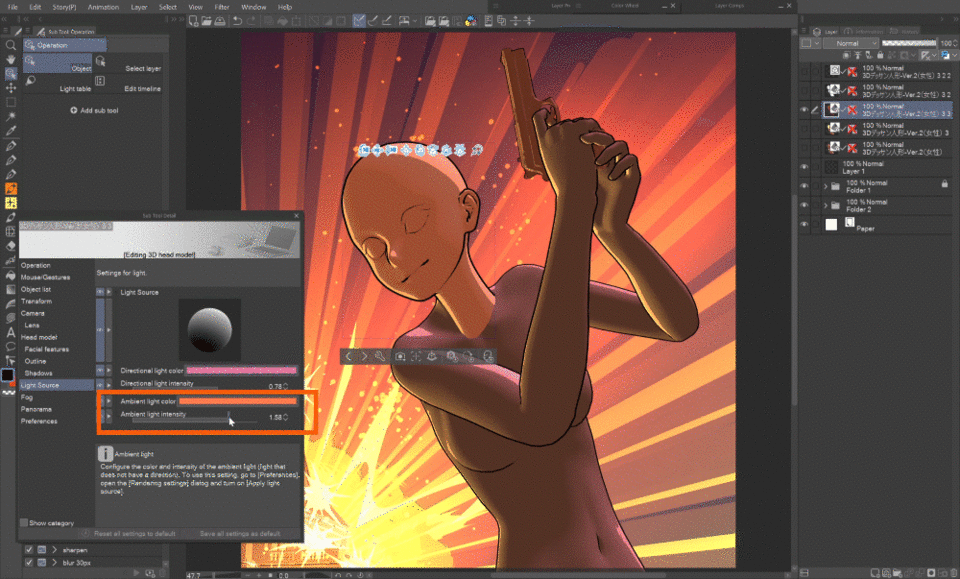
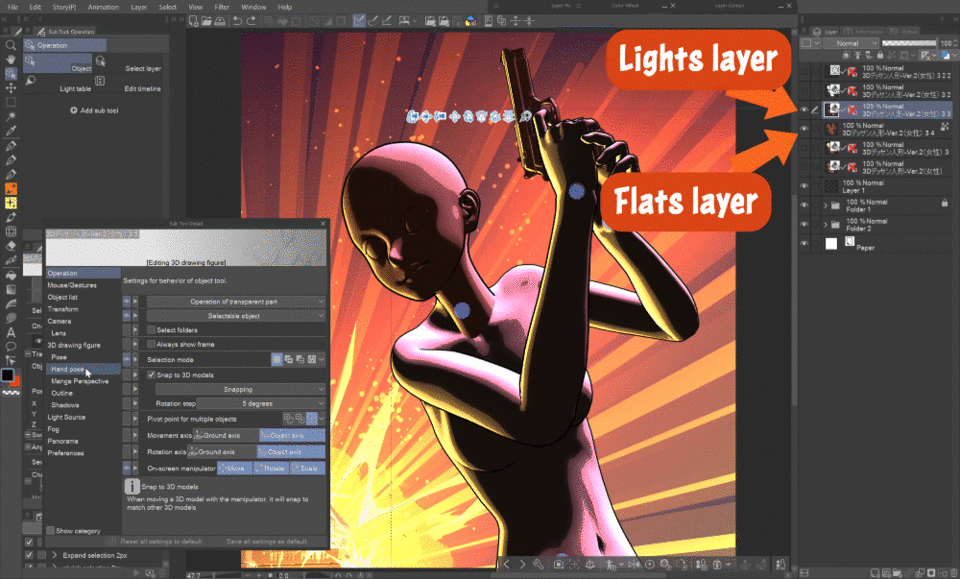
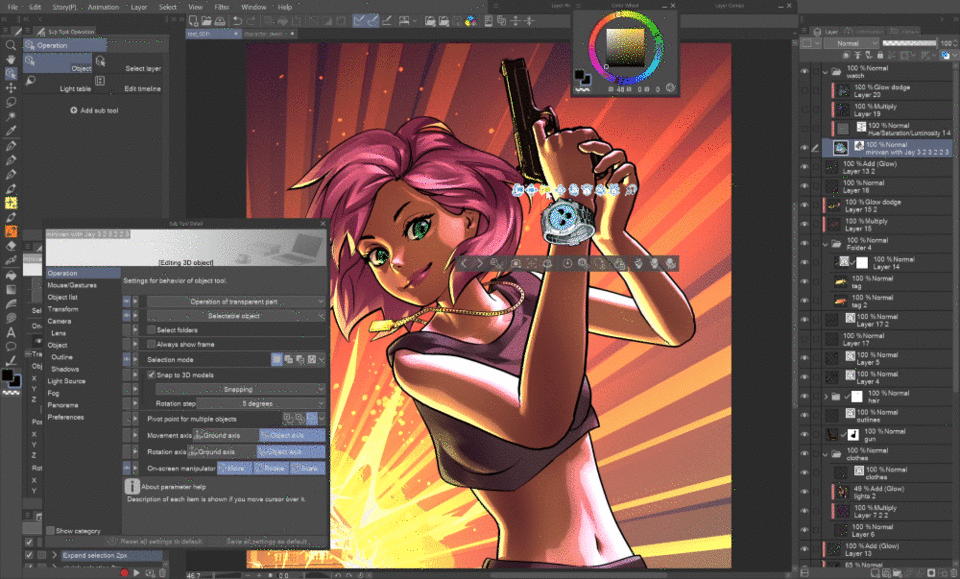
Hidden by default, in the Object list there’s Directional light 2. This will give the image more depth and the character will feel much more real!
Set it on visible and go to the Light source tab. I have the light settings in the Tool property palette to save myself a few clicks.
Change the color, intensity and position of the light source to fit your image.
By adding this secondary light the character suddenly starts coming alive!

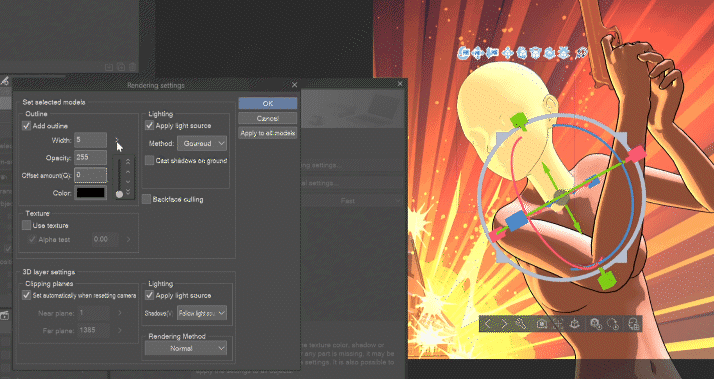
Next we want to get rid of the texture, which is done by selecting the figure in the Object list again, clicking Preferences and Rendering settings.
Unchecking the Use texture box the figure turns white!
Above, we set up the Add outline. Raise Width and set Offset to 0 for more details. Don’t worry about it being thicker than you wanted – you can change it in the next stage.
Set the lighting method to Toon for anime-ish shading style and uncheck Cast shadows.
Now you can go back to setting the lights. The Ambient light can be used for coloring the 3d object.
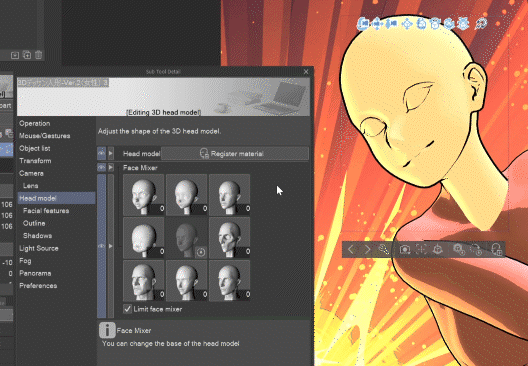
🟧 3D head models
Apart from figures, CSP also offers detailed head models that you can attach to your figure.
Again, if you’re going to re-use the figure in another pose, you can use the parenting method shown earlier.
When attaching the head model to the figure, the trick is to set the figure’s head the smallest possible and the neck the thinnest so that it doesn’t collide with the newly attached head.

Don’t worry that the head’s a different color.
The Preferences, Rendering settings are applied only to the object selected in the Object list by default, meaning that each object within the 3D layer can have different settings (outline, texture, lighting method, etc. - useful when you want the character to have different outline color than the gun, for example). Clicking Apply to all models forces the settings on all models inside the 3D layer.
You can see that making the outline thicker draws the face better.
The head model also has its own settings you can play with, like the size of the nose, shape of the eyes, etc.

Or there’s this face mixer feature.
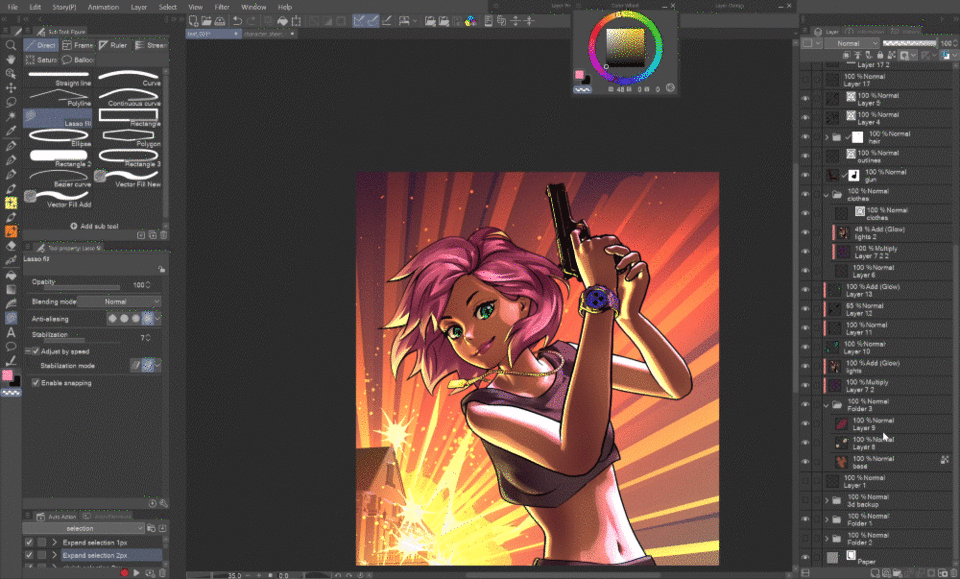
🟧 Vector line art from 3D model (PRO+EX)
Duplicate the 3D layer.
In the Object list we hide the gun since we won’t need it to have vector line art, and set the outline of the body the same as the head.
Set the ambient light to max white – this will turn everything white, no matter the texture or base color.
Now the layer is only black outline and white fill.
Now you can decide whether you want to have the line art as a vector layer for further adjustments or as a raster layer. Even if you aren’t familiar with vector outlines, I recommend trying them, because they give you much more freedom, starting with resizing the art without loss of quality.
🟨 Option 1: Raster line art
Right+click the layer we are on in the Layer palette and click Rasterize. Then go to Edit > Convert brightness to opacity - and now you have raster line art!
🟨 Option 2: Vector line art
Go to Layer, Convert layer.
In the pop-up select Vector layer – yes, this will turn the lines into vectors without the need of LT conversion!
The vector settings don’t have preview, but this is what worked best for me.
Don’t forget to check Keep original layer as a backup, but you can always go back, copy it, go forth in history and paste it.
And now we have vector line art without having to trace the 3D model!
🟧 Shading from 3D model
Now onto shading!
Let’s make another duplicate of the layer with the 3D model.
The secret is to set the Ambient light low enough to have almost black parts on the model.
There are many ways to make the flat colors of the body of the character, I’ll list just a few of them.
I recommend trying the last method since it keeps the model’s colors or texture. In this illustration it’s not needed, but it can be quite powerful!
I use it, for example, with this car in my comic, since the model already has different coloring of the interior, exterior, etc., that I don’t have to paint later. Also, thanks to these flat colors, I can easily select and mask the windows and other elements.
🟨 Flat colors option 1
Like with a hand-drawn artwork, you can fill the inside of the line art which we created before with any of the tools available for this task.
🟨 Flat colors option 2
Ctrl+click the icon of the 3D layer in the Layer palette. This will create a selection of the non-transparent pixels of that layer. Fill this selection in a new raster layer.
🟨 Flat colors option 3 - Flats from the 3D model
It’s not as hard as it may look :)
Let’s go back to the original layer where we turn off both directional lights in the Object list, also uncheck the outline in both the body and head parts and hide the gun again.

Now just right-click the layer and Rasterize it.
By locking transparent pixels of that layer, picking the body color and filling the layer with it, we solved the different color of the head!
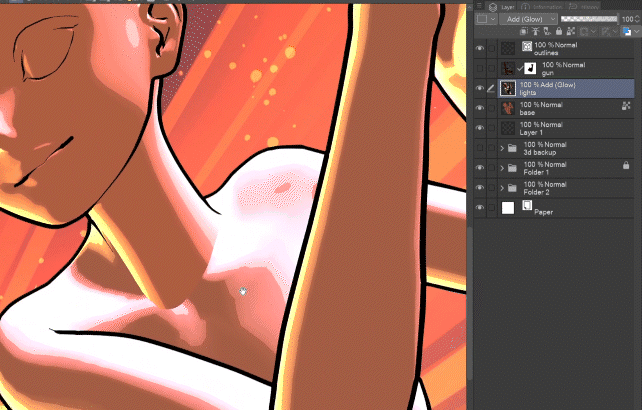
Put the layer with lights on a black figure above this flat layer and hide the gun and the outlines of the model. Rasterize it too and set it to Screen, Add glow or other additive blend mode.
The character is now shaded! We’re almost there!
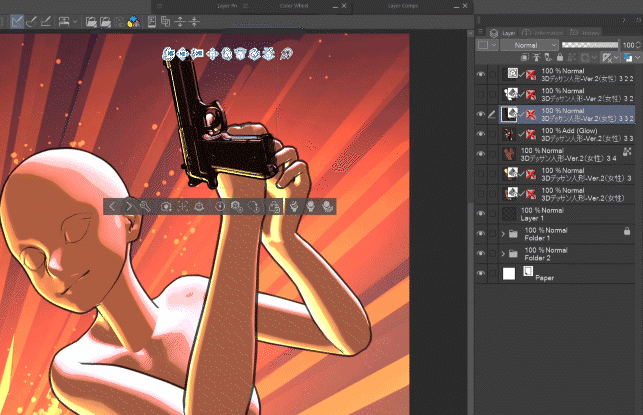
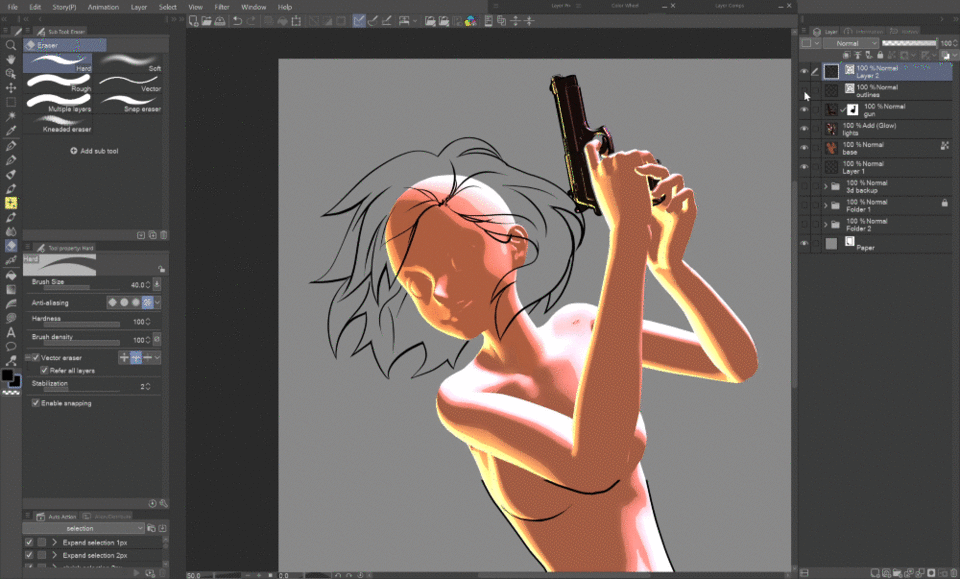
What is left now is the gun – in another duplicate of the backed-up layer (if you have the gun parented to the figure) we drag the gun in the Object list from the pose folder to the empty space below, which makes it independent of the figure.
Hide the pose and head.
You can set up a slightly different outline or lights, depending on the material. Once you’re happy with its look, you can rasterize the layer.
We mask it by selecting the hand and the fingers with the help of the vector line art layer.
Note: Rasterizing the gun or any other 3D layer with an element that you’re not planning to repaint, color-correct, etc. is optional but recommended because displaying 3D layers is heavy on the computer. I usually make duplicates of the main 3D layers in a backup folder and set their visibility off, and then rasterize the original layers which will be visible.
🟧 Adjustments
🟨 Vector line art corrections
As you can see, the auto line art isn’t always perfect, but since it’s vector, you can use all the vector correction tools to fix anything out of place.
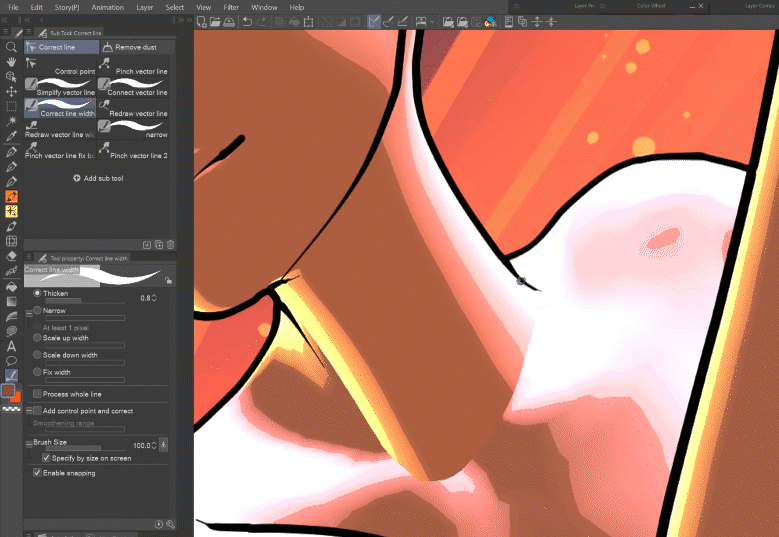
Now you can also set the line art to the desired thickness with the Operation tool selected.
🟨 Lights corrections
Let’s fix the neck by picking colors from the lights layer only and drawing within that layer. Blending brushes are also very helpful in this.
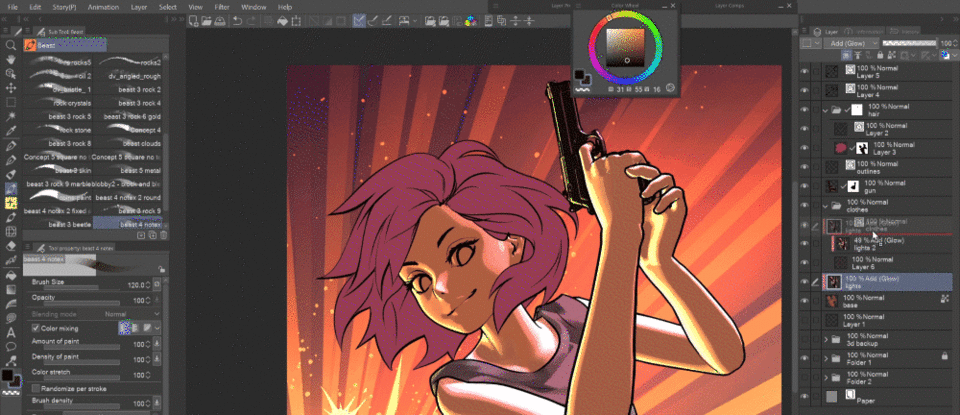
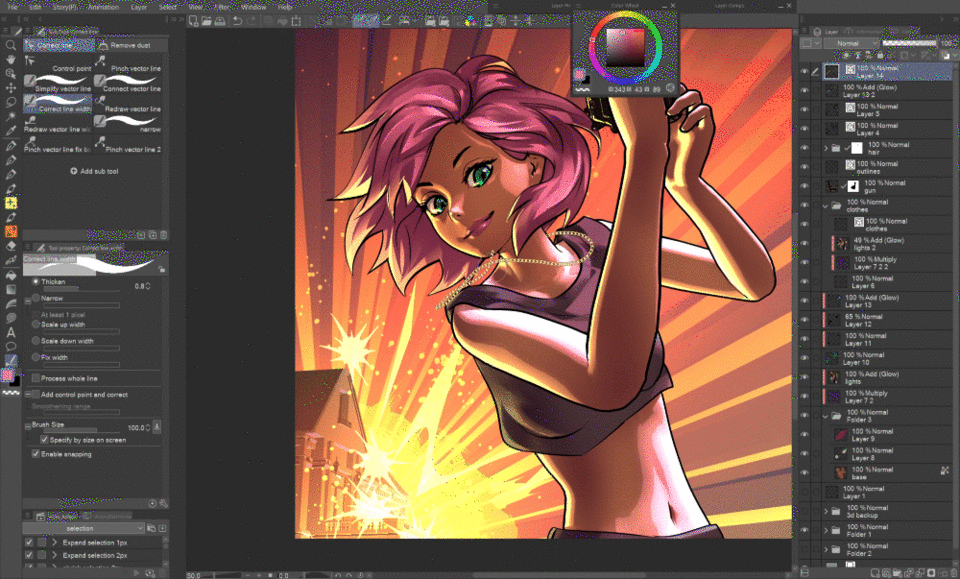
🟧 Adding hair, clothes, etc.
There are also 3D models of hair in the Assets, but I’ll just draw it quickly by hand.
Using the vector layer, I can further modify the line art as well as easily erase overlapping parts.
The facial features and clothes are drawn in the same manner.
🟨 Using the body’s lights layer for shading the clothes
You can use the layer with lights that we set up for the body on the clothes as well by clipping a duplicate of it on the clothes flat color layer.
The Liquify tool comes in handy for fitting the lighting on the clothes.
By picking the colors from the lights layer and drawing on it, you can add more folds, shadows and lights on the clothes. I reduced the opacity of the lights layer since fabric doesn’t reflect light as much as skin or plastic.

Switching to the lights layer for the body, you can add shadows cast by the clothes.

Shading the hair can be done in many ways, in this case I simply clipped a duplicate of the lights layer to the hair base, picked colors from it and repainted it.
Deepening the shadows by clipped layers in multiply mode is optional. I only used a big soft brush.
The colors of the eyes, lips, etc. can be added below the body lights layers.

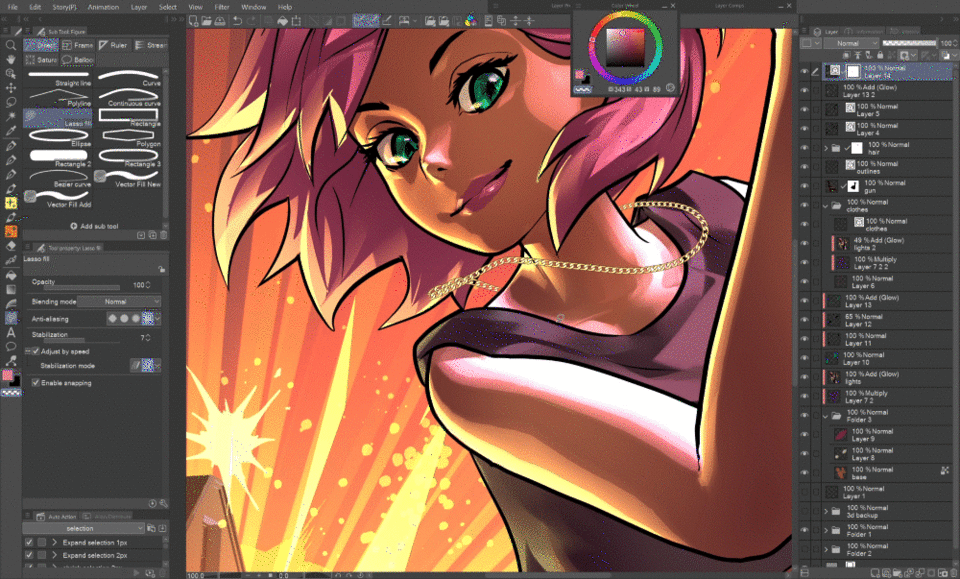
🟧 Accessories
You can quickly add all kinds of accessories to your character, by using brushes, image materials or 3D models.
Use of these is more thoroughly explained in my other tutorial:
The chain is a brush, also drawn on a vector layer, so I can freely adjust it. By clipping a darkening and lighting layer on it, I can give it a 3D feel quickly.
The pendant is an image I made for my comic.
You can also use 3D models for accessories, like this watch.
Set up the angle and lights as we did before. Depending on the material, it may need a different combination of lights to get the desired result.
Just like the gun, rasterize it and mask the hidden part.
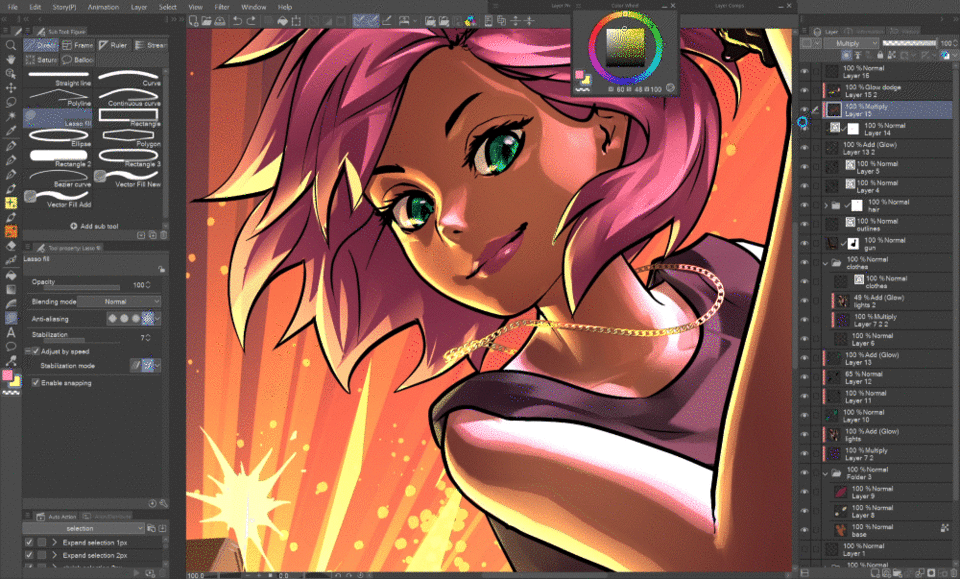
The final touches are purely optional and depend on your preferences. I like coloring my line art, adding color variation through layers on overlay mode, some glows and effects here and there, etc.
Since it’s the end of the tutorial, I should confess something…
Actually, this was my first time trying to do a whole illustration through this process!
>﹏<;;;;
I came up with this “technique” for a friend who had to finish a lot of illustrations of characters in tight clothes (superheroes) and wasn’t very confident in anatomy, and they really liked this solution, while I never used it myself.
But although it was my first time trying it for real, I have to say I had a lot of fun with it! I hope it brings you fun as well and that it may save your time in tight deadlines!
Footnote:
Whether you consider letting the 3D do the base line art and shadows of a character’s body cheating or not, that is entirely up to you, and any view is the right one.
As I showed before, I use this technique to make the bases of the car in my comic - it practically allowed me to make the comic, because I suck at drawing technical stuff and in no way would I ever consider trying to draw it by hand! :D I imagine everybody has something they don’t like drawing and it would be sad if it kept them from creating.
That’s why I see it as something akin to stamp brushes - as a method to help you create parts you don’t like drawing so that you can quickly get to the parts you enjoy drawing! :)
You can see the car in various stages in the screenshots of my other tutorial:
For those who wanted to support me, I don’t have a Patreon nor I plan to get one. I’m doing this purely for the fun of sharing knowledge :)
I appreciate your messages and thoughts very much, though, thank you!
(´。• ◡ •。`) ♡
Users who liked this post


Comment