
Preface
Before the advent of computer graphics,
The author's creation initially started with self-taught hand drawing.
If the advantages of both can be combined into one,
It is also a method of style expression.
Combining and applying
The following demonstration drawings explain and use them in order.
==CLIP STUDIO PAINT PRO Ver.3.0.4 version==
Input and presentation of hand-drawn graffiti drafts
(1) Preparation for input
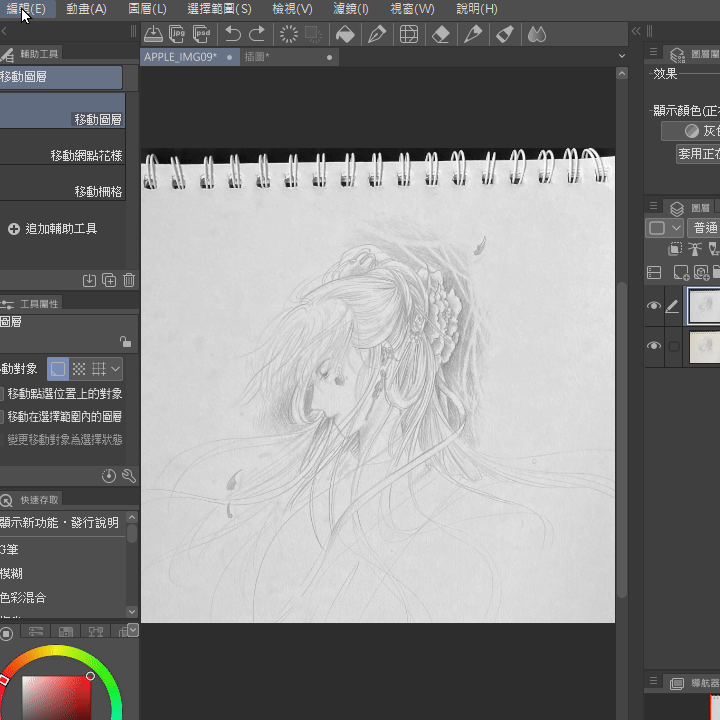
You can prepare a hand-drawn graffiti manuscript,
First perform a machine scan (scanner),
You can also shoot directly with your mobile phone/tablet.
Find a comfortable working environment,
In addition to sufficient light, the environment must
Please pay attention to the distance and angle from the work!
The work and the photography lens need to be shot in parallel.
If there is a gap between the final input finished product and the actual product,
You can also use the built-in functions of CLIP STUDIO PAINT for repair.
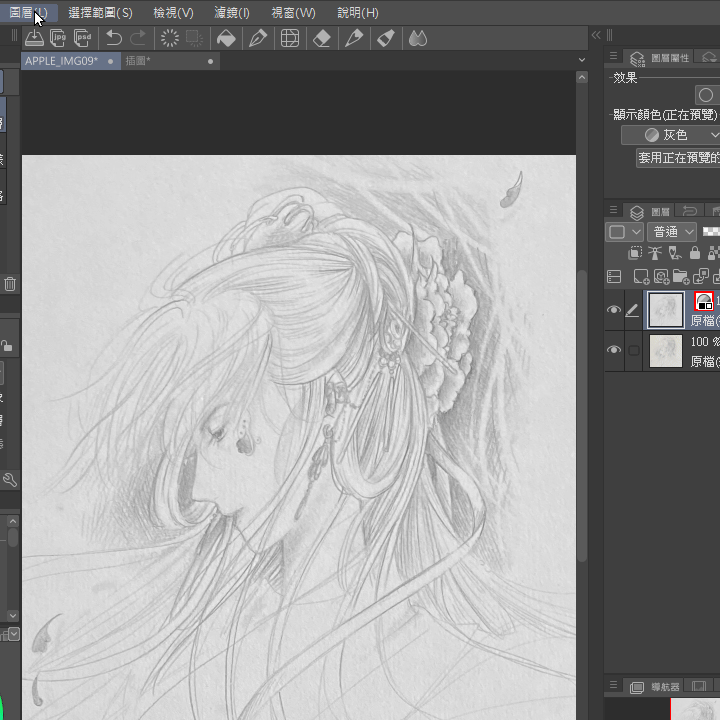
(2) Preliminary adjustment of files
The input file will vary depending on the device.
The files presented vary in size and quality.
While typing, you can first set the expected goals or functions.
Should it be focused on web communication or printed output?
Set the required input image quality,
Then input the file into the computer,
Or edit and trim directly on the tablet.
Originally a color image file,
Convert to grayscale image file.
The resolution setting for this demonstration manuscript is 300DPI.
The image file has a square composition (1800X1800-->1200X1200).
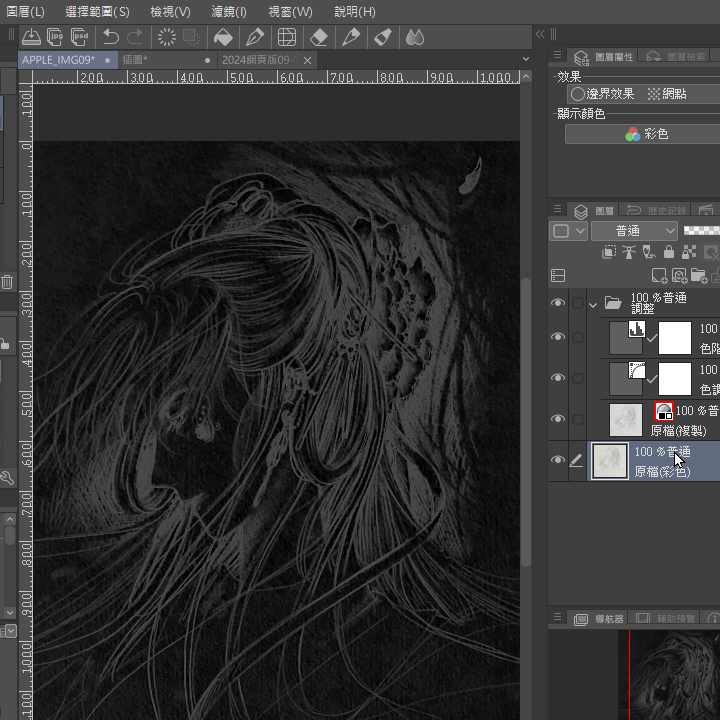
(3)Adjustment and application of layers
Because the texture of this photoshoot is whiter,
You can use the layer options,
To correct the dark levels.
Step 1.
Layer-->New Tone Compensation Layer-->Tone Curve.
The overall light and dark levels are enhanced respectively.
Step 2.
Layer-->New Tone Compensation Layer-->Levels.
First pull the nodes at both ends of the black and white values,
Then pull the middle node and move it to the right.
(Or move to the left, depending on the overall feeling of the screen).
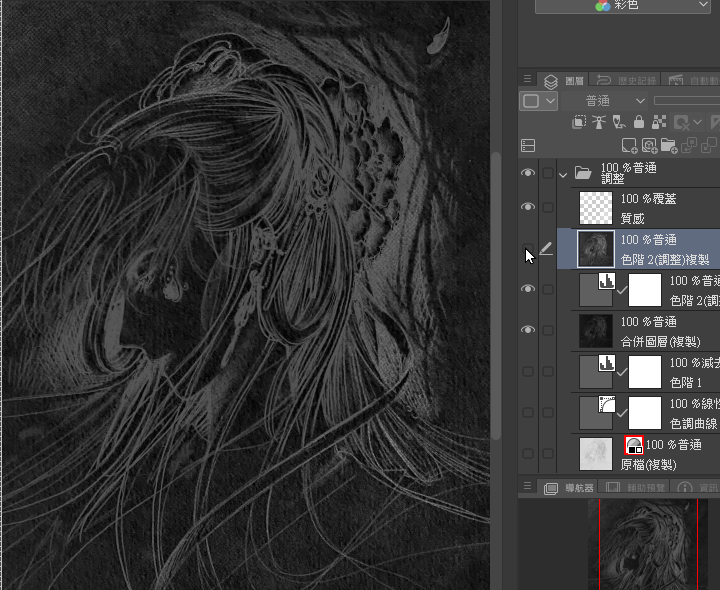
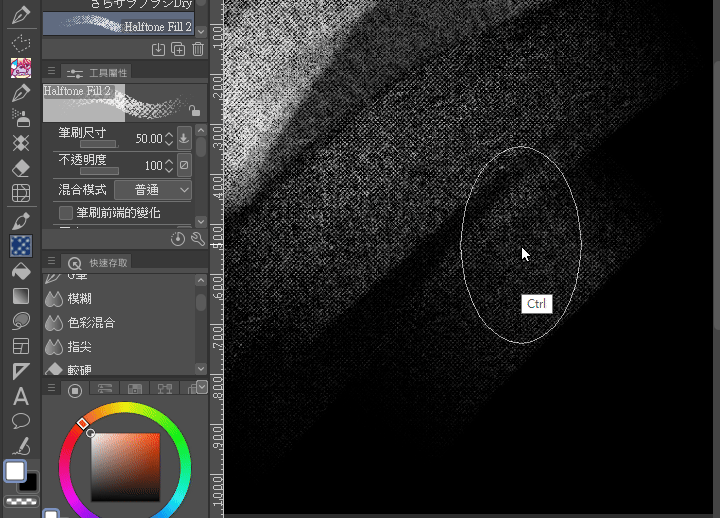
(4) Imitation rubbing/transferring techniques
The goal is to achieve the best texture of black background rubbing (rubbing).
Adjust Layer Mode and Transparency to create atmosphere or effects.
There are two layer modes for the demonstration image:
Pay attention to layer order and composition mode!!!
(A) Tone Curve Layer-->Color Enhancement,
Levels layer --> Subtract.
(B) Tone Curve Layer-->Linear Burn,
Levels layer --> Subtract.
This layer mode will add a lot of subtle texture (paper texture).
(5)Increase texture
- Layer-->Copy of the combined display layer.
Select the required layer (press SHIFT+click to select the required layer!)
- (1) Copy the layer again
Copy and paste the levels layer again.
Change layer mode-->Highlight Color (Glow) mode.
- (2) Skew tool to modify the image
skew tool selects forward direction,
Please refer to the setting value in the picture.
Increase the brush size,
Utilize the pressure-sensitive function of the drawing pen,
The part that will be changed,
Gently push outward to modify the outline.
Differences before and after modification
- (3)Texture Brushes
Select the texture brush (you can go to the material library to find the required brushes and materials),
Open a new layer,
Then apply a brush to its layer,
Make use of the pressure-sensitive characteristics to use the pen,
You can also click Transparent color to delete (fade) texture.
Change the layer mode-->Highlight Color (Glow) Mode.
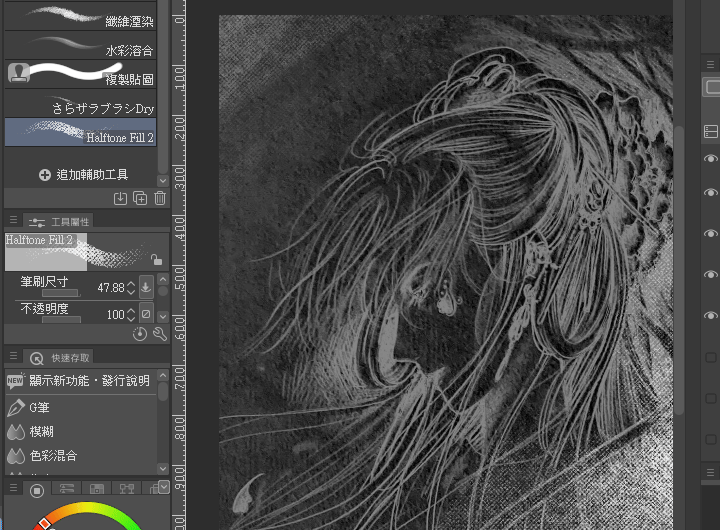
Using layer mode
Increase the texture of cracks,
You can try more layer modes.
Plus special effects (filters).
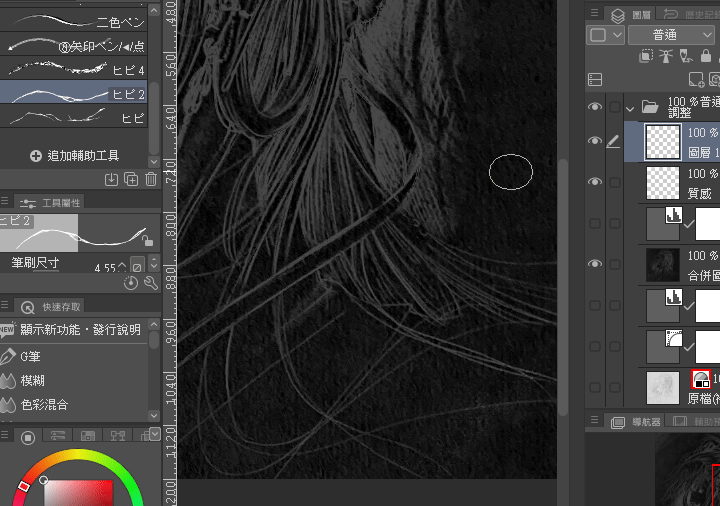
Demonstration on retaining hand-painted paper texture (9/29UP)
Demonstrate line drawing that retains the texture of paper,
In addition to using tone curve and color levels to make overall adjustments,
Will use the lasso selection tool,
To select most of the noisy areas,
Then use the selection range to do Border Blur,
Only part of the texture remains.
Select range -> Blur edges.

Delete the circled area (floating range)!
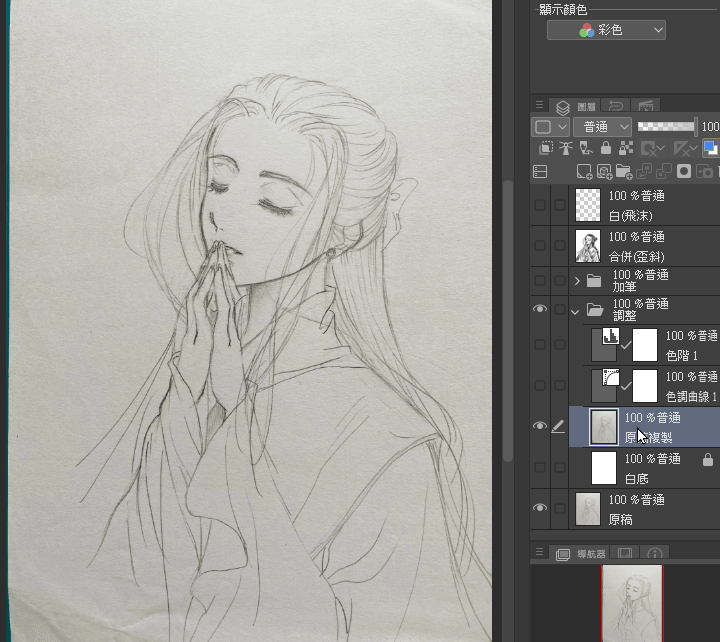
Use the CSP built-in brush in the brush adding section.
The size of the brush and the depth of the color,
Use the pressure-sensitive characteristics of the drawing pen to draw outlines (outlines),
Use a watercolor round pen to draw the shadow area.
Use a blending brush or water pen to blend or rub out the color.
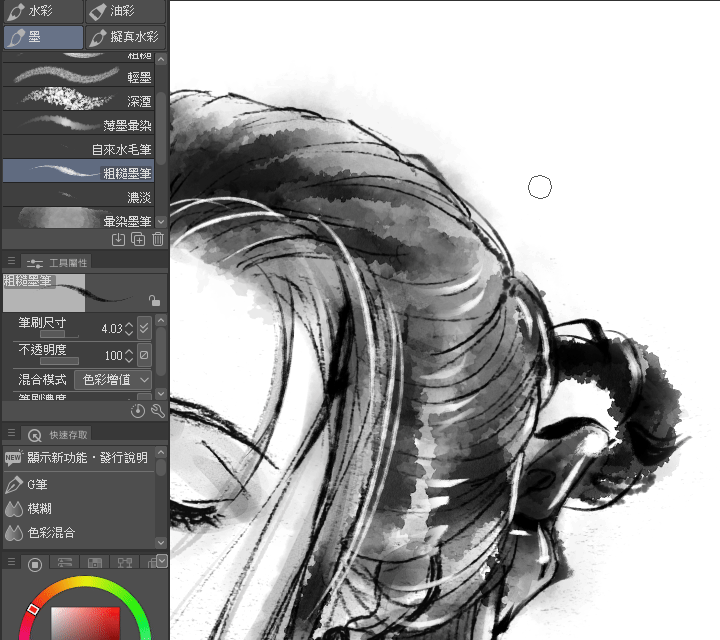
Use layer mode to trim it.
Finally, use the spray gun spray,
Draw the result of a sense of air movement.
On the basis of using hand-drawn manuscripts to practice electric painting,
It’s also a different kind of try and practice.
Conclusion
Use the built-in tools and functions of CLIP STUDIO PAINT software,
Combine hand-drawn manuscripts to create,
It is also an expression of style,
Let’s start creating together!
Material Library
Editorial and recommended materials used in the above articles:
Users who liked this post


Comment