Combining 3D materials and brushes
Preface
This article is to share the use of 3D materials.
Combined with the methods and experiences of using brushes.
Open the CLIP STUDIO ASSETS page,
Find materials that suit you here,
Let’s go on a creative journey together!
3D Materials
The following demonstration drawings will be explained and used in order.
==CLIP STUDIO PAINT PRO Ver.3.0.4 version==
▲Use of 3D human posture materials
Using 3D human pose materials can speed up creation,
First, set the 3D puppet preset by the system,
placed in the work screen,
Search the original preset material library for similar poses in your mind.
If there is no official material library, you can use it.
Find similar postures and then adjust them.
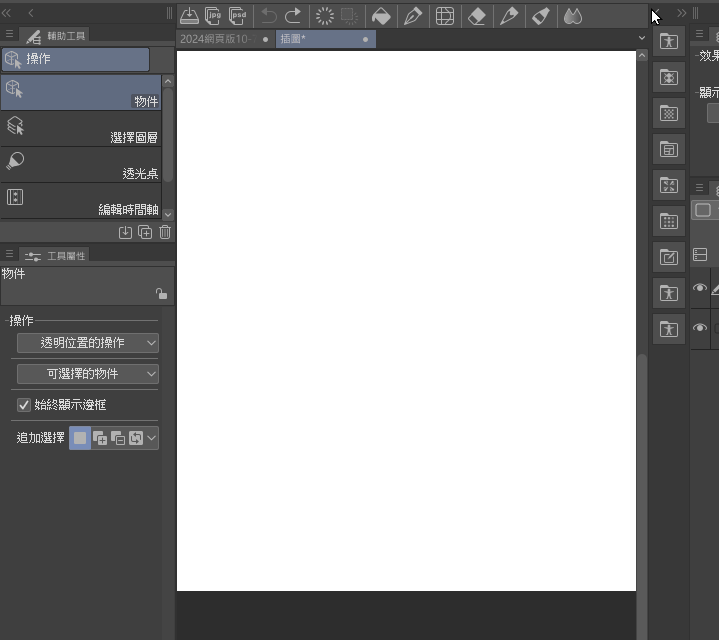
In the process of general direction adjustment,
I will first set the age and body shape of the character,
Values can be adjusted in tool properties,
Change body shape and make rough outline adjustments.
After selecting the required photography angle in Angle,
Then make detailed adjustments.
From the general direction and body movements,
Small details from hand movements,
Or trim the position of your finger joints.
▲Draft stage
Try adding an overall shape to the model,
First use simple lines to outline,
Or you can just use color blocks directly.
Just design it according to your own preferences.
Set the layer mode to Added Mode,
The details of the clothing will be processed later in the formal line draft.
▲Color selection settings
The main color combination of the character will also be set at this stage.
Place the color chip in the layer,
Mark it for record.
▲3D background application
3D objects help quickly draw and complete backgrounds.
During the line drawing, I found that the angle was too dull.
Adjust the overall character angle to have a slope (tilt to the right),
Add a sense of change or drama to the picture.
This time on the background drawing,
After adjusting the angle,
This time the background layer does not deliberately draw lines.
Instead, use High Silk Blur in Filter for preliminary processing.
Blurring and softening its obvious graininess,
And stack it with the layer on top of the background color,
It will be directly synthesized into the next new blank layer,
You can continue to adjust the details of deformation.
The bottom layer is filled with another color.
This time the color is more grayish.
Demonstration picture to change layer mode-->Burn Mode,
Reduce the transparency of the layer to 50 for detailed adjustments,
At this stage, you can try more ways to present 3D background materials.
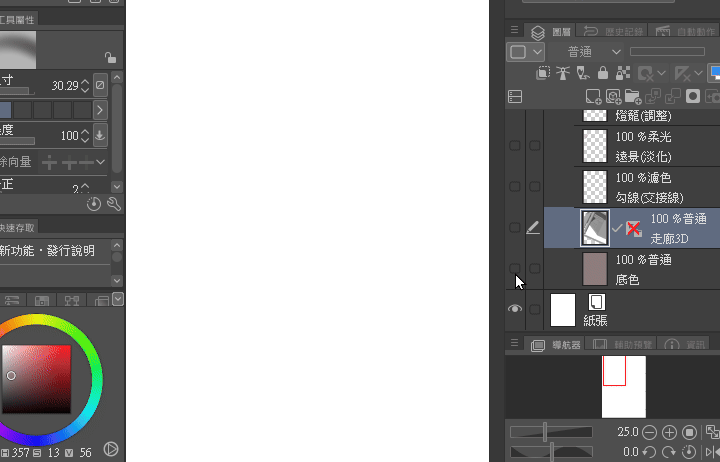
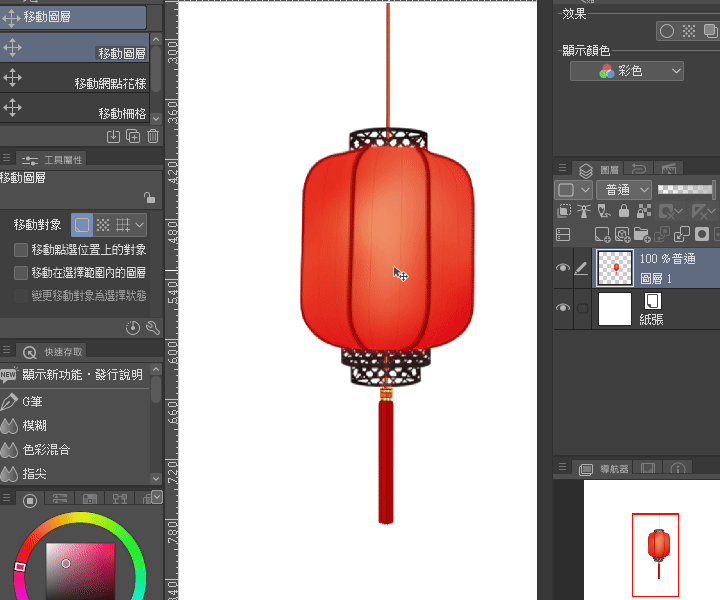
Pattern Brushes and Skew Tool
Use the skew tool to fine-tune the shape of the pattern brush,
For example, the lantern decoration (tassels) in the picture,
Adjust to a gentle breeze.
Adding pens and using layer mode
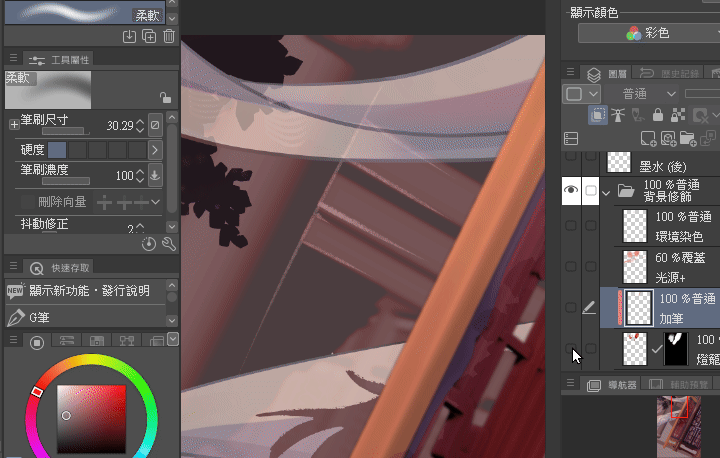
Layer property conversion
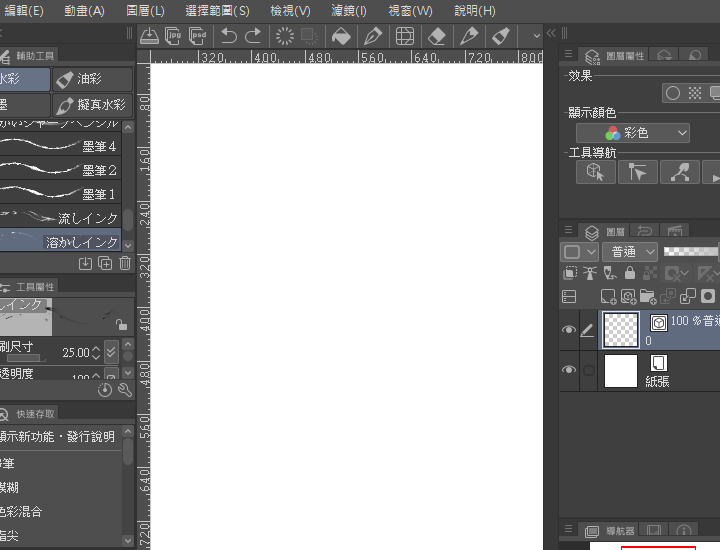
Not satisfied with the details of the flowing black ink,
This line was originally created in a vector layer,
The Skew tool cannot be used on vector layers!
To make adjustments using the skew tool,
You need to change the layer properties to lattice layer,
(Add a new bitmap layer—>CTRL+E)
Only then can you continue to make modifications.
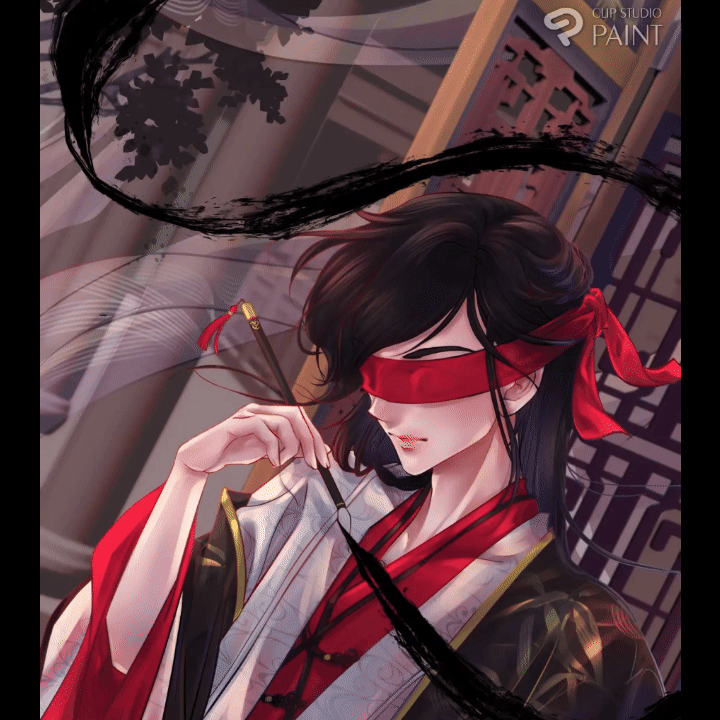
Texture addition
After the overall coloring to light and dark stage,
You can start adding some textures and effects.
Texture brushes can be used individually.
Can also be used in combination.
For example: weaving or embroidery of clothing,
How to combine them depends on your own design configuration.
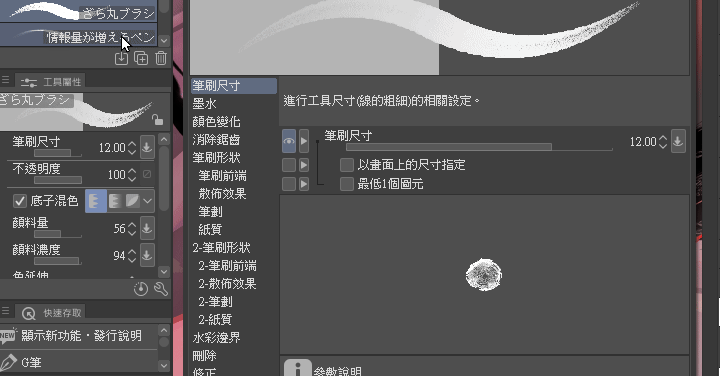
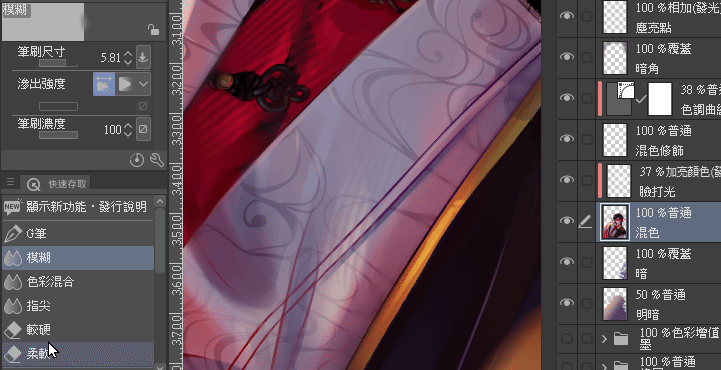
Download brushes (lined brushes) in the material library,
And modify the settings and values yourself,
Use the Wrench in the lower right corner of the tool window to enter detailed settings.
The setting status and characteristics modified in the picture,
The modified values in the picture are the result of personalization.
Please set it according to your own habits and preferences.
The numerical setting is only a reference value.
Then create according to the properties and functions of the brush.
(The demonstration picture is a representation of the texture and flow used in clothing)
Brush value settings:
Textures drawn with the same color have different expressions.
Please refer to the picture above to show the differences.
Only overlay color mixing can be drawn in layer mode without background color!
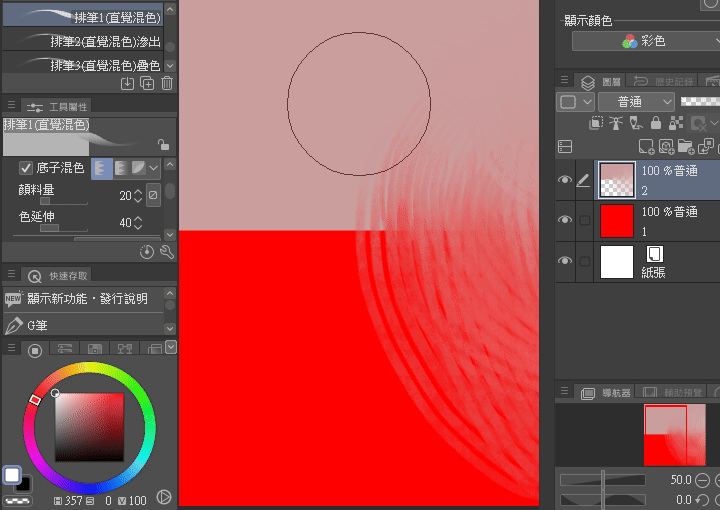
- Demonstration process:
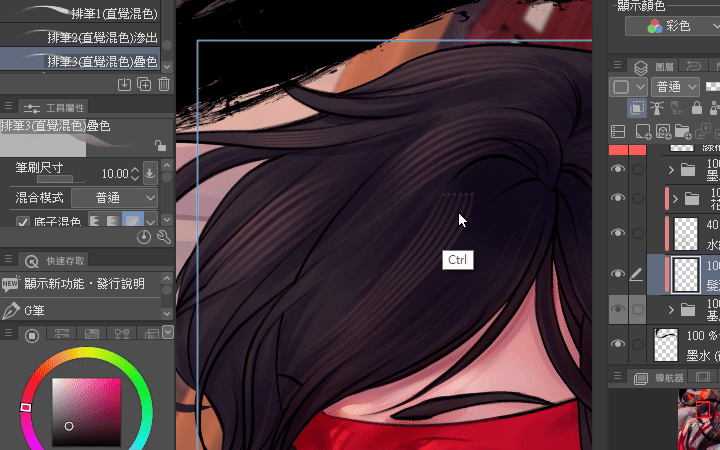
The way clothing patterns are presented,
Combine two Brush Overlays with Layer Mode**.
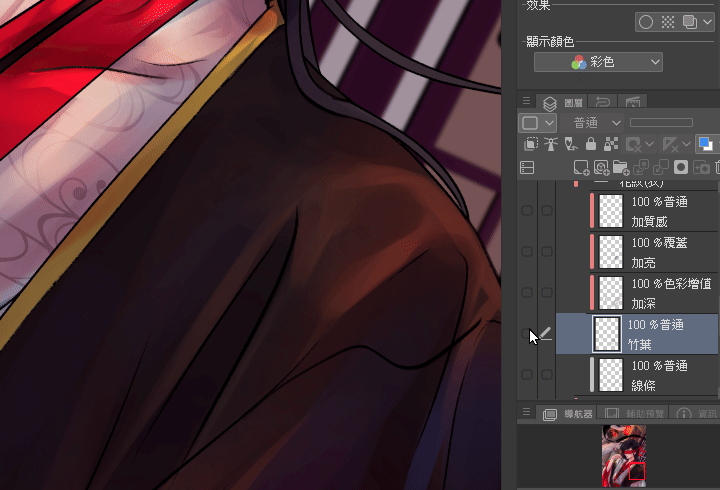
Finally use a soft eraser (erase or fade)
Use the blur brush (softening) to process edges,
Finally, use the mixed color series brushes (tools) to complete the final result.
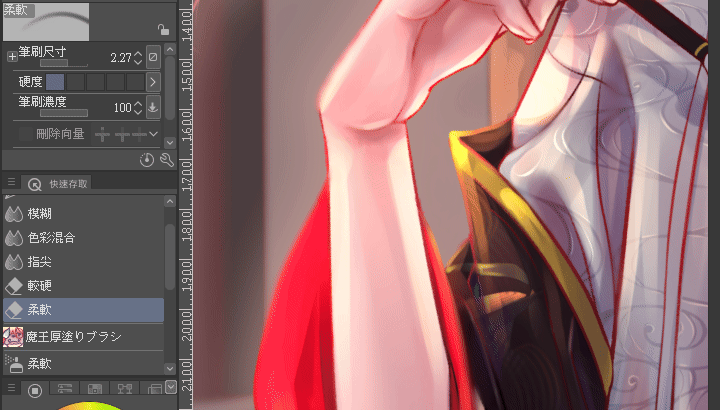
Brush application:
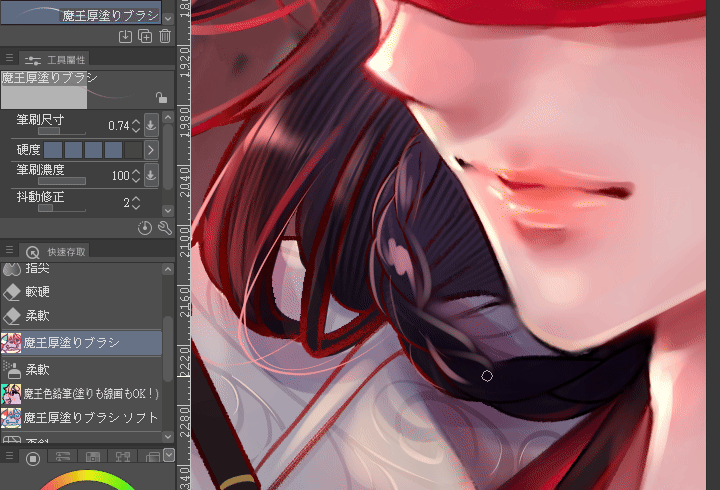
In terms of material brushes,
Choose your favorite style and apply it on the new layer.
If you need to mix colors, use the built-in blur brush to paint the border.
Various actions for modification on the same layer,
Using the characteristics of pen pressure makes the drawn pictures have a hand-drawn texture.
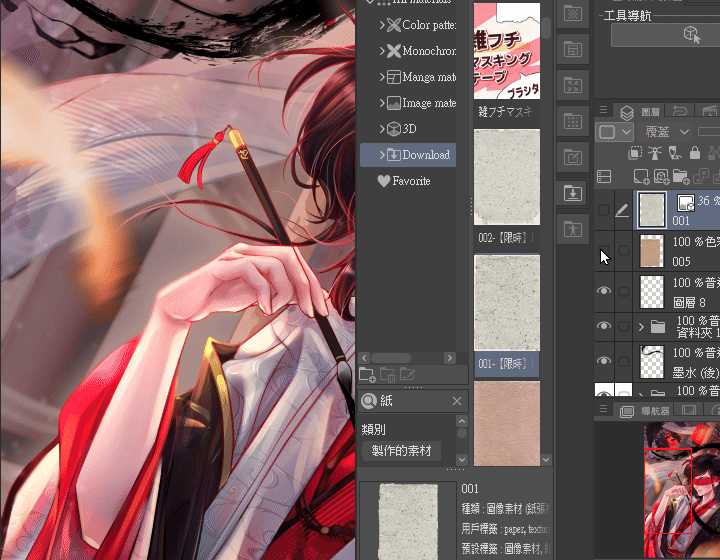
You can also use textures to deal with texture.
The layer mode needs to be changed to value-added mode or overlay mode.
And adjust the transparency to 20~40%.
This method is used in the steps before finalizing the manuscript.
Give the picture a real canvas texture.
Conclusion
There are many creators providing them in the official material library.
It can be selected and used in the material library interface.
Please use the search function of the material library interface frequently.
The application will also be of great help in creation.
And combined with the 3D tools and various functions built into the software,
Can accelerate productivity to create,
It is also one of the advantages of electric painting.
Everyone, please try to combine materials to create!
See you next time~~~
Material library selection
Clothing materials used:
Materials used for texture:
Background material:


Comment