
How to quickly and easily convert a paper drawing to digital format
Have you made a drawing in the traditional way on paper and would you like to color it and improve it digitally?
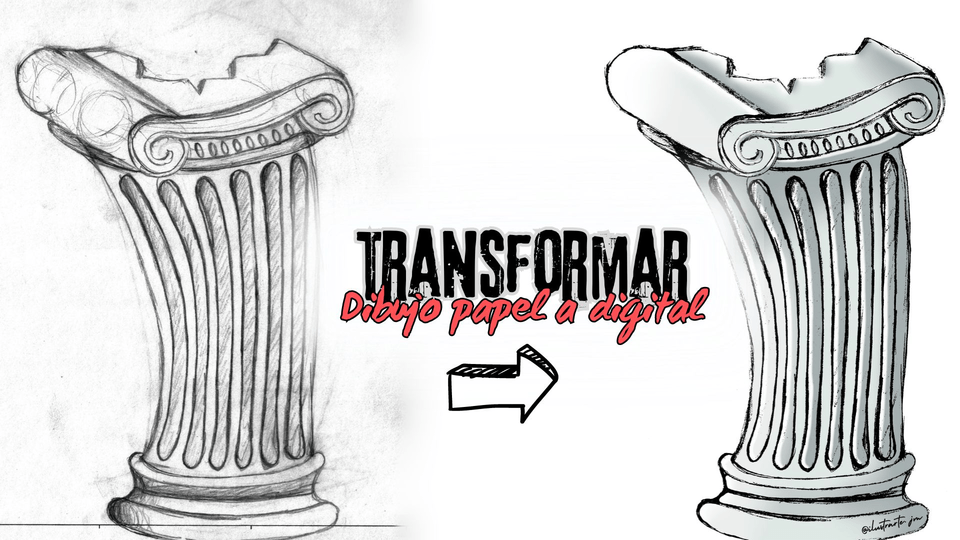
In this tutorial I will teach you in a very easy and quick way how to transform a hand-made drawing on paper into a digital drawing.
You can complement the explanation with the video below.
LET'S GET STARTED!!
1. TRADITIONAL DRAWING ON PAPER
1.1. SCAN THE DRAWING
Once we have made the drawing on paper or we have looked for some old drawings that we would like to improve once we have learned new techniques, the first thing is to take a photo or scan the drawing.
To take a photo with good results, I recommend moving away a little and focusing on the drawing, all in front of the paper so that it does not look distorted.
I recommend scanning the drawing whenever possible with a scanner or some scanning app.
In my case I used a scanner and this was the result.
ATTENTION: The best result will always be obtained with black lines made with a marker or pen so that information is not lost. In my case, the lines will be thinner since it is a pencil.
2. TRANSFORMING DRAWING TO DIGITAL
2.1. ADD TO CLIP STUDIO PAINT
First, we open a document in Clip Studio Paint, and then the original image of the drawing.
2.2. ADJUST CONTRAST
First, you need to adjust the contrast to highlight the lines and remove some of the dirt that is covering the paper.
In my case I have set the contrast to 50, this depends on your drawing and taste.
Below you can see the process for changing the contrast. In the “Edit” drop-down menu, select “Tonal correction” and then “Brightness/Contrast”.
In the last photo we can see how once the contrast has been modified the lines stand out more and the drawing is cleaner.
2.3. EXTRACT LINES
To extract the lines from the drawing we will change the expression color to Monochromatic. Then we click on the black color so that only the lines are selected. In this way we see that the background remains transparent.
Now we can put the background we want, in my case a white background.
2.4. REMOVE TRACES
With the eraser we will remove the strokes we do not want to leave the drawing clean.
2.5. COLORING
We create a layer under the linear drawing for the color and we can now start coloring and giving another life to the drawing, giving it new attributes that enhance it.
As an added bonus to improve the drawing even more, the lines could be drawn digitally to make it look finer and more stylized, but you can see that it also looks good this way.
This is how my drawing turned into digital.
Thank you very much for reading the tutorial, I hope it has been helpful.
See you in the next tutorial!


Comment