Easy backgrounds guide
Hi! If you like to draw characters, don't feel very enthusiastic about backgrounds but don't want to leave your character floating in empty white void, we're on the same page!
Let's go though few tips and tricks, and please remember those are suggestions and not rules that need to be followed 100% in all situations. While art has rules, it also has no rules as long as you like the result.
Tip #1: Think about what surrounds your character
Sometimes you don't need to make an elaborate background to convey a feeling of what surrounds your character.
For example, this chararcter is supposed to be on a battlefield after the battle is over, in a futuristic city built in gothic style with many spears and tall buildings. I decided to work more accurately on the ground she's standing on and the closest objects (in this case, a column), and everything else are just rough shapes what give a vague feeling of tall spires and smoke.
Tip #2: Contrast
You may want to create a contrast between your character and the background to make your scene look more intense, both with contrasting colors and tones.
In this example, character is darker than the background, which helps her to stand out. Human eyes naturally notice the points of highest contrast first, so you may want to create the biggest contrast around character's head (to draw attention to the face), or any other object that is the most important in the scene.
You can create a layer filled with white and put it on top of everything in "Color" mode to quickly turn in on and off. It may be not the most accurate way to see color values of your picture, but it will help you to control the situation.
Tip #3: Create a frame
You can use values of the background to create a "frame" around your character. Usually, it helps character to stand out more and guides more attention towards what's in the "frame". On the example above, the ground, the column and the bird's wing create a dark frame around character's figure.
On the example below, curtains are creating the same effect
It can be achieved with more vague or abstract shapes as well, you don't have to detail your "frame" if you don't want to. This background were quickly made with two brushes from CSP's Gallery in greyscale and colored with gradiend maps.
Tip #4: Make a quick thumbnail
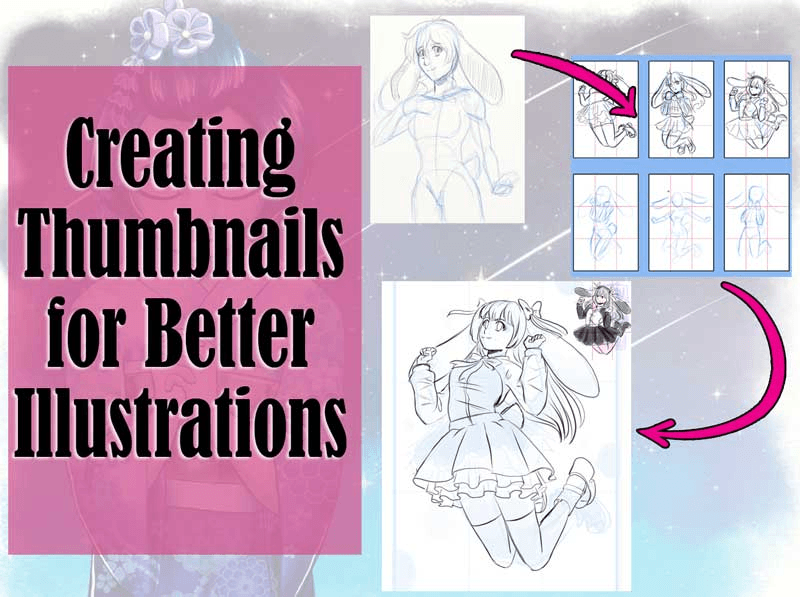
It's way easier to experiment with thumbnails looking for good composition than do it in full scale after you did the main work and created your character. Especially if you're like me and have an old PC which isn't that fast. It's also easier to experiment with different tones this way.
You don't have to be precise or accurate. Just try to find a good combination of shapes and values. If it looks good on a small thumbnail, I'll promise you it will look good on a finished piece.
If I feel too lazy for creating thumbnails, I add some values on top of my sketches on a separate layer.
Tip #5: Rim light!
Adding a rim light, or a secondary light source may help your character to stand out of the background. It will be the best if you pick a hue that is represented in the background. Think of it like of studio lights.
Tip #6: Blend your character with the background
Usually, light and anbience from the surroundings affect the color of light and shadows on your character. You can use the whole wariety of tools that CSP had to blend your character with the background. Gradient maps, color correction layers, curves, blur, sharpen. Try to experiment with different blending modes and solid color layers (solid color layer set to Overlay and low transparency can work magic).
If it's a full height drawing, I like to select lower part of character's legs, pick a color from the ground and gently put it on top of everything, including lineart. It helps to blend character with the background better (not always though).
Experiment and see what you will like :)
My step by step process
This art isn't new, but I think it will make a good demonstration ^^ This character has a rather warm palette, and this yellow doesn't mix well with green, but it's not a problem.
Going to skip the thumbnail and sketch stage since this one was pretty simple.
Step1:
Character lineart, flats and the background. I was thinking that she was inspecting her weapon in a room that is cold, de-personified and slightly recemble a prison cell, so I picked up the dirty green color and created an impression of "bars" on the window. The room is supposed to be rather dark, the only source of light will be a "window" and her sword (it's supposed to glow with electric blue).
The "window" is behind her back to create light/dark contrast. Also I added some dark color in the top left corner. It was supposed to be empty, and this dark spot makes it a little more interesting and not as flat as it could be.
Step 2:
Used the Eyedropper Tool to pick a light green from the background and filled a "Multiply" layer on top of character's flat colors. Clipped that layer to character's flats so it won't affect the background. After that I tweaked yellows a little bit more to make sure it's a perfect blend.
Step3:
Rendering as usual. Methods behind it is not important. I usually use Multiply layers and background-fitting colors to create shadows, Add(Glow) to add shine to metal parts, and add textures and small details (like hair shine) on top of the flat colors. In the end I create a "Glow Dodge" layer and add highlights with very pale yellow.
Step4:
Finalizing by adding glow effects to the places that are supposed to be lit, like the back of character's head or sword special effects and make it even more intence by adding white to some places like hair. As a final touch, I use the Eyedropper Tool to pick a color from the "window", add "Screen" layer and add some glow to make this part look softer.
And we're done!
If you had read it to this part, thank you! I hope this guide was at least a little useful and wish you easy drawing and may the artblock avoid you ^^


Commentaire