
Learn how to animate your existing artwork using keyframes
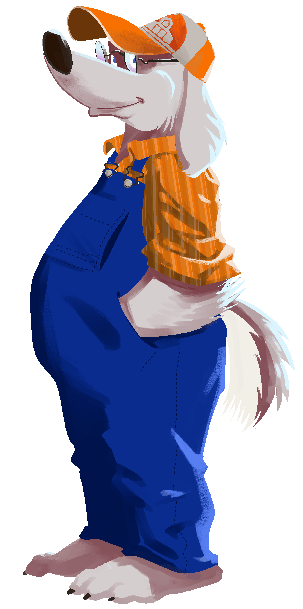
I drew this dog as a mascot for a video game:
And we liked him enough that we wanted to use him more prominently. We wanted to be able to add some animation.
So I spent about 45 minutes and cut out each part that was intended to move. I saved each body part to its own layer, and on areas like the top of the head, the neck, and the knees, I filled in the missing gaps. It looked like this:
Then I dragged all the layers back in place, fired up a timeline, tested keyframes, and ended up with this animation:
Nice enough, but not that useful for what we were doing. But I made a more complicated animation to make him part of our UI notifications.
This next animation uses less pieces, but more exaggerated movement, and a little bit of foreground/background swapping. So it's a great piece to use to teach:
Animating With Keyframes in Clip Studio Paint

Step 1: Setting It Up
If you're working on a character that you've already drawn, don't worry about creating a new animation file. You can use your existing canvas. Back up your original canvas... that'll be for making changes to your drawing if you want. Then do the work of cutting out each moving piece and giving it a layer. Fill in the missing shapes. Simplify your layers, deleting everything that's not an important part of the animation.
Setting up folders for faster, simple animation:
Create a folder named "Dog" (Or "Your Character").
Put every piece of your character into it.
Within the "Dog" folder, create a folder named "Head."
Put every piece that's connected to the head into it. (In my case, that was "Nose," "Hat," "Ears," and "Head."
Within the "Dog" folder, make another folder named "Body."
Put all the remaining body parts into that.
Your folders should look like this:
Enable the Timeline window.
Click "New Timeline."
(If you're using Clip Studio Pro, you only get 24 frames maximum. It's a great number to practice with. My animation is 1 second long, so I used the industry standard 24 frames per second. If you want a choppier, 2-second animation, make it 12 frames per second. Or 6 fps, for a really choppy 4-second-long animation.)
Your Timeline should automatically be filled with all your folders and layers, and have blue handles surrounding a 24-frame section of animation.
(The timeline also has "Animation Folders." Do not use animation folders for this tutorial. They are great and useful, but they will just be confusing here.)
Select the "Dog" folder, then click "Enable keyframes on this layer" in the timeline window:
(What we've done is convert every part of the dog to a keyframe cell. If you need to make a drawing correction to any piece now, you must return to this dog folder and click the "enable keyframes" icon again. With keyframes enabled, art brushes don't work.)
With keyframes enabled, you'll be working exclusively with the Object Tool:
Now we're ready to animate!
Step 2: Making It Move
With the first frame selected in the timeline, select your "Head" folder.
Click the "Add keyframe" icon at the top of the timeline window. A diamond appears in the timeline, and blue handles appear around your canvas.
Drag the center of rotation from the center of the canvas to the point where the head meets the neck. (It's the small + sign. If you don't see it, make sure you're using the "Object" tool.)
Test rotation by moving your cursor to just outside the blue border, where it changes to a "rotation" icon. Click and drag. If the head nods naturally, it's good.
(If the head rotates, but the ears and hat remain stationary, you have selected the "Head" drawing layer.)
Rotate the head to a downward position.
Click in the timeline at about frame 6.
Rotate the head to an upward position. A keyframe is automatically created whenever you make an alteration.
Hit the "Play" button in the timeline to test.
Click in the timeline at about frame 12.
Rotate the head to a slightly downward position.
Click in the timeline at about frame 16. Rotate the head slightly up.
Click in the timeline at about frame 20. Rotate the head back to its natural position.
Hit the "Play" button to test.
Move to the hat and do all these steps again.
Move to the ears and nose. Rotate, test, advance.
We'll need a new arm for the dog, one that can rest naturally on top of the signboard. Draw it, either in a different canvas or in this canvas after disabling keyframes. We'll also need a shirtsleeve drawn at the correct angle:
You could draw these two items together on 1 layer, but I wanted to get a little extra hint of motion from the sleeve.
I deleted the other arm, the one where the hand was hidden in the pocket, and replaced it with this. I kept the previous shirtsleeve, leaving me with 2 shirtsleeve images. This would be a perfect opportunity for an animation folder, but instead, I'll show you how to do simple drawing-swaps without them.
Animate the dog's shoulder moving up, to demonstrate that he's starting to raise his arm.
On the frame where the shoulder is the highest, drag the handle on top of that single animation track from right to left. (For me, it's frame #5. This makes that whole layer only appear until frame #5, when it vanishes.)
On the animation track with the new shirtsleeve, drag the opposite handle so that the new shirtsleeve appears when the old one vanishes.
Step 3: Moving From the Background to the Foreground
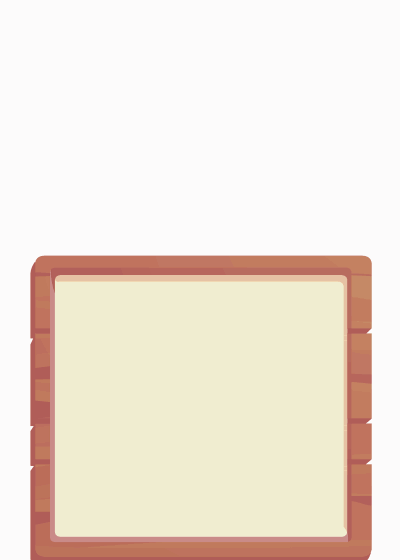
We've kept our notification sign visible this whole time, just to have a nice size reference handy. Now move that layer to the top of the layers windows. This should cover part of the dog.
Create and move keyframes on the "Dog" folder, to have him pop up above the sign as a complete object.
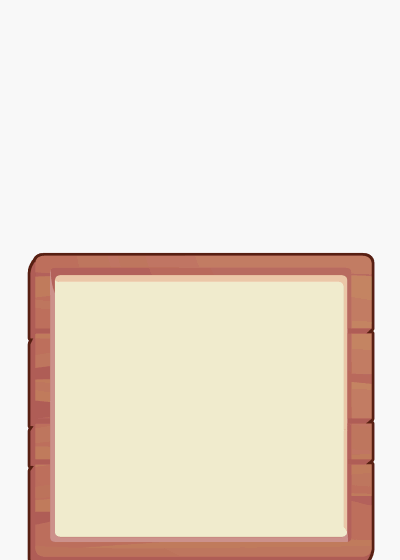
Duplicate the notification sign layer.
Move the sign layer copy down, so that it is right below the arm and sleeve layers.
Move the handle on the animation track like you did with the shirtsleeve, so that the sign copy only appears when the arm is raised above it, and the "Dog" folder has stopped moving.
Do the same thing to the original sign, to make it disappear as the copy appears.
Move the sign copy into the exact same space as the original sign. This is how my layers ended up:
For the final frame that appears behind the dog's head, create keyframes like you've been doing, then:
Grab the leftmost handle and use it to scale the layer until it's invisible. (If the image shrinks instead of flattening, click the + next to "Transform" under the Object Tool Properties, then uncheck "Keep aspect ratio."
Move forward in the timeline and scale it back to its normal appearance.
Add a few more keyframes to make the movement lively, and give it some bounce.
Bonus Special Effects!
I really like some of the effects you can achieve with layer properties and clipping layers. Since most of our pieces are in folders already, they're easy to apply.
To get a clean, art-nouveau-style border, I added a folder and dropped the sign layer and "Dog" folder into it. Then I enabled the border effect under layer properties:
Bonus Tips About Walk Animations Using Keyframes!
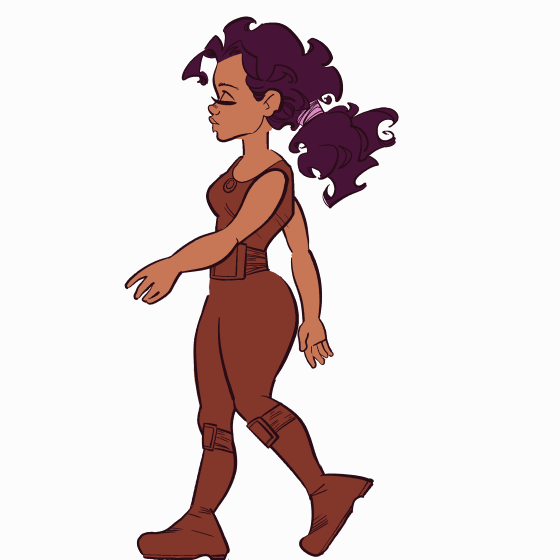
Walk cycles can be pretty challenging. Here are some tips:
Copy your first keyframe to the last position in your cycle. Do this on every layer.
Animate the feet first.
Shoulders rotate opposite hips. So the right arm moves forward with the left leg, the left arm moves forward with the right leg.
Color-code your foreground and background layers so you can find them quickly.
And here's the whole workspace in action. Make it full screen to get a good look at the layers and keyframe placement:
I don't know about you but for me, watching characters come to life is thrilling. I hope this tutorial helps you over the same hurdles that caused me so much trouble when I was learning. If you have questions, please ask them in the comments... as I was creating this I kept thinking of all the different things that could go wrong and cause confusion, but I didn't want to get sidetracked addressing them.
この投稿を「いいね!」したユーザー


コメント