Basic Ideas of How Skin Coloring Works
Introduction
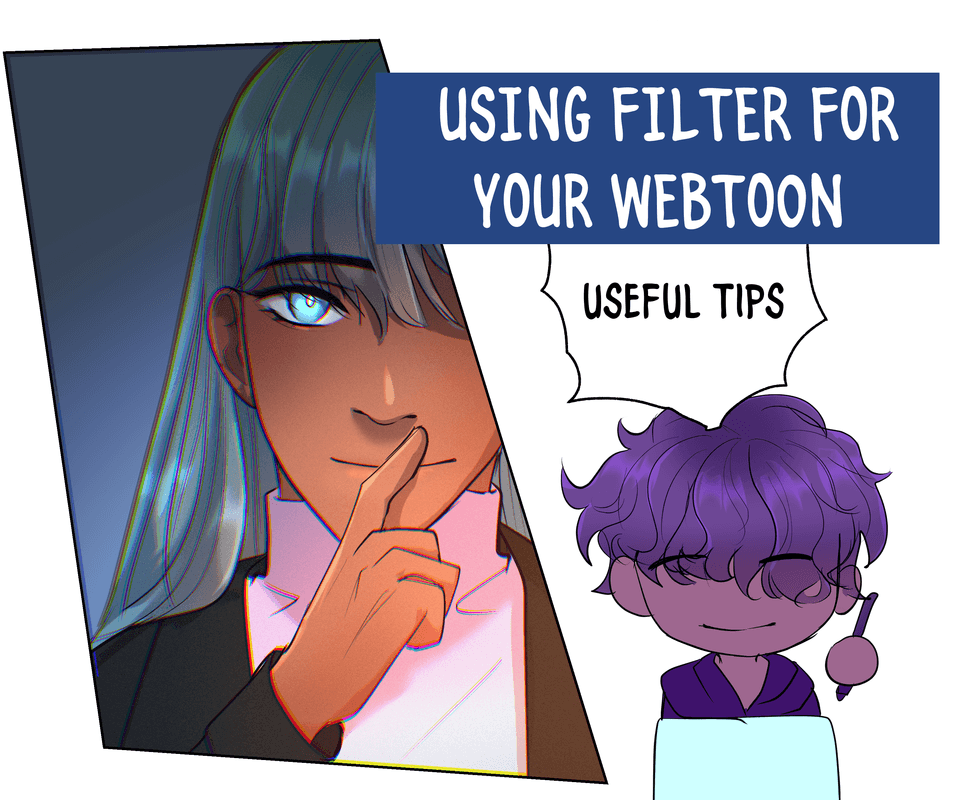
Good day everyone! I'm pmglory an anime illustrator and I would like to present you my skin coloring tips. I believe that we can get an idea of how skin coloring works regardless of our art style once we have watched the video. My skin coloring art style might not fit for everyone's taste, but what's important here is for us to understand how can we make our skin coloring appealing and what are the other things we can consider when coloring the skin so make sure you still watch the video because it can also work with other art style.
Skin Coloring Demonstration
I'll break down the demonstration into 7 parts/steps, then I'll share a couple of tips at the end of the video.
Step 1: Base Color
Of course the first step would be picking the base color. So what we have to do is just to identify what skin tone we want for the character. It can be a dark skin tone, reddish skin tone, pale skin tone or whatever skin tone comes into your mind. Just consider that when picking a base color, it's more usually lighter and less saturated than its original color since once we start adding the shade it will become more saturated and darker. A very saturated base color can result an imbalance skin color once we added the shade. So it's better to plan out what color should we use for the base color. I'll repeat this many times in this tutorial that as much as possible, we want to keep the color values in moderate. Remember that too much is usually not good.
This is my base color and as we progress and add new more colors/shade, kindly observe how the color (hue, saturation, value) will change. It will turn more cooler, saturated and darker.
Step 2: Soft Shade
For the second step, we will add a shade where the shadow usually appears even if there is no direct light source. We will be relying on ambient lighting when doing this step. So when two things are close together, it casts shadows in between even if there is no direct light source and that's what we're going to focus when doing this step. We will figure out where the shadow should appear. This is just a basic sphere example so we're just gonna add the shade near the edge of the sphere. The normal example demonstration will be shown in the video.
This is the shade color and as you can notice it became more cooler and saturated, but not too dark. The value just went down a little bit, the hue went more cooler (closer to blue) and the saturation becomes more stronger. What I'm trying to make you realize here is when we pick a shade, we don't just pull the brightness down and call it a "shade". We should consider changing the hue, saturation and value to achieve a better skin color scheme.
Step 3: Considering Anatomy
This step isn't something you would expect to see in a skin painting tutorial, but anatomy is still related and it actually has a bigger role in making a skin painting appealing. Anatomy is what makes the skin painting more detailed. I would suggest you to consider applying anatomy when coloring the skin because it gives more details in your skin painting. You don't have to go realistic when doing this, you can consider anatomy even in simple ways.
Step 4: More Variation of Shade Color
In the fourth step, we will be adding spice in the color. We will use another color variation of shade. Well, it doesn't mean that when we add another color of shade then it would look better. First thing we have to consider when doing this is to determine if our light environment is warm or cool. In my case, I decided to make the shade more cooler (from orange to pinkish) since that's what I've started doing since the second shade (turning the color more cooler and closer to blue).
Turning the hue closer to green can work with nature environments like forest or green lands. But in my case, I decided to turn the hue closer to blue (since step 2) because it works well as a default shade color for my base color. Of course, take note that it's not always that we're gonna turn the color closer to blue.
Step 5: Multiply Layer Shade
For the 5th step, we will be doing something a little bit different. We will add environment shadows using the "Multiply" layer. This step is where we add shadows. Multiply layer works well with shadows, but it doesn't mean that this is the only way to do the shadows. We can also add shadows using a normal layer.
Again we have different ways of doing the shadow, but if you want to follow this tutorial and perform some experiments with the multiply layer to compare what works well with you, then this would be the best opportunity to do that. Anyways in this tutorial, we'll set the layer to multiply so make sure you don't miss this step or it will look different from the demonstration I made in the video. You can also play with the opacity until you feel satisfied with the intensity of the shade/layer.
Multiply layer can work with different environmental moods. In my case I use brownish color since I assume that my example's environment is default daylight. We can use cooler shades like purple and blue for a nighttime environment.
Step 6: Subsurface Scattering
The 6th step is adding subsurface scattering. Subsurface scattering is the effect caused by the light that penetrates the surface (in our case, our surface is a skin). Take note that subsurface scattering effect usually appears between the light and the shadow. It's like a wall/divider between two different colors but in some cases, it's not always between the shadow and the light. It might be a little bit complicated if you want to perfect subsurface scattering, but with enough dedication of studying, you'll eventually perfect it.
The color we use for subsurface scattering actually depends on the surface's color. So the color might be different to other materials, but I'm pretty sure that it produces a reddish-orange color effect in the skin. As you can see, I ready up a vibrant orange color for this step.
Step 7: Solid Highlights
The 7th step isn't that super hard or complicated. We will just figure out what area is the most exposed in the light and that's where we will add the highlight. We usually add solid highlights where the light is hitting the skin and not in the shadow. Make sure that you don't ever do it.
Step 8: Add Glow Layer Highlights
The last step is adding an add glow layer highlight. This step enhances the highlight and makes the skin more looking lively. Make sure not to over do this step. As much as possible we don't want to make the skin glowing too much. Just a few touch of soft airbrush in the area that is exposed to light will do. When picking a color for an add glow layer, I usually choose yellowish color since default sunlight produces a orange-yellowish tone. In the video, I used the skin base color to do this step.
Also don't forget to set the layer to "Add (Glow)" layer.
And we're done!
Skin Coloring Tips
Like what I have mentioned in the video, I will share a couple of tips in the last part of the tutorial.
The first tip is when picking a shade color, make sure that you're also turning the hue, saturation and value. Most of the common mistakes artists make is when they pick a shade color, they just bring down the brightness (value) to make it darker and now they call it a shade. This is very important not only when coloring a skin, but also when picking a color for a shade. Regardless what kind of material you are coloring, you should always turn the hue, saturation and value when shading. You can compare the figure down below. The left example, we just turned down the brightness (value) closer to 0. While in the right example, we turn the hue, saturation and value together.
The second tip is do not blend too much. Blending colors in skin is necessary but don't over do it. As much as possible, we want to keep the sharp small details and blending too much might wash the small details off.
Things You Should Not Forget Before You Leave This Tutorial/Tip
Once again, I would like to remind you that this tutorial is just based on my own preferences of coloring a skin. There's no specific "one right way" to color a skin since art styles differ from one another. There's a lot of great tutorials out there, It's just we have to find what works best for us. The most important thing you can get from tutorials are the knowledge and ideas given by the OP. Steps are just guidelines. Artists have different ways/steps to color a skin, but what stays the same is the idea and the knowledge used by the artists to color a skin. Once you have understood the basic ideas and knowledge to color a skin, then you'll be able to develop your own way to color a skin. Skin art style might differ from one another but the ideas, fundamentals and aspects used by different artists to color a skin are almost the same.
I hope you realized something from my tutorial. I'm pmglory and see you again in my next upcoming tutorials.


コメント