Drawing forest on vector layer
Introduction
Hi! Welcome! I will discuss and share tips about drawing trees and a forest using the vector layer, figure U tools, and tool properties in Clip Studio Paint.
Clip Studio Paint has different practical tools to create line art and manipulate the lines of your drawings. With the help of the vector layer, tools, and tool properties, editing and navigating the lines of your illustrations are achievable.
Let’s begin.
First, I will discuss the tools, sub-tool properties, and the vector layer.
Figure U tool
Figure U tool is useful for creating vector art in Clip Studio Paint.
Sub Tool figure
The Sub tool [figure] has different options. It has shapes and lines for drawing line art and creating vector art. You may also add your sub-tool.
Correct Line (Y) tool
The correct line Y tool assists in manipulating and transforming your drawings, lines, and shapes.
Sub Tool [Correct line]
The Sub Tool [correct line] has different options to manipulate and transform your drawings, lines, and shapes.
The sub-tool [Correct line] includes the control point, pinch vector line, adjust line width, simplify vector line, connect vector line, redraw vector line width, and redraw vector line.
Simplify Vector line
The Simplify vector line tool allows you to transform the line to form your desired figure or shape.
The tool property of Simplify vector line allows you to simplify, delete short lines, and navigate the brush size.
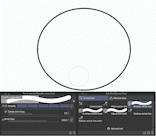
Connect Vector line
The Connect vector line tool links the separate points of the lines on your drawing or figures.

The tool property of connect vector line allows you to simplify, connect lines and navigate brush size
Redraw vector line
The redraw vector line allows you to transform the shapes and redraw your desired lines.
The properties of the redraw vector line allow to fix ends, simplify, connect the lines, and navigate stabilization.
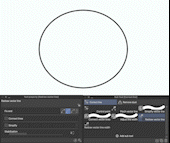
Redraw Vector line width
The redraw vector line width allows you to adjust the width of your lines.
Tool Navigation
The tool navigation comprises the tools to manipulate the lines and control the points of shapes.
You may see the object tool under the tool pane. The control point tool, pinch line tool, and adjust line width tool are also located in the sub-tool [Correct line] pane.
Object tool
The object tool is for selecting and moving the lines on the canvas.
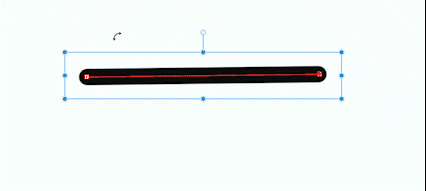
Control point Tool
The control point tool allows you to do the following under the tool property [Control Point].
Move control points
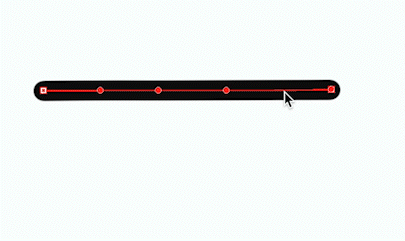
Add control point
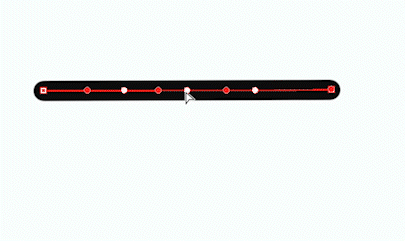
Delete control point
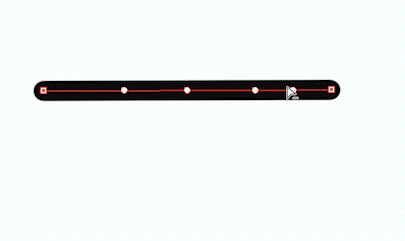
Switch corners
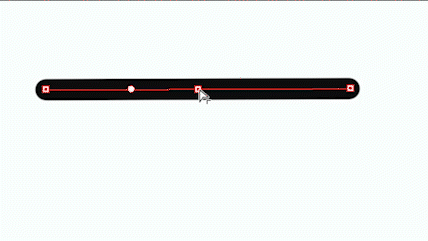
Adjust line width
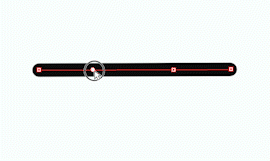
Split the line
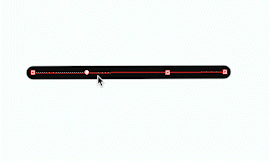
Adjust the opacity of a point on the line.
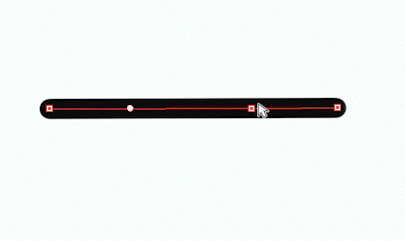
Pinch line tool
The pinch line tool allows you to warp or transform the line.
Tool property [Pinch vector line]
The tool property [Pinch vector lines} allows you to pinch the lines
with ease using the Fix end, Pinch level, and Effect range.
The fix-both-ends icon allows you to pinch the line without moving the ends of the line.

The fix-either-end icon allows you to pinch either side of the line while either end is steady.

The free-both-ends icon allows you to pinch the line with movable ends.

The pinch level navigation bar allows you to increase or reduce the amount of pinch.

Vector layer
The vector layer allows you to manipulate your lines, polish drawings, form shapes, and create vector art.
After clicking the new vector layer icon, you will see a layer with a similar figure of a cube on top of the selected layer. The cube indicates that the layer is a vector layer.
Color palette
After knowing about the tools and the vector layer, search your desired forest color palette and choose. For instance, if you like a blue color palette, you may search for a blue forest color palette.
When you have your color palette. Click a color. Type the HEX number in the box on the color settings dialog box and click OK when you’re done.
You may choose your desired color palette. For my drawing, I selected the following colors below from the website of Scheme Color.
Maastricht Blue
Hex: #001932
Ateneo Blue
Hex: #003B64
Sea Blue
Hex: #00639B
NCS Blue
Hex: #0087CA
Vivid Cerulean
Hex: #00ABE7
Vivid Sky Blue
Hex: #00DDF9
Search a reference
Search for a reference photo you like. There are several photos of the forest from different online platforms that you can use as inspiration. The pictures may help you visualize your ideal forest. Searching for a reference photo is optional.
Tree
After searching for reference and choosing a color palette, start drawing a tree.
First, organize your layers. Click the New Layer folder and name it. You may use a name based on the color of your trees. Below the folder, add a new vector layer and name it.
Pick the darkest color from your color palette. Input the Hex number in the box.
Choose a thick brush size.
Draw a tree using the curve tool.
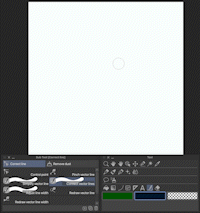
Use the Correct Line (Y) tool and the tool property to transform your lines, create curves and make textures on the tree.
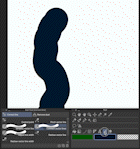
Add a new vector layer to create the tree branches. Adding new vector layers and creating drawings on it allows you to freely draw and edit the lines without touching the other drawing.
Draw the tree branches using a curve tool with a thick brush size but thinner than the trunk.
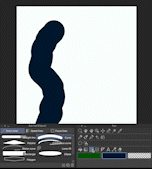
Transform the tree branches using the Correct line (Y) tool. You may adjust the line width, move control points, and add control points. You are free to use other tools and navigate the tool properties to create your tree branches.
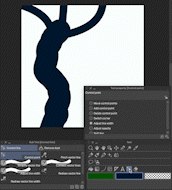
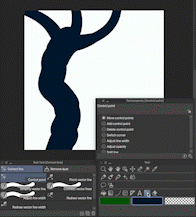
You may create a tree like the sample picture below using the Correct Line (Y) tool and tool properties.
Add some details on the tree like hanging branches using the continuous curve. Then transform the lines using the correct line tool (Y).
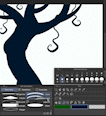
Click the control point under the sub-tool [Correct line] and click adjust line width under the tool property [Control Point] and click the point you like to adjust.
Swipe the arrow while pressing the mouse to your right to increase the line width and left to reduce the line width.
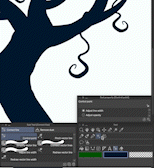
Draw the leaves using a curve and use the Correct line (Y) tool to transform the lines into your desired figure.

You may use a duplicate layer to create a copy of the leaves.
Click the layer on the commands menu bar then click the duplicate layer.
Use the object tool and scale and rotate to move the leaves
Here is a sample drawing of the tree with hanging branches and leaves.
Draw another tree on the new vector layer using a dark color from your color palette but lighter than the first one. Place the new folder and vector layers below and name it. All the succeeding layers for the background will be placed below. You may place the layers below to keep the trees behind. Please see the sample picture below.
In my drawing, I used Ateneo blue to color the trees and place the folder of the Ateneo blue trees behind the darkest tree.
Add new vector layers and draw trees with lighter colors behind the darker trees.
Add more details
Add details to your background. Add some grasses, plants, shadows, or light. Click a new vector layer to add more details.
Place the new vector layer above the folder of a tree, select the layer, and click the Clip-to-Layer-Below icon. The Clip-to-Layer-Below allows you to create a drawing within the lines and inside the drawing below.
Add more details if you like.
Here is my drawing of an enchanted forest.
Last Message
Remember to choose the best drawing method that is suitable for you. Enjoy your drawing process. I hope you learn from my tips. If you like more technical explanations about the tools, you may read the official Clip Studio Paint tips. Good luck with your drawing process.
Thank you for reading!


コメント