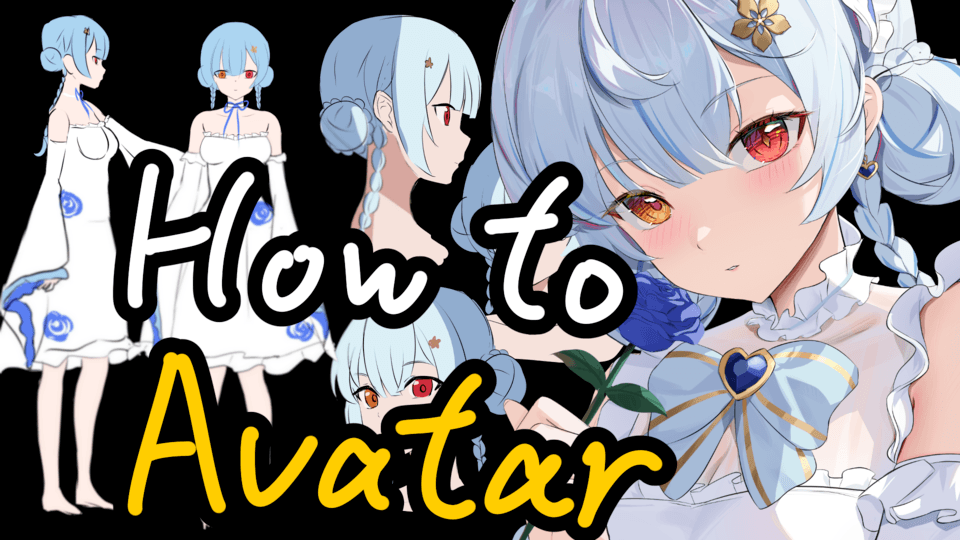
How to Draw a Maid Uniform!
INTRODUCTION
This is it! This is my time to shine!
I love uniforms, and I think they're a great way for an artist to get creative with their style, but also show the occupation of a character. I personally really love maid unforms. You can customize them so many ways so I wanted to share with you guys some tips and tricks on how to draw them!
Maid uniforms come in multiple styles, so I'll be showing you guys how to draw some of my favorite styles, but regardless of styles, the main components of a maid uniform are two things: a one or two-piece garment (skirt and shirt, or dress), and an apron. The lengths and styles all vary by design, time period, and character design.
BRUSHES / COLOR PALETTE
While traditionally maid uniforms come in a black and white format, you can get really creative with the colors, especially if they're supposed to show the personality of the character of if they're color coordinating in a group.
Don't be afraid to use multiple colors or even textures to get different effects. I really like stripes and bright vivid colors. Here is a pastel and dark and light color palette that will go pretty well most designs. Adjust to your style and taste!
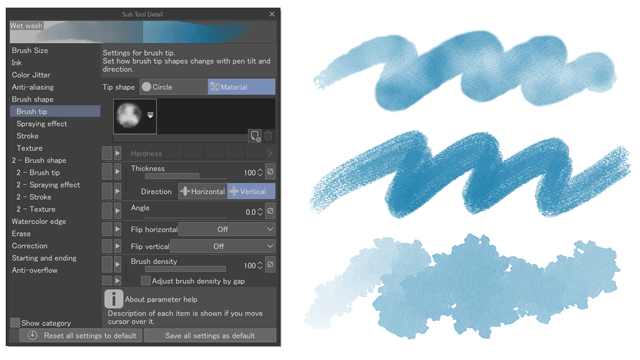
And here are some clothing brushes I've found on the Clip Assets page that could help make the process easier and faster. They're really cute and are great at saving time.
NECKLINES / ARM PUFFS REFERENCES
STANDARD STYLE
Let's start out with a pretty standard style. Frilly skirt and puffy shoulders, with a sweet heart-shaped top. Here we have a base model I came up with, and I'll be using her as a reference for all the drawings.
Alright so I start every uniform the same way, with the belt. I feel like that is a good way to start because it's in the center on the body and then it divides it into two parts. If you don't want to use a belt, there's also the option of strings and corsets.
Then I add the top and bottom, followed by the shoulder pads/puffs, and finally the accessories like head attire, shoes, and wrists accessories if there are any.
For the coloring I kept it really simple. Once the sketch was done, I moved it onto a another layer for the lineart.
Lineart > New Layer > Fill in Layer with Base Color Layer > Clip New Layer and Shade in Shadows > New Layer > Fill in with Highlights.
You can also color in your outfit by using gradients, inverting colors or swapping them manually, and adding lace and other textures to it.
SEXY STYLE
So for this "Sexy" style I kept it minimal and made the skirt shorter as well as took off the ruffles, that I found cuter than sexier. If you want to make it showier, the legging is optional and more skin will be shown.
Also, I loved giving her sleek gloves. They would really nice as a bartender look as well.
Lineart > New Layer > Fill in Layer with Base Color Layer > Clip New Layer and Shade in Shadows > New Layer > Fill in with Highlights.
CUTE STYLE
For the cute style, I did the opposite of the "sexy" style. I went full out with the ruffles. This is the time to make the cute fluffy and wide if you want. Add layers of ruffles in the bottom as well if desired. This style is really cute to have it in a group, with each character having a separate color palette.
Lineart > New Layer > Fill in Layer with Base Color Layer > Clip New Layer and Shade in Shadows > New Layer > Fill in with Highlights.
TRADITIONAL STYLE
For the traditional style, I kept it more conservative, long skirt and long sleeves as well. A simple thin ribbon on the hair and neck to match with the long theme of the apron and dress.
Lineart > New Layer > Fill in Layer with Base Color Layer > Clip New Layer and Shade in Shadows > New Layer > Fill in with Highlights.
THANKS!
Thank you so much for viewing my tutorial! I hope it was helpful for you and I would love to see what cool design you'll come up with! Maid uniforms are pretty versatile and these are just a few, so there's plenty of room to get creative.
Please check out my work if possible, thank you!
Evelyn Cao
ECAO ART


댓글