Symmetry in Clip Studio Paint: The Symmetrical Ruler
This quick beginner tutorial will cover my favorite type of ruler in Clip Studio Paint, the Symmetry ruler! I’ll show you how to easily draw symmetrical shapes like hearts, flowers, and snowflakes, and end with an example of how I used this tool to create a cute Halloween coloring page.
Here’s the video version of this tutorial, but if you’d prefer text, you can find that below!
This tutorial is all about the symmetrical ruler, but if you’d like a primer on all the different types of rulers in Clip Studio Paint and how to use them, I made a video for that too!
Create a Symmetry Ruler
Start by clicking the Ruler tool, and select the Symmetrical Ruler sub tool.
By default, the Number of Lines is set to 2, and Line Symmetry is enabled. This is the most common way this tool is used.

Click and drag a line anywhere on your canvas.
Anything you draw on one side will be reflected on the other - It's that simple!
Note: I’ve changed the color on my rulers to make them more visible for this tutorial. Yours will be a much lighter color by default.
Locking the Angle Vertical or Horizontal
To make a ruler perfectly vertical or horizontal, hold down the Shift key as you draw it.
- OR -
Alternately, you can enable the Snap Angle option in the settings to lock it to 45 degree angles, or even change the angle to something specific if you need to.
Adjust and Center the Ruler Object
You may want the ruler centered on your canvas. Rulers are objects, so go to the Operation tool and make sure the Object sub tool is selected.
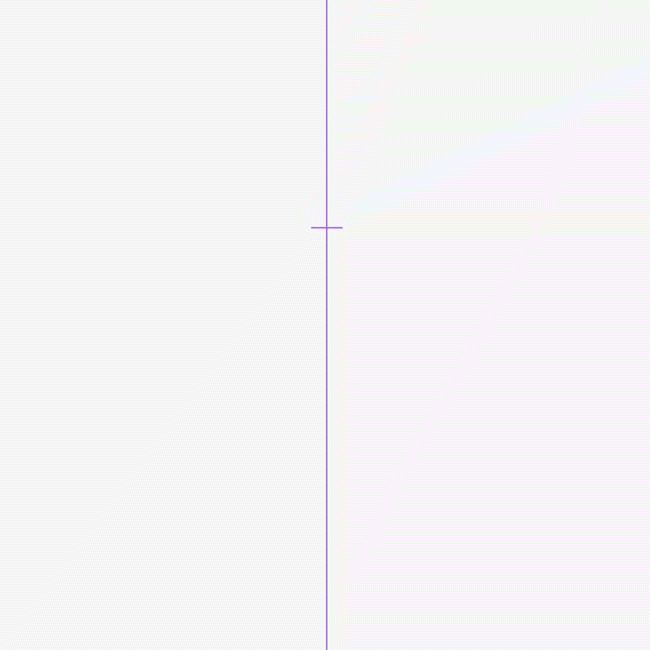
Click the ruler to select it. Now, you can click and drag the ruler to reposition it, or use the handles to rotate the angle.
For more precision, use these options in the Object properties.
For example, I know my canvas is 1200 pixels square, so I can set the Center X to half of that - 600 pixels - to center it vertically.
Center Y is used for the horizontal position. Since our ruler is vertical, we can ignore it for now. I’ll come back to it later.
If you don't know your canvas size, you can check it by going to the Edit menu, and choose Change Canvas Size.
Here, you can see the width and height of your canvas. You may need to change the Unit dropdown to 'px' to see the size in pixels.
Enable and Disable the Ruler
While we're here, I'll also show you how to disable and enable the ruler. When a ruler is disabled, you can still see it, but nothing will snap to it.
With the ruler object selected, uncheck Snap. The ruler color changes to green to indicate it's now disabled.
There's also a tiny icon that appears right next to the ruler when it’s selected. Clicking on that does the same thing as the Snap toggle. Click it to Enable the ruler, which changes it back to purple.
Note: While you can have more than one symmetry ruler on your canvas, only one will be active at a time. Adding a new one disables any others.
Draw a Heart (Simple Mirrored Symmetry)
With the symmetry ruler set up and centered, it's now really easy to draw something symmetrical, like a heart.
This is a very simple example, but imagine the possibilities. You can draw animals, character faces, leaves, and anything else that’s mirrored on both sides. The symmetrical ruler tool makes it easy.
But there's so much more you can do with this tool!
The Number of Lines Option
When you first go to the Ruler tool and select Symmetry Ruler, the Number of Lines option is set to 2 by default.
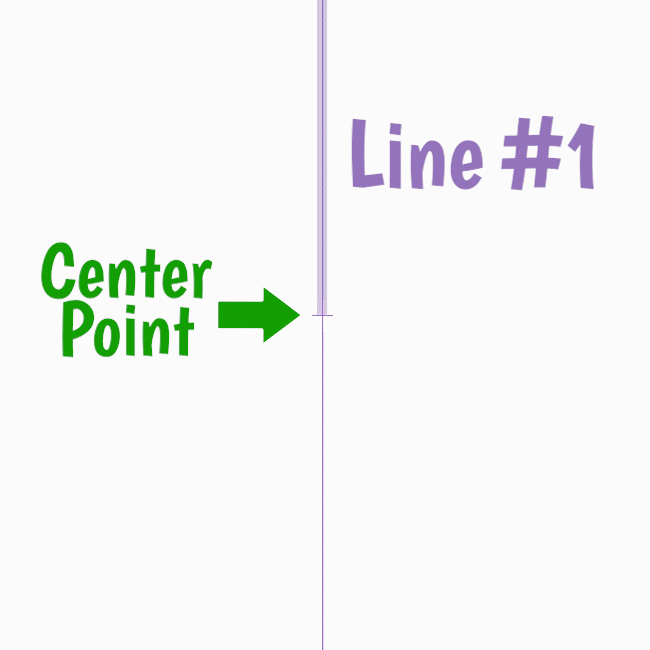
What that actually means is there's one line above the center point, and one line below it.
For simple bilateral symmetry, this doesn't really matter, but what happens if we go to, say, 4 lines?
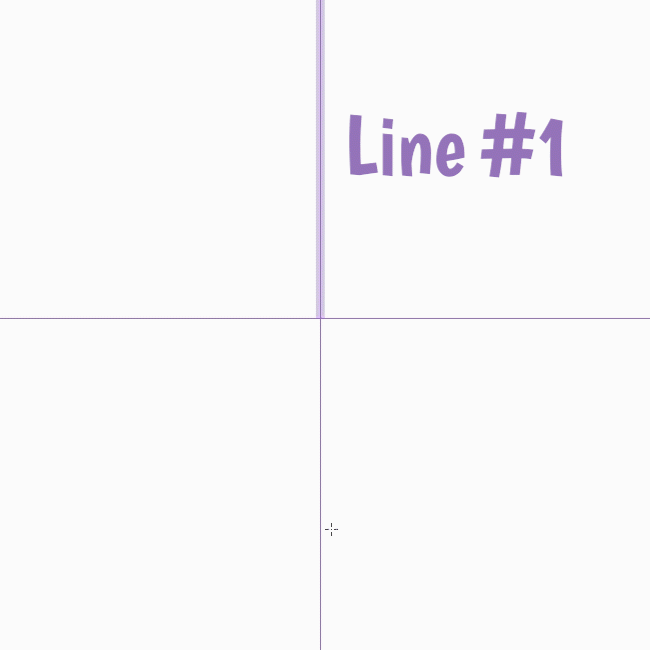
Now the number of lines is a lot more obvious.
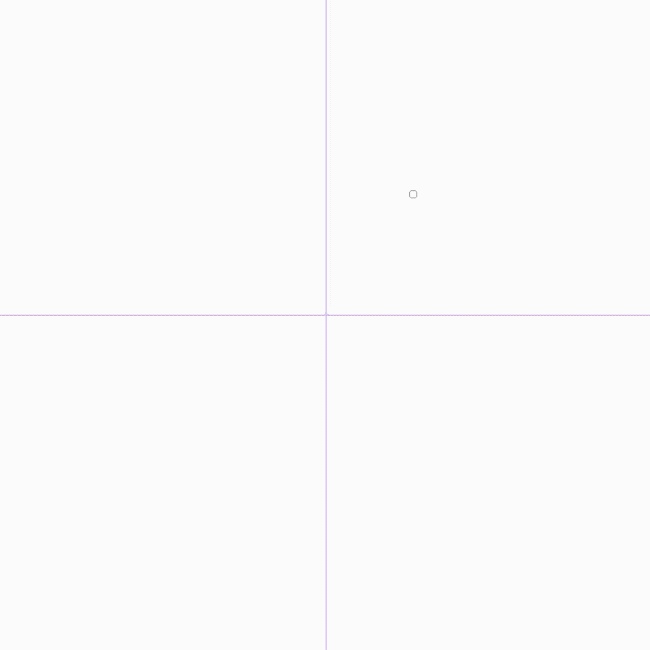
With the number of lines set to 4, anything you draw with this symmetry ruler will be reflected both horizontally and vertically.
The Line Symmetry Option
If you turn off the Line Symmetry checkbox, you’ll get a different sort of effect entirely.
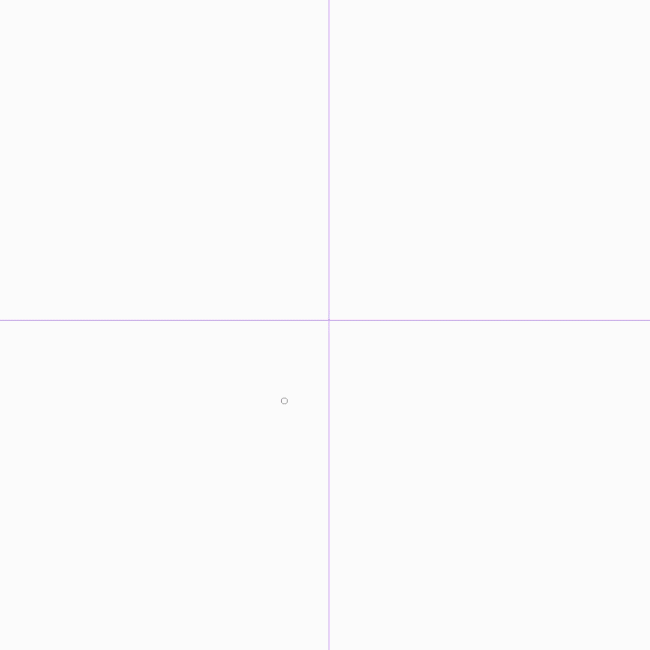
Now instead of a mirror image, your drawing is duplicated and rotated in each section.
With Line Symmetry turned off, you can draw repeating designs, like pinwheels or windmills.
Note that the Line Symmetry option is only available for even numbers of lines. It is always off (and the option is disabled) if you have an odd number of lines.
Draw a Flower (Symmetry With the Figure Tools)
Let's draw a simple flower next. You could draw it with the pen tool, of course, but I want to show you how to use other tools with the symmetry ruler.
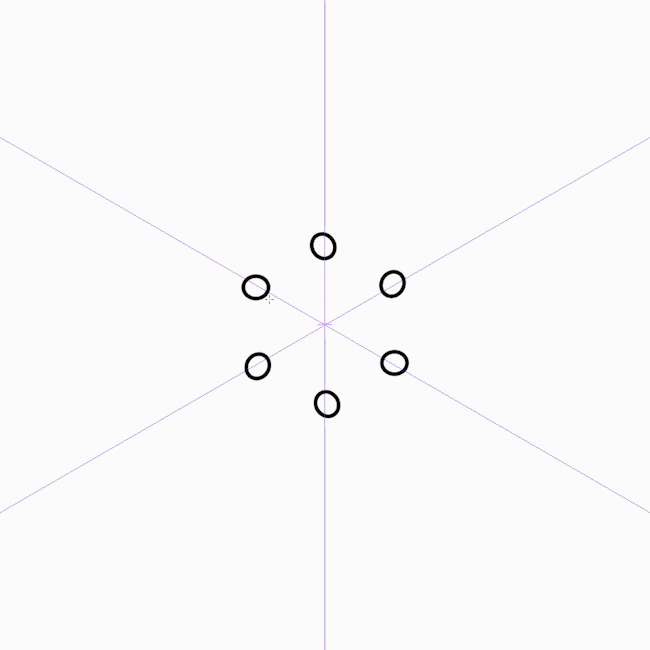
For this one, I'll set the Number of Lines to 6, and turn off Line Symmetry.
Be sure to use the Operation Tool -> Object Sub Tool to center the ruler as I showed you before. This time, it needs to be centered on both the X and Y axis.
Next, go to the Figure tool and choose Ellipse.

As you can see, creating shapes the Figure tools works with symmetry rulers too.
In fact, almost all sub tools can snap to symmetry rulers. Selection tools, brushes, erasers, even most other rulers!
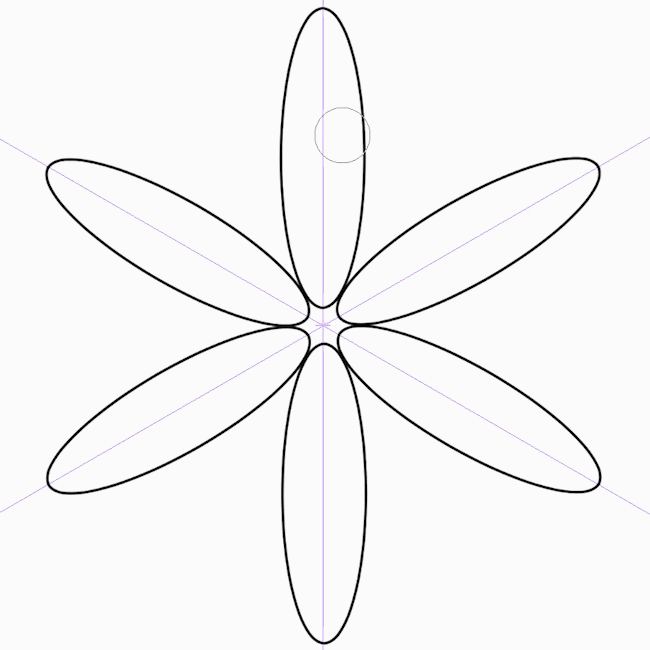
Here, I'm using the Liquefy tool with snapping enabled to add a little character to my flower petals.
What If a Sub Tool Isn't Snapping to the Symmetry Ruler?
If the sub tool you picked isn't working with the ruler:
+ 1\.OpentheSubToolDetailpalettebyclickingthewrenchicon.
2.GotoCorrection.
3.TurnonEnableSnapping.
Any tool that has this option available will work with symmetry rulers!
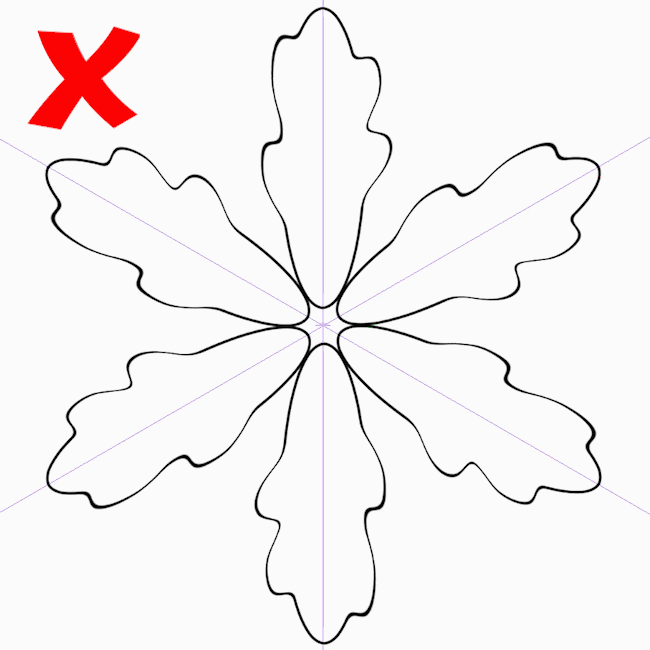
Now, I'll add a circle for the flower's center.
Remember to turn snapping OFF for this, otherwise you'll get a bunch of overlapping circles instead.
Incidentally, using shapes with symmetry rulers can give you some great spirograph effects!
Draw a Snowflake (Maximum Number of Lines)
For this next example, let's bump the Number of Lines setting all the way up to its highest setting, 16, and turn Line Symmetry on.
Again, go to the Operation Tool -> Object Sub Tool and center the ruler.

Now, use the pen tool to draw some lines.
Hint: Holding down the Shift key will to draw a straight line from the pen's last point, making it easy to create geometric designs like this.
Symmetrical Character Example - Halloween Coloring Page

As one last demonstration, here's a fun Halloween coloring page I made using the symmetry ruler to do both my sketch and line work.
Download a printable copy for free on my website below. Happy Halloween!
Conclusion
I hope you can see why I love this tool so much. It's a lot of fun to work with, and incredibly useful.
Try it out for yourself! I’d love to see your designs. Tag me @MsRedNebula on Twitter, Instagram, Bluesky, or Mastodon to show me. Follow me here on Clip Studio Tips, or my YouTube channel, for more tutorials.
That's it for this tutorial. Have fun with symmetry!


Kommentar