Plant Illustrations in Traditional Style
Video tutorial
Beginning Steps
Preparation
To start, I will create a new canvas. Since I’m aiming for a design that evokes the feel of a field journal, I’ll set the canvas size to 3000x3800 pixels, mimicking the proportions of a sketchbook page.
To achieve a more natural watercolor effect, I’ll use a textured paper background. I’ll drag the texture directly onto my canvas, adjusting its size and opacity to suit my preferences. Then, I’ll apply a base color to the paper, giving it the appearance of real sketchbook paper.
Sketch
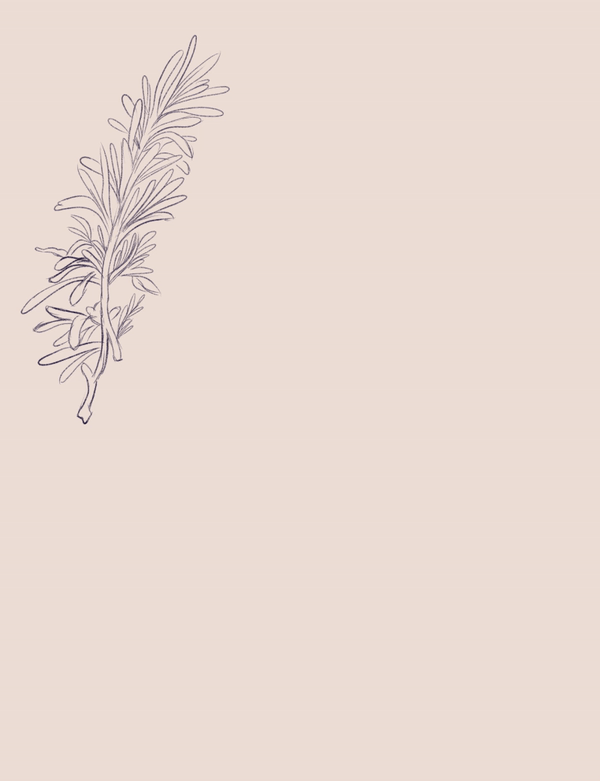
For the sketch, I’ll use a simple pencil brush with a paper texture. A helpful tip is to avoid using solid black for your lines, as it can make your illustration look overly digital. True black isn’t typically found in traditional pencils.
You can use dark gray, but I prefer a darker version of purple or blue.
When sketching plants or flowers, I don’t usually follow a reference picture too strictly. For this illustration, I chose a rosemary flower. Since its structure is quite simple, I relied on the reference only sparingly. A useful tip for most green plants is to use basic shapes, like half-circles or small heart shapes, for the leaves. This approach keeps the sketch looking natural and still visually appealing.

Brushes
Clip Studio Paint offers a great selection of default watercolor brushes, and we’ll use some of these to bring our illustration to life.
I’ll primarily use the Round Brush and the Rough Brush to add color.
Watercolor
To make the painting feel more alive, I chose a variety of green shades. This helps add depth and realism, giving the illustration a more dynamic and natural appearance. And used a mix of watercolor brushes.
Blending
The best tools for blending watercolor are Texture Blender and Wet bleed, you can see how beautifully the two greens are blended.
To add more definition to areas where shadows should be, I used the Flat Watercolor Brush, applying it almost like a lineart tool. This helped create sharper edges.
When coloring the leaves, I added multiple layers of paint using different colors. This layering technique helps create depth and variation, making the leaves look more natural and dynamic. And with the Flat Watercolor Brush added purple flower to make it more colorful.
Tip for using the Watercolor Brushes
In traditional watercolor, the colors naturally layer over each other. To replicate this effect digitally, watercolor brushes in Clip Studio Paint are set to the Multiply blending mode by default, which allows colors to build up as you paint. If you set the blending mode to Replace Alpha, the color won't layer, even if you paint over the same area. I often use this setting when coloring character faces.
Using mainly Flat and Round Watercolor brushes I created the other plants too.
Gouache
For the gouache painting, I skipped the sketch layer because the gouache brush in Clip Studio Paint has excellent default settings for creating flower petals. The brush naturally mimics the texture and flow of gouache, making it easy to paint directly the petals.
To create the flower petals, I simply used three strokes, arranging them in a triangular shape.
For the yellow center of the flower, I used the Finger Tip Blend brush to blend out the colors.
After finishing the first flower, I simply copied and pasted the flower head, then transformed and resized them to create smaller flower heads.
Fantasy Plant
Lastly, I created a fantasy pumpkin tree using both watercolor and gouache. For the pumpkin head, I applied the same technique as I did for the flowers. For the tree itself, I used the Flat Watercolor Brush.
Hope you enjoyed, have a nice day! :)


![[GaChiDa]](https://s3-ap-northeast-1.amazonaws.com/celclipcommonprod/accounts/profile-image/42/9b28e4ced95a4b0308e33f149bcc804ba90f652f1e93c334f6c4a7aea611093e.png)


Comment