Making animation with text tool

-
 MVP ◆This user has contributed greatly to the management of the community, by posting many great responses to the questions asked. Once every three months, MVPs are determined based on the points earned during that period and will be recognized accordingly.
 -
 New Valuable Player (NVP) ◆These are the next-best contributors to the community after MVPs. This is awarded to users who have not yet won an MVP award, based on the number of points they have earned.
 -
 Official Expert ◆Chosen out of all MVP awardees, who are already proof of excellence, this is a testimony of outstanding correspondence in the community. After careful screening, they are appointed by CELSYS and assume their position.Note: Formally called “Evangelists”
 -
 CELSYS official moderators ◆Moderators are official CELSYS staff members who are fluent in Japanese as well as various other languages. As moderators are not experts on software or creative work, they will not be able to directly answer your questions. However, moderators will provide communication and language support to ensure that everyone can smoothly communicate with each other.
 -
 CELSYS officialThis is the official administrator account.
Introduction
Greetings and welcome to this new tutorial using Clip Studio Paint for our arts and creations.
Today we'll see how to use the text tool, brushes and use the timeline to put together some creative animated typographies.
Here's a video tutorial and a text tutorial!
1. Choose your fonts and preps your draft
Preps a draft with text font, words, brushes, textures and color palettes before starting.
We choose the fonts that we have by default in the device or we download some fonts for free on the Internet, I'll use the ''Amatic'' font
2. Canvas and Timeline
Create a canvas of 1920x1080 píxels (FHD)
Let's activate ''New timeline'' with 24 frames per second and 24 frames of duration
3. Let's Animate
Add ''Folder animation'' in the Timeline.
In Timeline, add new cels in the Folder animation in these order
In Layers, create a New Folder, and then add the Layer on the Folder.
In other layer, let's make a text with these properties and write a word
To tracing, rasterize the text, apply the filter color and low the opacity
And tracing in different aspects in each frame
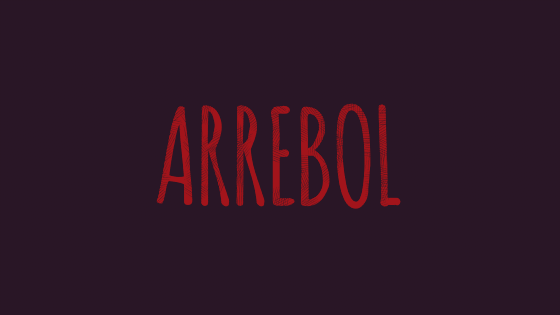
Result
4. Transformation: Position, Rotate and Scale
To vary the text animation, firstly convert the layers of each frames in ''Image material layer''
And each frame transform the text as ''Image material layer''.
TIP: Enable onion skin and use ''Mode: Free Transform''
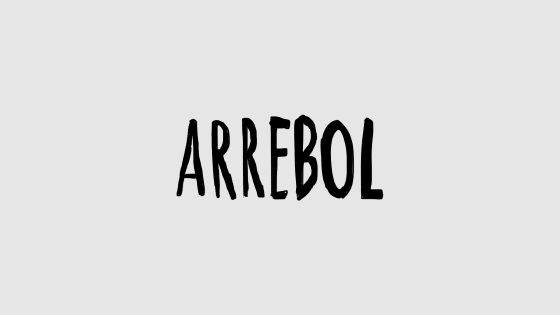
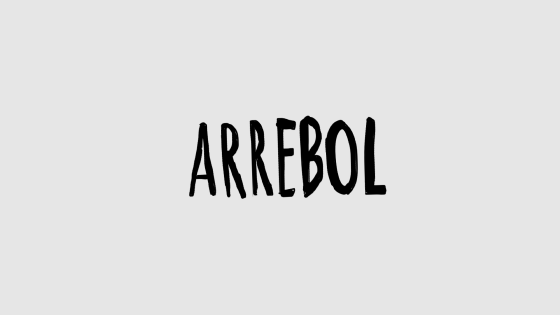
Result
5. Extra tips (Textures and Color gradient)
1. Let's masking each folders
2. Apply in the masking the texture brushes in each frames
3. Create a ''New Layer Correction'' and then apply the gradient color for the artwork
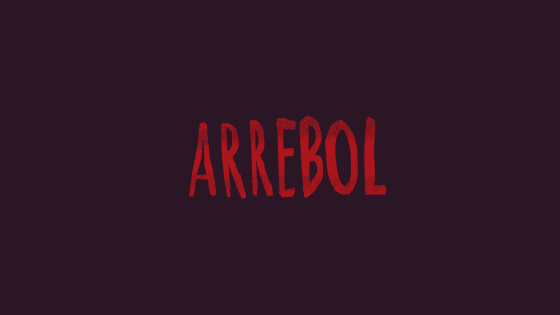
Final result!
Thank you for reading!
Users who liked this post


Comment