
Introducing the line art tips.
How to use the pen
Depending on the difference in writing pressure, there are various lines that can be expressed with the same pen.
I prepared a GIF that draws a line with the existing round pen of CLIP STUDIO PAINT as a sample.
(From top to bottom, writing pressure strong, weak, strong and weak)

The impression of the illustration changes depending on the strength of this line.
(Left) Certain weak lines ... Delicate and gentle impression
(Center) Strong and weak lines ... Impression that it is sharp and easy to see
(Right) A line that emphasizes shadows ... Impression that has a strong impact
If it is difficult to draw a strong or weak line from the beginning, it is recommended to add a line later so that you can easily add strength.
And you can easily express the sharpness by adding strength to the points where the lines intersect.
draft
Before we get into line art, think about a draft.
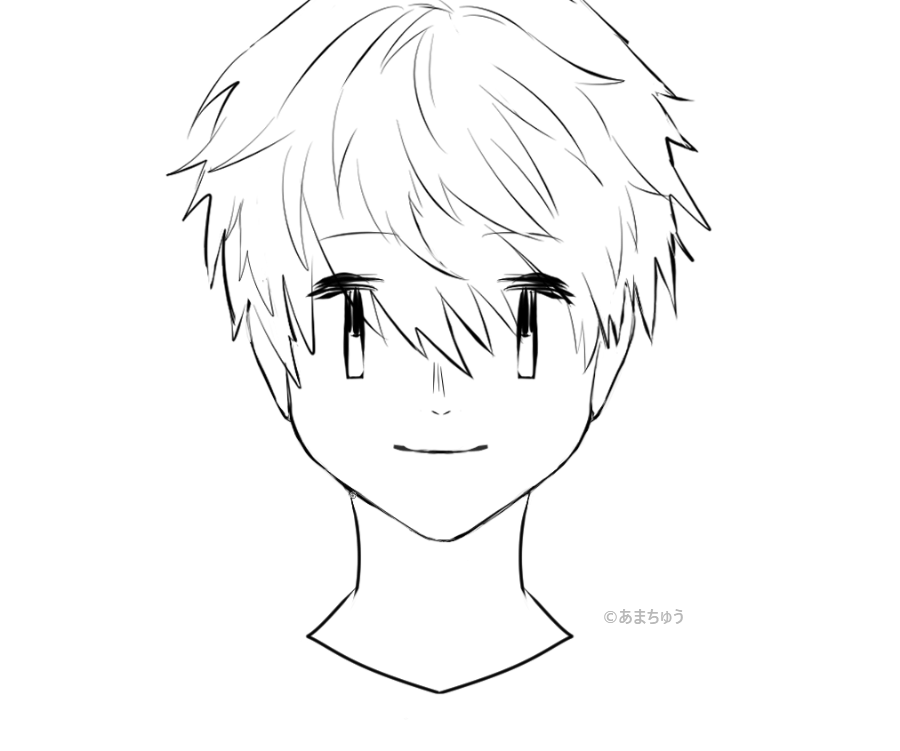
I added the above central plan and decided on an illustration for drafting.
Line art
Decrease the opacity of the draft layer and draw a line art on the new layer (normal).
It is convenient to draw layers separately for each part such as face, hands, and clothes when you want to modify them later.
\ A little point /
If you draw quickly with a snap on your wrist, you can draw without twisting the lines.
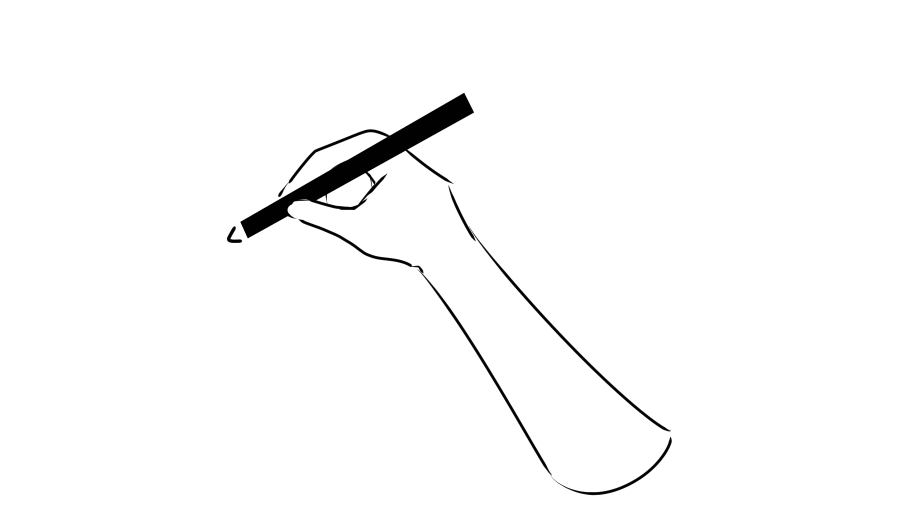
Here is a GIF that I actually drew using a wrist snap.
I use snaps when drawing lines from the shoulders to the arms and wrinkles on clothes.

Proceed with the above drawing method to complete the line art.
For symmetrical parts, copy inversion can save time.
↓ After drawing half of the coffin, the angle is changed by rotating after copying and reversing.
shadow
Add shadows to make an impact.
If you add a shadow to "Bold", it will be sharp, so take the plunge.
↓ I borrowed this brush for the Kakeami part of the shadow of the coat.
If you redraw a line art that is no longer visible in the shadow with a white line, the picture will not turn black, so this is the recommended expression method.
Finish
Finally, add shades and gloss with a new layer.
If there is something you are interested in here, I will correct it.
I was a little unsatisfied, so I added an effect around the coffin and added the effect of chromatic aberration to complete it.
Finally
Thank you for reading this far!
I hope this line art TIPS will be useful.
↓ Twitter (miscellaneous account)
↓ TIPS introduced last time
Users who liked this post


Comment