
Hi all! In some of my past tutorials I used the Keyframe function for simple animations, but I never explained in detail how to work with this function and how to take advantage of the 2d Camera folders.
In this tutorial I am going to try to give you a detailed introduction to keyframe animation tools and show you some practical examples, I hope you find them useful!
Video tutorial [Eng Subs]
I recommend that you watch the video tutorial where I explain the concepts of the tutorial well. If you need, activate the English subtitles ▼
Video tutorial summary
The basic functions are the creation of keyframes, which allow us to animate in a simple way using the assistance of the software.
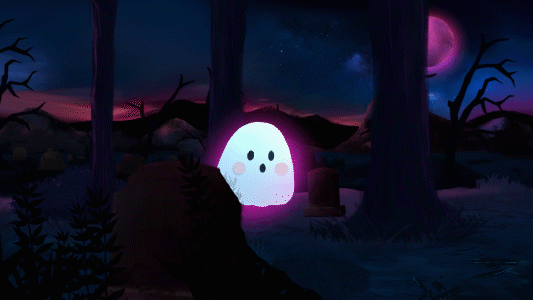
Animation the traditional way with just 4 frames. Using the keyframes in the animation folder I can add other complex movements to it that would otherwise be very tedious.
We activate the keyframes from that button
We can modify the position, rotation, scale and opacity. Both from the modifiers with the Object tool and from the tool properties panel.
We create a new keyframe at the beginning, we advance a little in the timeline and if we modify any property a frame is created automatically.
Clip Studio Paint calculates the intermediate frames!
Interpolation
To calculate the intermediate frames there are 3 types of interpolation.
Fixed: Holds the previous value until another frame appears. There is no transition.
Linear: Switches between the start and end value at a constant speed.
Smooth: Uses a curve to create a more natural movement.
As a general rule we use soft interpolation
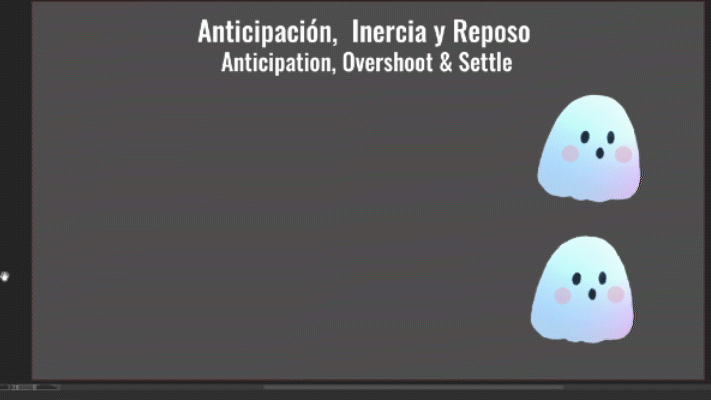
Credible animations
To create more natural animations we can use the graphic editor to modify the interpolation curves between frames.
In this way we can create anticipation, inertia and rest.
Archive objects
To create puppet animations, or modify the rotation point of a layer, it is preferable to use file objects.
There are several excellent tutorials that explain that method. I recommend some
Cámara 2d Parallax scrolling
We can use the 2d camera folders to animate a background with a parallax effect.
We can create as many cameras as we want.
Once our animation is finished we can group all the cameras into one final to create a handheld camera effect. They experience
To export make sure to select 2d camera effects
Final notes
This time the written tutorial is only a summary, please watch the Video tutorial where I explain the functions in detail. Thank you very much.
Users who liked this post


Comment