
Brief introduction:
Hi, my name is Davis and I hope to contribute something with this little tutorial on how to draw a Chibi character explaining the 5 criteria you must have to draw your Chibi character. Criteria such as the body proportion that our character will have, the body gesture, the thickness of the line, the level of detail of the character and finally the level of detail of the coloring.
I hope it will be you useful.
Criterion 1: Define the body proportion
To define the proportions of a Chibi character, I present three possible options:
Option A: 30% - 70%
Option B: 50% - 50% (One of the most used)
Option B: 100% (The minimal abstraction of your character)
Criterion 2: Define the body gesture
One of the criteria to give your character more personality is the body gesture. Therefore you must define what type of gesture you are going to work with. I present three possible options here, but the limit is your creativity.
Criterion 3: Define the thickness and pressure of the stroke
You have to choose the thickness and pressure of the stroke according to your drawing style and / or personality that you want your character to have. I present here three possible options:
Criterion 4: Define the level of detail of the character
Another criterion to take into account is the level of detail you want your Chibi character to have. The less details we could consider the more tender, which will depend on the personality you want it to convey. I present here three possible options:
Criterion 5: Define the level of detail of the coloring
And finally, you must define the level of coloring that you want your character to have. All this will depend on the style that you like to color the most, although if you enter more details in the coloring you will add a more striking personality to your Chibi character.
Starting to draw:
First define the five criteria that your character will have and start sketching.
Before starting to inking, I recommend modifying the stability of your brush so that the curved lines are more stable.
Now the next is to paint the base (flat) colors with the fill tool as shown in the video tutorial.
Now finally, you just need to add the layers of flat lights and shadows along with other layers with lights and shadows with the airbrush tool and in the end get the following result.
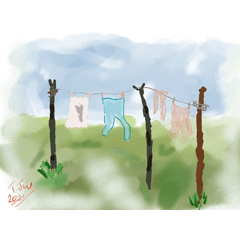
And how detail you can add a background that gives context to your character. In this case draw a blue sky.
And you know, any questions or doubts, in the comments.
Users who liked this post


Comment