
Video Version
Ever wondered how screentones work in Clip Studio Paint?
Today, you'll find out and I'll teach you how to use them.
Screentones are monochrome dots of black that are traditionally used to mimic different shades of grey.
Making Tones
There are 3 ways to make tones in Clip Studio:
1. Via the Selection Launcher
2. Via Layer Property
3. Via the Layer toolbar
Way 1: Via the Selection Launcher
One way to make tones is by making a selection and clicking tones from the Selection launcher.
From here, you can adjust tones and get a preview. You can use any selection tools to bring up the Selection Launcher.
In this screenshot, you can see the tone button, which is circled in red.
When you click on the tone button, these settings come up. There is the the tone preview. You can adjust all the settings before you press OK.
Once you're done with the settings, press OK
And here you have your tone!
Here is a tone I made from the selection, which you can see on the nose of the character.
The layer becomes a tone layer, it is filled with tone and there is also a mask made from the selection you made.
The screenshot above is of the tone layer. Here it is circled in white.
There is also a mask made from the selection you made. Here, it is circled in white.
Way 2: Via Layer Property
The second way to make tones is via Layer Property
It can be found next to the colour wheel, by default.
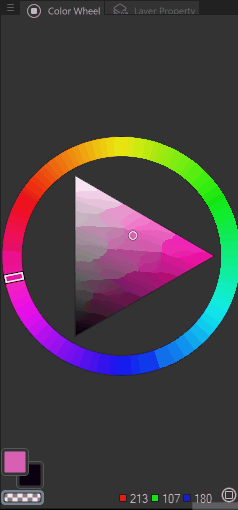
You click on layer Property, then the tone button.
This way you also can easily turn the tones on and off whenever you want to by clicking on the Tone button in Layer Property.
This way is good for when you already have your colours down and you want to convert them into tones
Way 3: Via the Layer toolbar
Another way to make screentones, by going to Layer > New Layer > Tone...
Once you click 'Tone...' it comes up with simple tone settings similar to in Way 1.
Like in Way 1, You can adjust all the settings and once you're done with the settings, press OK.
This fills then canvas and layer with tone and makes an empty mask.
There is a mask in Way 1, which is the image on the left.
The image on the right, is Way 2
Both have masks, but in Way 1, you get a mask made from the selection you made, whereas in Way 2, you get an empty mask.
Values
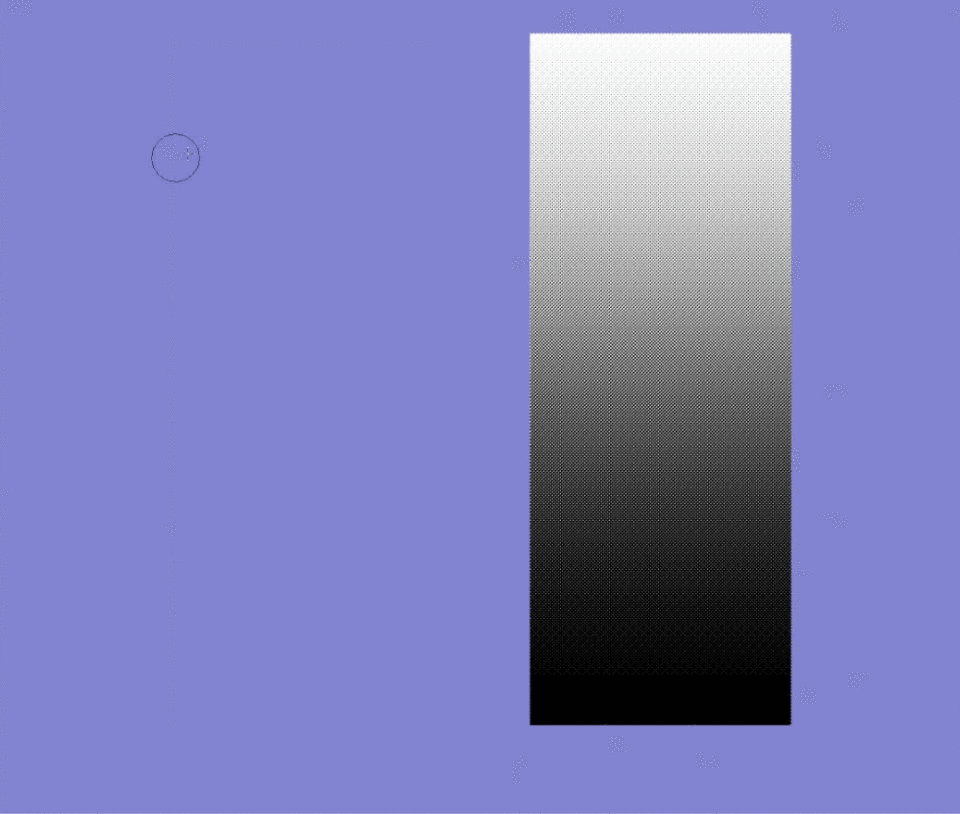
Value is how light or dark a colour is.
The darker the colour, the more dense the tones are.
Here, I made a black and white gradient. On the second gradient on the right I applied the tone effect.
Try out using different colours and different shades and see how they look on your tone layer.
Here's how colour affects tones.
This example shows the colour wheel with the tone effect applied on the left, and the tone effect off for side-by-side comparison.
Notice how on the darker values, the tone dots are more dense.
You can use any brush, the lasso fill tool or the paint bucket tool to fill the tones in.
Brushes that are affected by opacity and density like watercolour brushes and the airbrush can be used to mimic the effect of tone scraping.
Image 1 is with the tone on and Image 2 is the same layer but with the tone effect turned off.
Frequency
Frequency is the size of the tone and how often it repeats.
The larger the frequency number, the smaller the tone will be.
The default number for this is 60, but you can increase it and decrease it as much as you like.
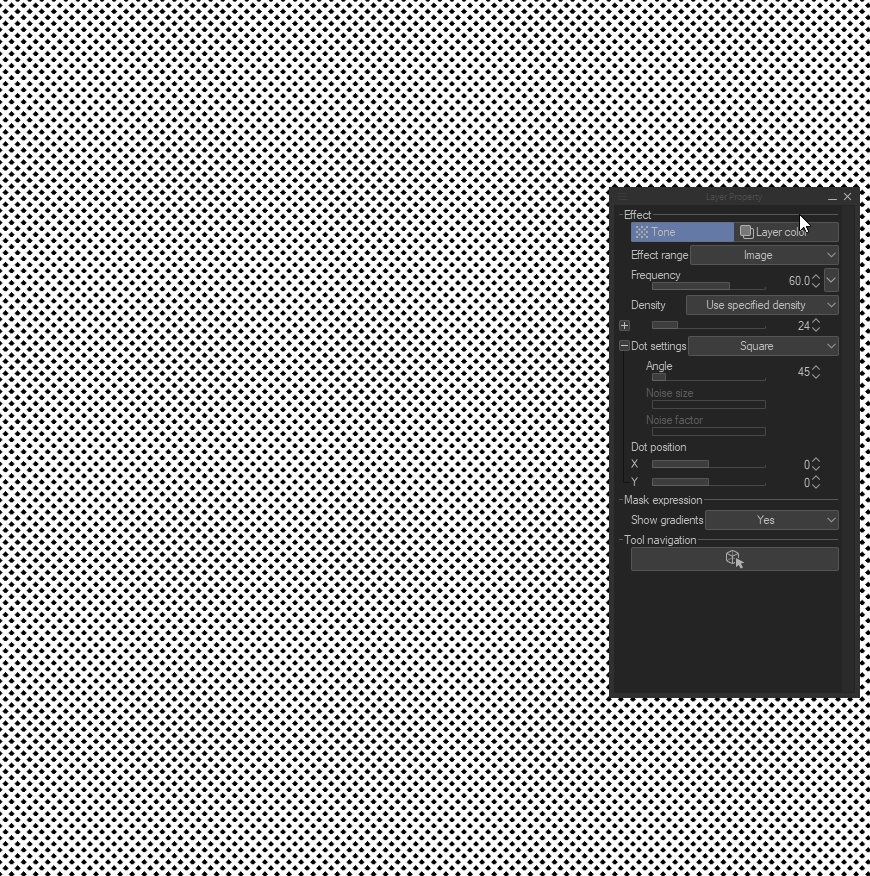
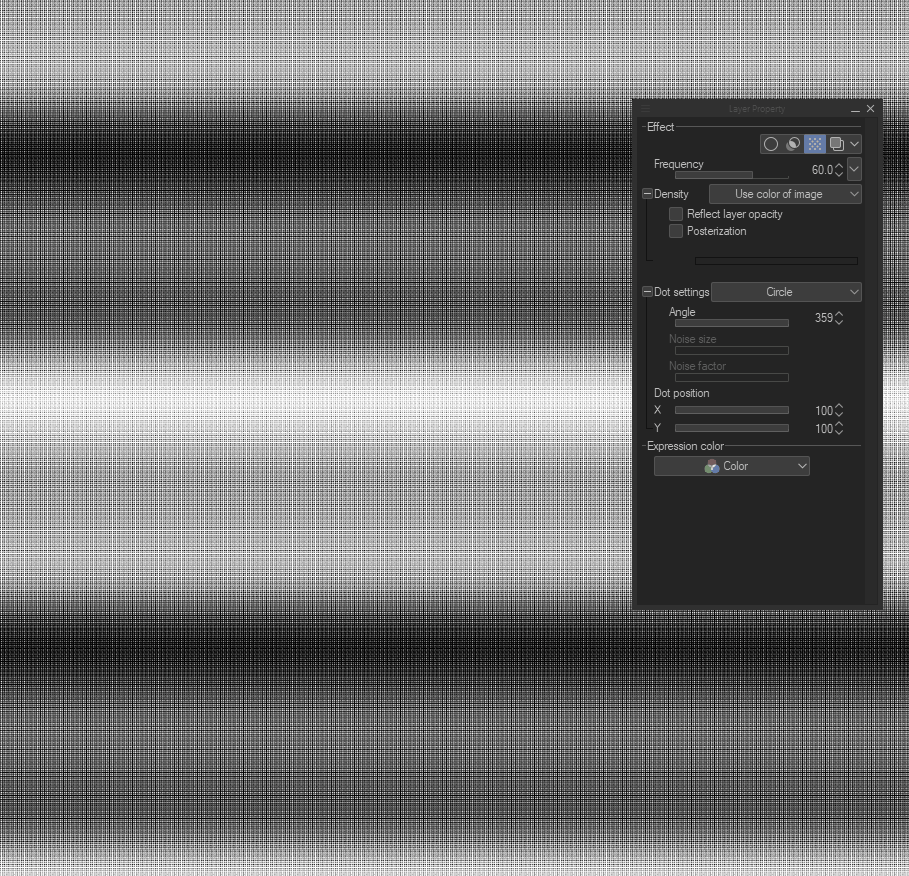
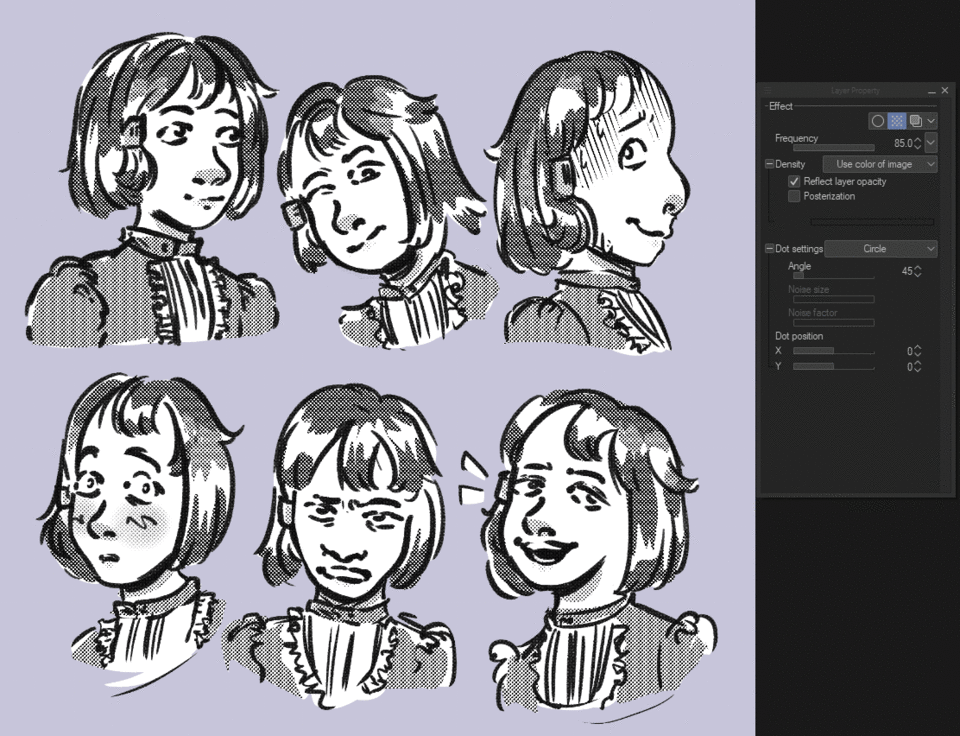
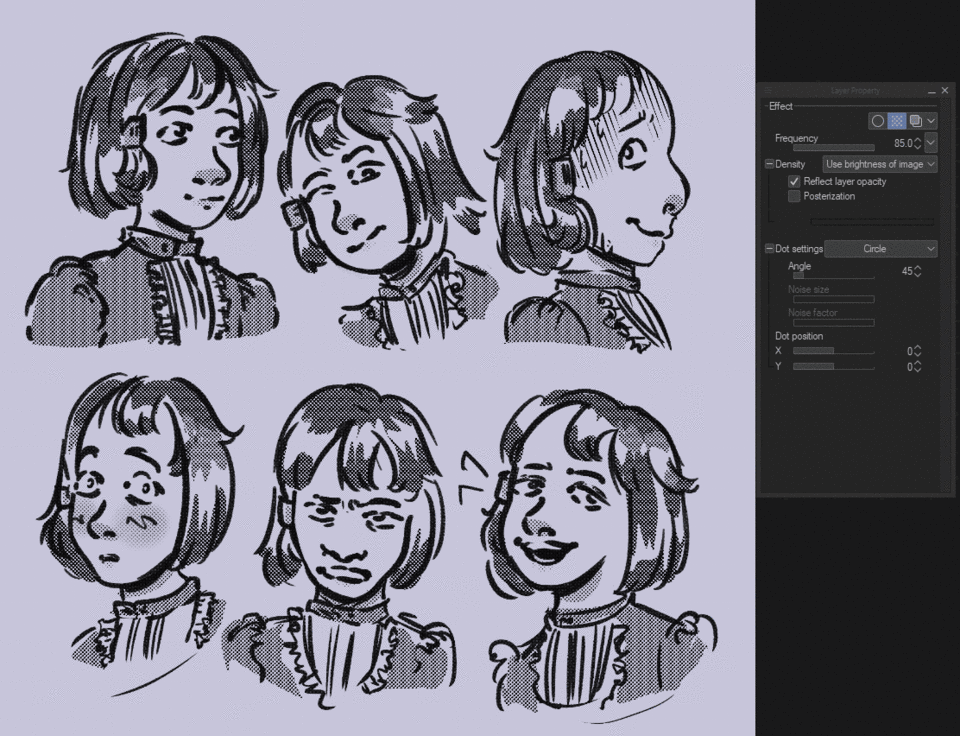
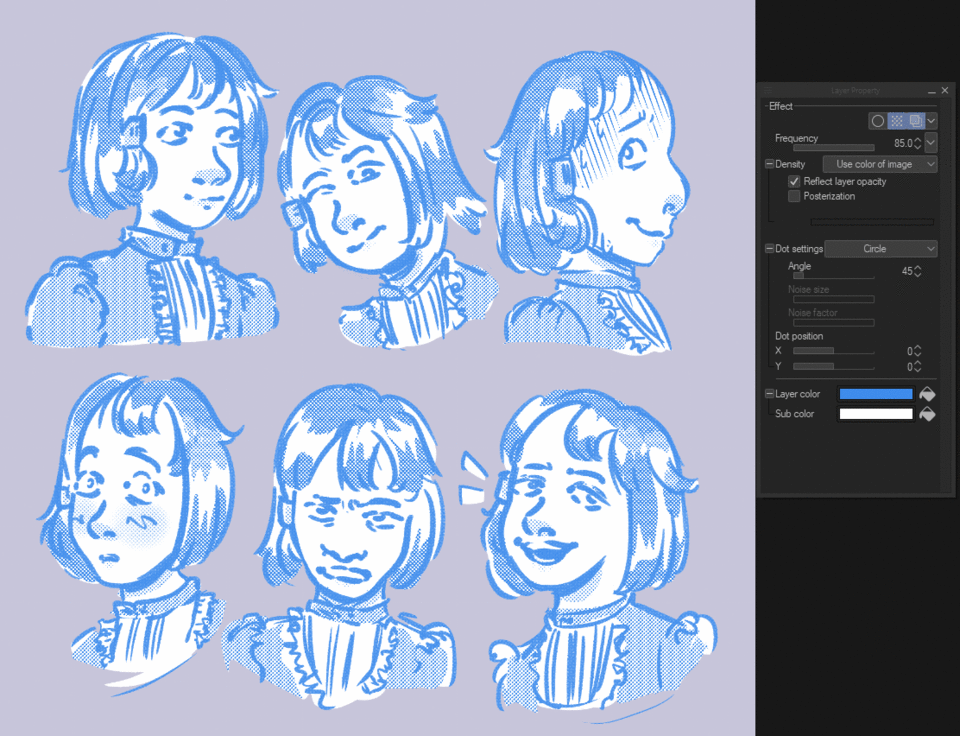
Density
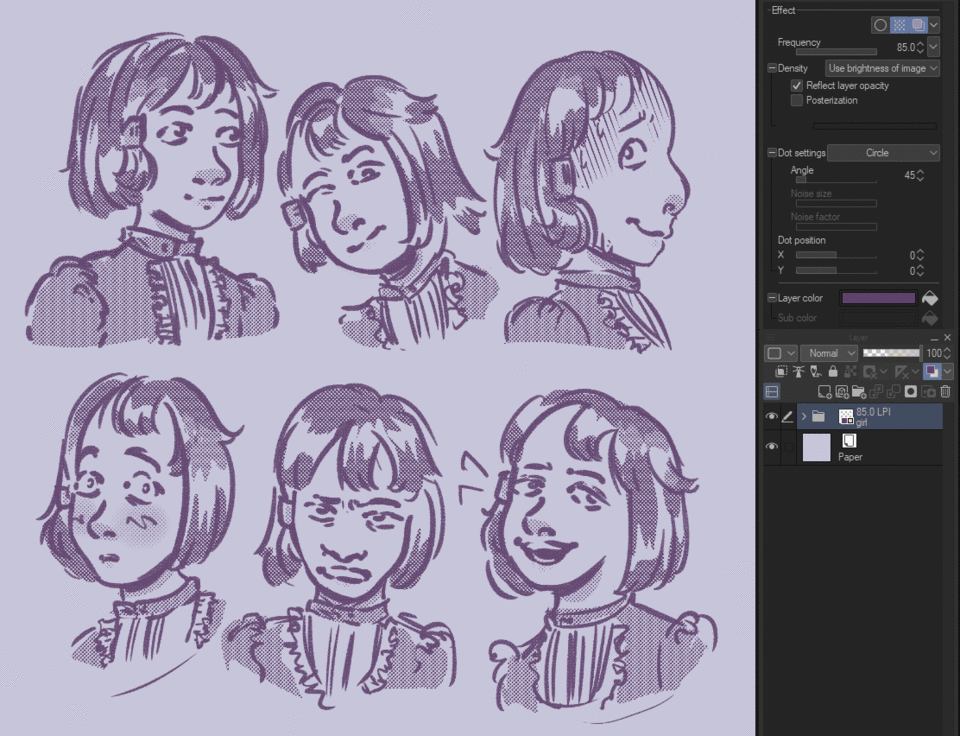
You have an option to 'use colour of image' or the 'brightness of image'
For 'Colour of image', the tone will be black and white, with no transparencies.
And if you use brightness of image the tone will be black and transparent, where the white values are transparent and the black values are solid fills.

Posterisation
Posterisation is an effect where an image is converted to using a limited number of tones.
There are no gradients or smooth transitions of colour.
Posterisation can be found here, where the pink arrow is.
You can adjust the shadows, midtones and highlights Here.
When you hover your cursor over the bar, a plus sign appears. From here, you can add more settings to the bar.
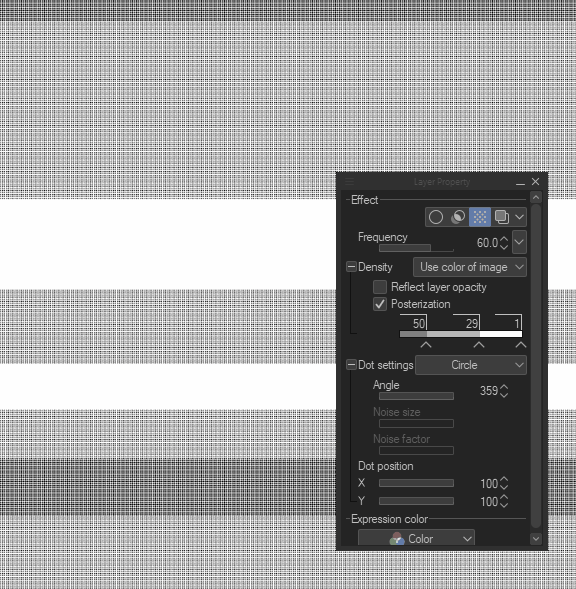
If you do not want one of the settings, you can simply drag down and it will disappear.
You can also add as many as you like. The more you add, the more transitions you get.
Reflect layer opacity
This allows for the tone density to be adjusted with the opacity of the layer.
With it on, the tone remains full opacity and the density gets adjusted with the layer opacity tool.
This is easier to notice when the frequency is low.
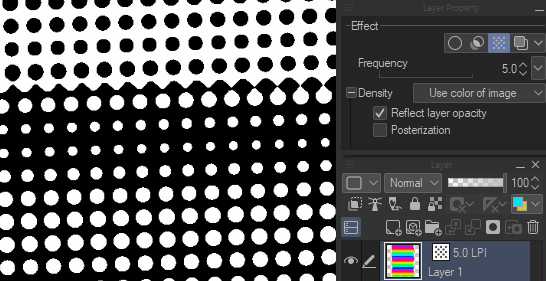
With 'Reflect layer opacity' off
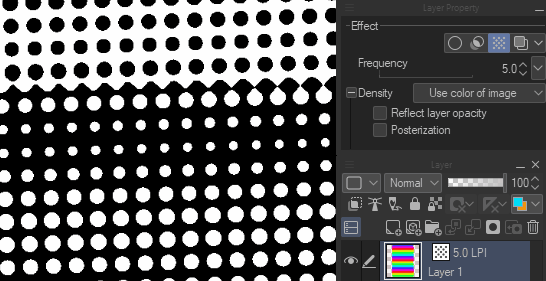
With 'Reflect layer opacity' on
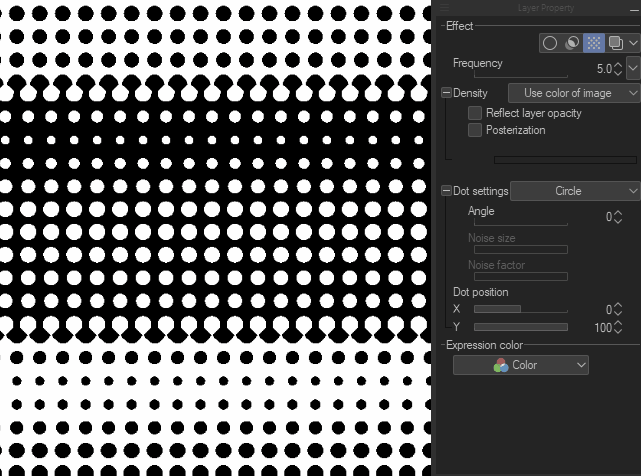
Dot Settings
You can change the different types of tones.
Right here is where you can change the type of tone.
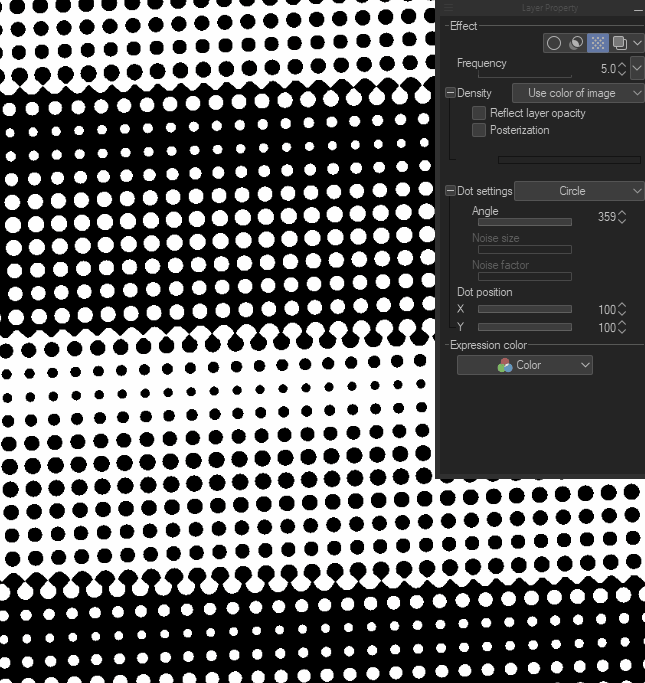
Here are all the types of tones
There are many types and you can mix and match by layering multiple tone layers and either using blending modes or setting density to 'use brightness of image' as well.
Angle
You can adjust the angle of your tone here
By default, the angle is set to 45°
You can Pick an angle between 0° and 359°

Noise Settings
When you set your dot setting to noise, the options noise size and noise factor become available.
Noise Size
Noise Size works similarly to frequency.
You can find it here.

You can choose between a size of 1000 and a size of 10.
Noise Factor
Noise factor is the shape and how the noise moves. The larger the number, the more the noise distorts
You can find it here.
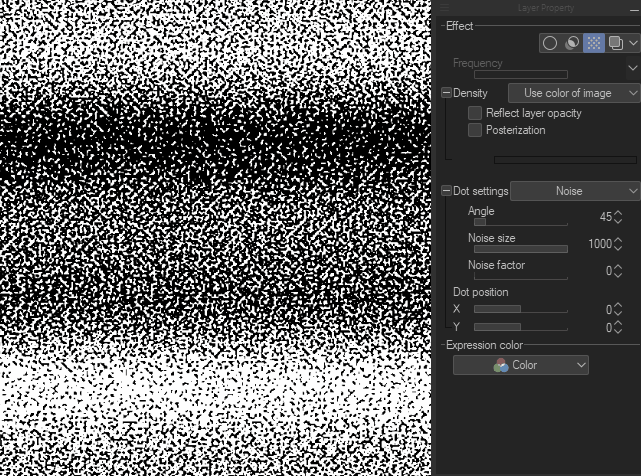
You can also choose between a factor of 1000 and a factor of 0.
Noise factor is the shape and how the noise moves. The larger the number, the more the noise distorts. This is a lot easier to see when your noise size is large.
Dot position
You can move the tones up, down, left and right by using the x and y axis.
The x axis moves left and right and the y axis moves up and down.
Here is where the X axis bar is found.

Here is what it looks like.
Here is where the Y axis bar is found.
Here is what it looks like.
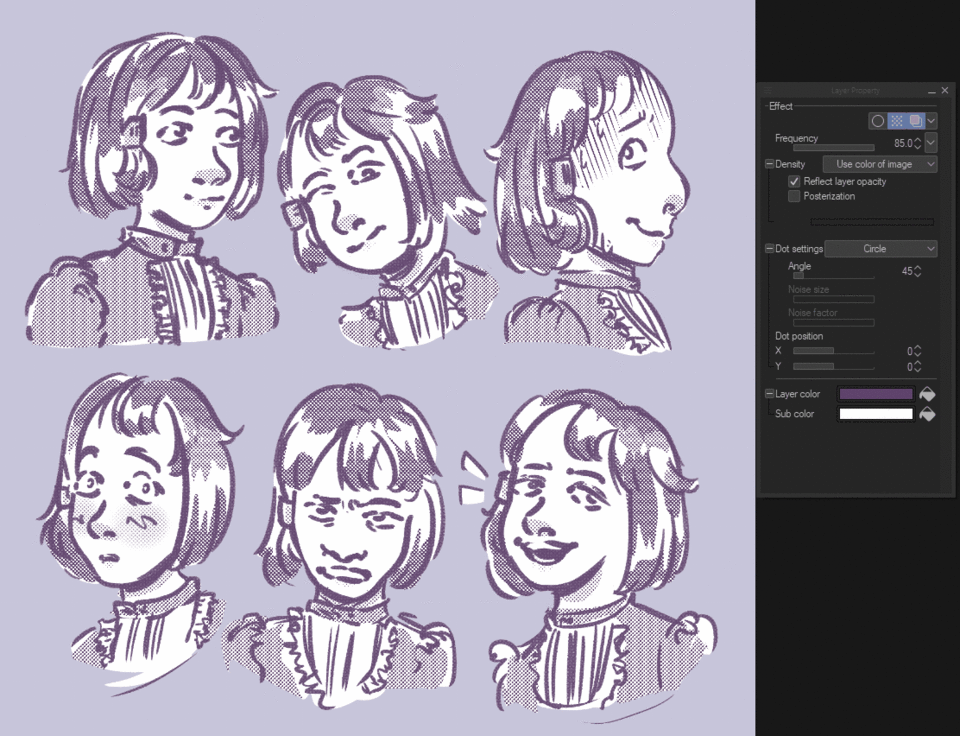
Making screentones different colours
This is my favourite part!
Here are a few ways of making your tones different colours:
1. Via Layer Property
2. Via Clipping Masks
3. Via Blending Modes
4. Via Rasterising the Tone
Way 1: Via Layer Property
In Layer property, there is the Layer colour button.
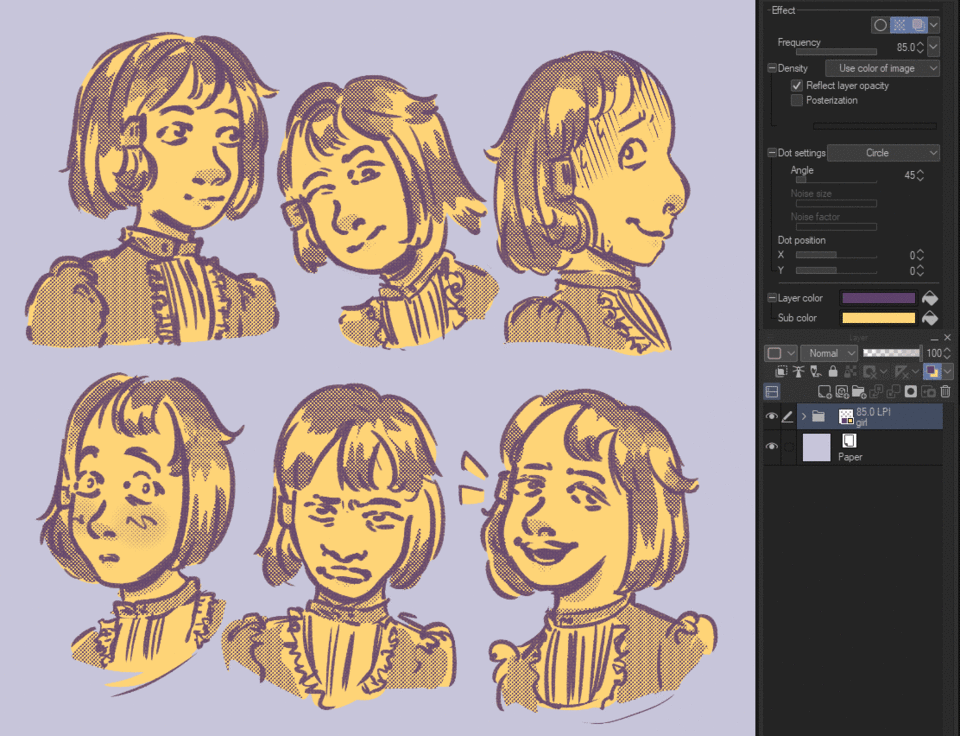
When you click this button, it applies one or two colours to your tones, depending on what density setting you have applied.
When your tone is set to 'use colour of image,' you can change both the main colour and the sub colour.
When your tone is set to 'use brightness of image,' you can change only the main colour.
This is the Layer colour
This is the Sub colour
You may notice that when your tone layer is set to set to use brightness of image, you cannot change the sub colour. This is because 'use brightness of image' treats the white parts of the tone as transparent.
If you click on the paint bucket, you can make your main colour become the same colour as the tone.
The default colours for this are blue and white, but you can change them by double clicking on them.
You can change both the sub colour and the main colour this way.
And this will come up with sliders and many options like the colour wheel, your colours, and colour history. From here you can choose any colour you want and when you're done, press OK.
Way 2: Via Clipping Masks
You can use clipping masks to clip colour to your tones.
You can find the clipping mask here.
The way to do this is by making a new layer above the screentone, fill it with colour or a gradient and click the ‘clip to layer below’
If your tone is set to 'use colour of image' then it can only clip to the silhouette and not the tones.
If you to set it to use 'brightness of image'
It can now clip to the tone properly.
Way 3: Via Blending Modes
You can use layer modes to apply different effects non-destructively, without rasterising the tone layer.
A third way to colour tones is by making a new layer and filling it with colour, then apply different blending modes to the layer.
Here you can use different types of blending modes on the colour layer
And this way is non-destructive.
Here are some blending modes applied to tones.
Make sure to try out how different colours effect the blending modes and the tones.

Way 4: Via Rasterising the Tone
The fourth way to colour tones is by rasterising them.
Before you do that, make sure to set your tone to 'use brightness of image' so that it is transparent.
Then, you right click the layer and then click 'rasterise'. It then becomes a normal layer.
From here, there many ways to go about this.
Choose the colour you want, then you pick 'lock transparent pixels', then the paint bucket tool.
Here, the 'lock pixels' button is circled in pink.
There is also another way to change the tone colour.
By going to 'Edit > Convert to drawing colour' it does the same steps of locking the transparent pixels and filling the canvas with the colour you picked and the fill tool.
Here I have mapped it to a custom keyboard shortcut for easy access and by default there is no keyboard shortcut mapped to it.
Applying Blending Modes to your Tone
You can use blending modes to apply different affects non-destructively, without rasterising the tone layer.
Here, my tone layer is set to 'use colour of image' and right underneath the layer, I am drawing underneath just to show you how blending modes work.
And here you can pick different blending modes and you can see how the tone is affected by them.
I personally like setting the noise tone to lighten and making a tone layer above my illustration.
I like adding this effect to my drawings to give them a more textured look.
Here is the tone with the noise effect and the lighten blending mode applied.
I like adding this effect to my drawings to give them a more textured look.
Remember you can also mix and match multiple tones by either setting them to use 'brightness of image' or via layer modes.

And here I am mixing and matching different tones and using blending modes.
Now you know how to use screen tones in Clip Studio!
Have fun!
Users who liked this post


Comment