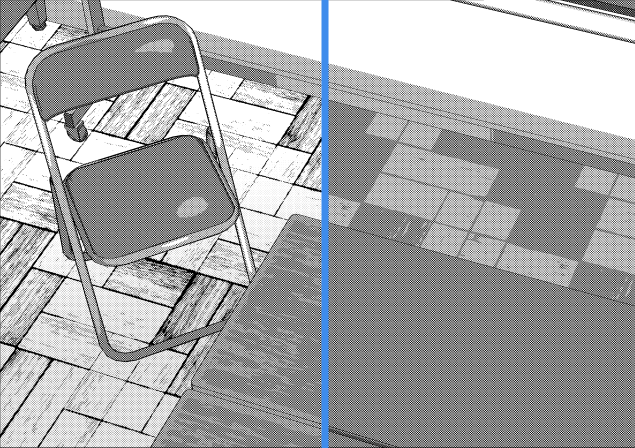
Illustration processing using level correction (glow effect)
Illustration processing using level correction
I will explain how to process illustrations with CLIP STUDIO PAINT.
This time is explanation about the glow effect using level correction and the method of derivation processing.
Like the image below, you can change the flavor of the illustration.
On the glow effect
First of all, let's explain what "glow effect" explained at the main time is.
Glow effect is a process that makes it possible for objects subject to this processing to appear to emit light.
Although it is easy, it shows the screen gorgeously, so it is suitable for animation painting etc. which is hard to put depth in color.
It is one that is used as one of the effects even in the field of animation production.
I prepared an example below.
It is an image that "only the bright place is made to emit light while the dark place is dark."
How to apply glow effect
[1] Prepare illustration to process.
Let's put together the layers to be processed.
【2】 Duplicate the layer to be processed.
To duplicate a layer, first select the layer you want to duplicate and then copy it from Layer> Layer.
When replication is completed, it looks like this in the layer window.
[3] Apply level correction to the duplicated layer.
After selecting the duplicated layer, select [Edit]> [Color tone correction]> [Level correction] and call the level correction window.
We will apply level correction to the duplicated layer.
Fiddling with the level correction window is the upward arrow of the above image.
If you drag the black arrow at the far left to the right and slide it, a new arrow will increase between it and the white arrow.
You can drag the black arrow to the right and drag it to the right and bring the newly created middle arrow closer to the black arrow on the left side.
In case
Since "black color does not emit light" on this layer, let's adjust it so that it becomes brighter color than only other parts that consciously want it to emit light.
【4】 Change the effect of the level corrected layer to "screen"
Choose "Screen" from the effect selection in the Layers window.
Tamper with the opacity bar on the right side of the effect selection and adjust it to the extent that you think you are working just fine.
【5】 Finish
That's all there is to it. Just by putting this on, the first impression of seeing illustrations changes quite a bit.
(Because it was hard to see a little, black is put on the background)
Derivative processing of glow effect
By making the layer effect of the level corrected layer different from "screen", you can give a different impression again.
Personally, other than "screen" recommended is "normal" and "hard light".
You can express a distinctive air feeling like seeing what the light hits at the misty place.
Let's try various things, look for the effect that is exactly the illustration!


Comment