
Hello, after so long I returned to make a tutorial.
I sincerely hope you like it.
Step 1: Sketch
First of all, you have to draw a sketch, since it is important to know the characteristics of the character to be portrayed, its context, the situation, etc...
I chose to use my character Akira.
Akira's personality is shy so I used big and expressive eyes, a little sad, because I drew him after a fight, that's why he has bandages and scratches.
In case you want to draw a more determined character (how he fights, for example), you can use eyes slightly tilted forward, this way you will achieve a more empowered look.
The mouth is also important, as it reflects the expression of your character. It can be with a trembling mouth, to express fear, sticking out the tongue with a mocking smile, etc...
A slight smile, a little forced, shows the character's shyness.
Step 2: Lined/Inked
In this step, you will go over the main lines of the sketch, I recommend using the G Pen tool, but you can use the one that gives you more comfort.
At first I drew black lines, but I ended up coloring them.
Black lines produce a classic comic book effect, while using colored lines gives a light feel.
The type of line is another important point, when you use angled lines you give the character a rough or sharp feeling, it is recommended to use them on villains or aggressive characters.
Instead, wavy lines give a softer feel.
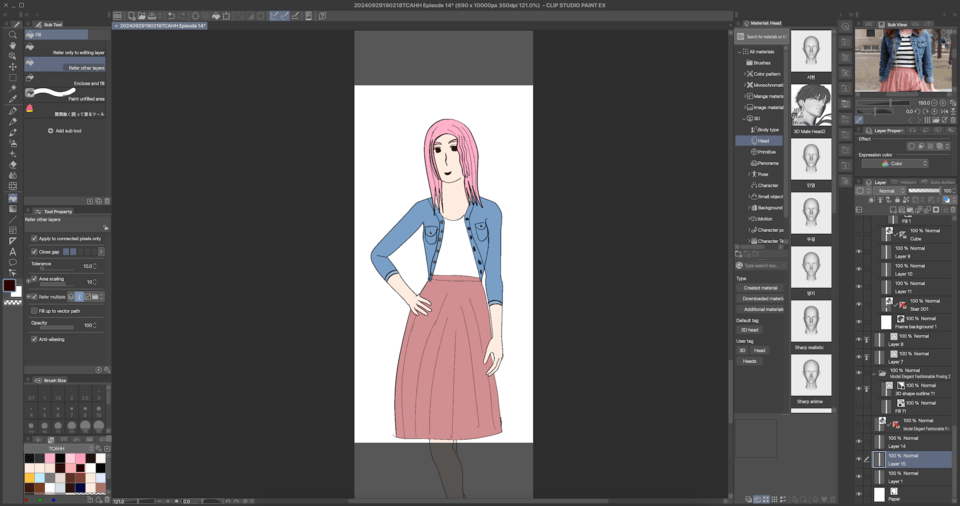
Step 3: Solid Color
Now, you will paint the outline with base colors, using the Fill tool is very useful, it fills everything with a single click. But you can also use the round mixer tool.
In this case, use Fill to save time.
The colors are very important, they define a large part of the character, the cold colors can give the feeling that he is a distant person, while the warm ones of being someone happy.
The same happens with the dark and light, a dark color leads to think of an evil character, light ones of being benevolent.
Step 4: Shading
We're almost done!
At this stage we will add depth to the character, adding shadows and lights.
It is important to know that the shadows are not only a darker color than the original tone, but are usually bluish, purple or greenish tones.
I used a more violet tone, but that is up to you.
We will also add lights, this is very important, it helps highlighting the character.
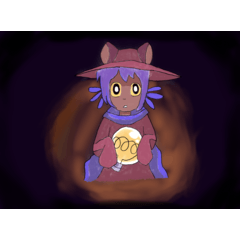
Step 5 and Final: Details
This step is optional, it consists of adding a background and small changes to your drawing.
It can be a plain background like the one in the illustration, or a landscape, either urban or natural.
PS: Use gradient framing to give depth to the background.
Thank you for reading this far!
I hope it has been useful to you ;)
Users who liked this post


Comment