
foreword
Watching this official article, you can quickly understand that using the CLIP software, you will be able to use those special brush strokes and texture brush effects.
But this article I wrote, wrote more basic things. (except for the last step up)
If you have opened CLIP software no more than 10 times, you may be suitable to read this article.
If you have opened the software more than 10 times, the content of this article may disappoint you, but it can also be viewed as a knowledge supplement.
You can refer to the table of contents for optional reading.
thanks.
【0】Find the panel
First, I need you to find out the Sub Tool panel and the Tool Property panel.
If you can't find it on the current screen, you can call up the panel under the [Window] menu.
Then, for the follow-up example show.
I will change the [display style] of my brushes.
In the auxiliary tool panel, open the menu in the upper left corner to display the method, which can be changed
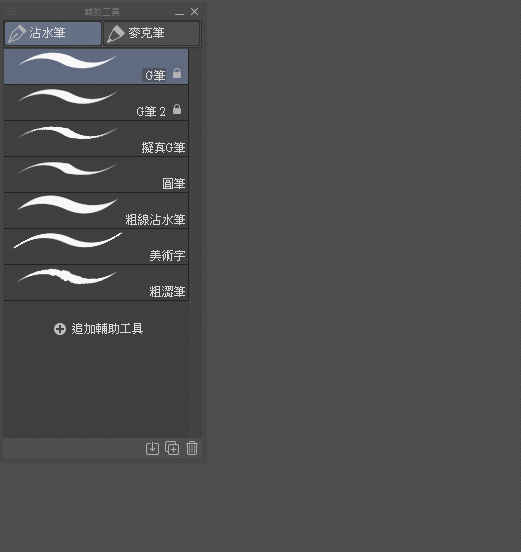
Next, my brush display method will be displayed with [Block Small].
Subsequent column displays will look like this.
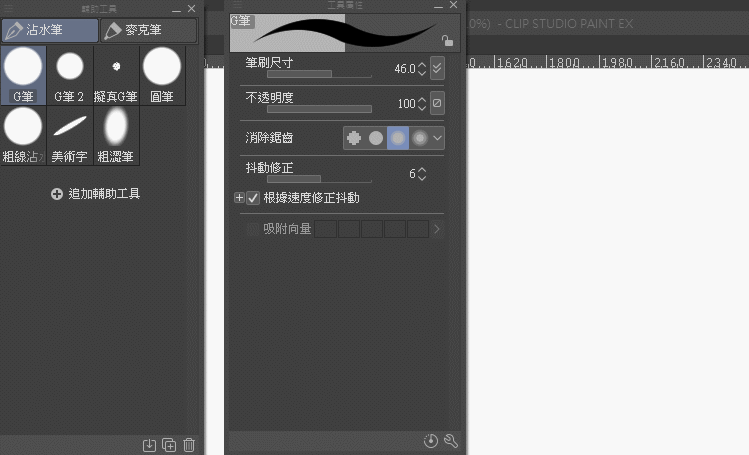
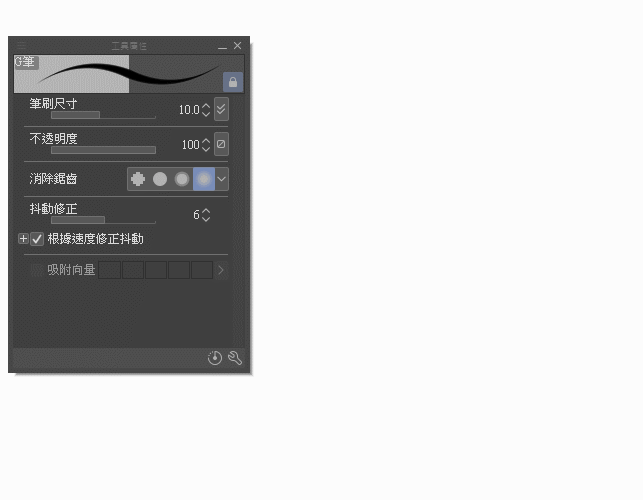
【1】Lock auxiliary tool
Want to easily change brush data such as brush size, opacity,
It is usually adjusted in the [Tool Properties] panel.
But for the adjusted data, in order to prevent the data from being accidentally changed by the user,
You can choose to lock the tool.
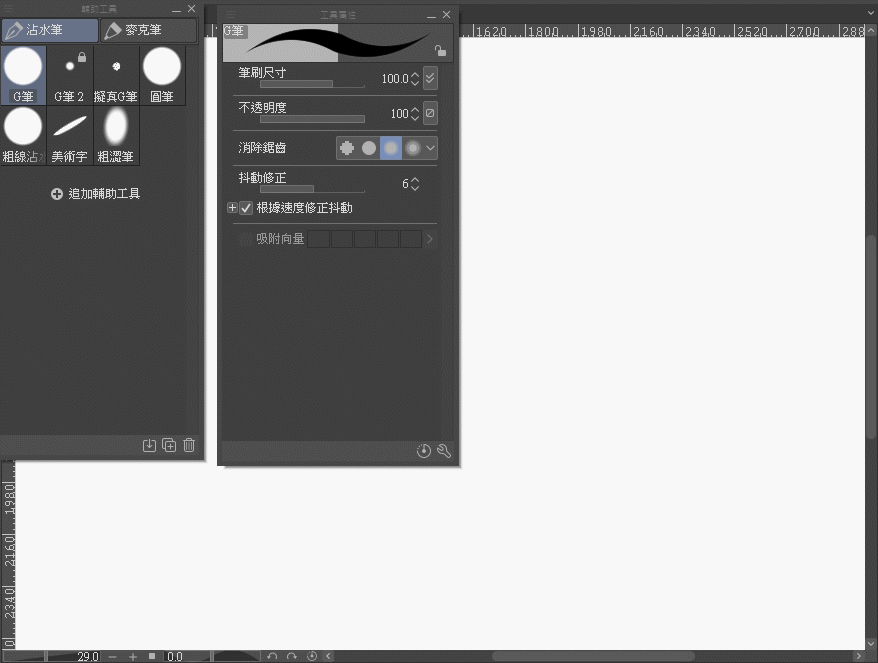
I used the [G Pen] as an example, set the brush size to 10, and locked it.
Even if you change the brush size later, select another brush first and then jump back to using the G Pen,
The brush size will still jump back to 10.
This is the effect of locking.
┗ Extended content
If the brush data is arbitrarily adjusted by yourself, I want to [return to the default value].
You can use this build in the lower right corner to achieve the effect.
If you think that your brush data is really good, you want to [change the current state to the default value].
It can be opened by clicking on the menu in the upper left corner and registered in the initial setting.
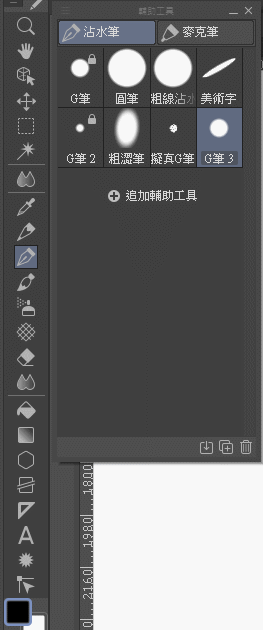
【2】Copy tool
Move the mouse to the brush tool and press [Right Click] to copy the auxiliary tool.
Brushes can be duplicated.
✨ Q: What can copy do?
    A: With the help of locking tools introduced in [1], it is more convenient for creators to draw.

         For example, when I draw comics, I often use [thick lines] and [thin lines].

         You can copy the brush and set different sizes, so as to facilitate subsequent use without having to adjust the size of the brush all the time.
Replenish:
Although CLIP also has a built-in [Brush Size] panel.
You can quickly change the brush size.
But the reason I would encourage myself to duplicate the brush and lock the size is
✨ [You haven't painted for a while, you may forget what size brush you used to paint].
[3] Centralized tools
This link is in [Creating the Creation Environment].
Any brush tool can be copied and then dragged. to the sidebar.
Keep all the tools you use frequently together.
If you put brushes, erasers, magic wands and other commonly used tools in the same column.
✨ When changing the tools used, you can [save the time to find tools].
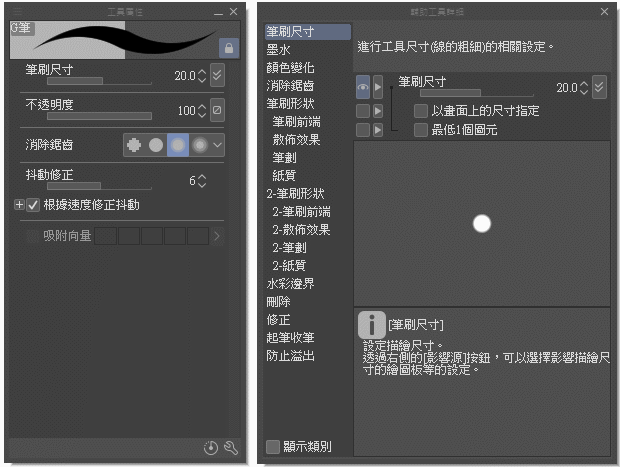
[4] Display or hide the adjustment items of the tool property panel
In the lower right corner of the [Tool Property] panel, the wrench is opened, and the [Sub Tool Detail] panel can be called out.
Or call it in the menu under the window [Window].
The adjustment items you can see on the [Tool Property] panel,
To hide or open, it is done in the [Sub Tool Detail] panel.
With eyes = open, no eyes = closed.
✨ Knowing this, you can organize your adjusted brushes,
Turn on options that you usually need to adjust, and hide parts that you usually don't need.
―Download brush material―
Next, I'll use this asset store brush as an example.
This brush is often used for normal coloring and is highly recommended.
After the material is downloaded, it will appear in the [Download] folder of the material library.
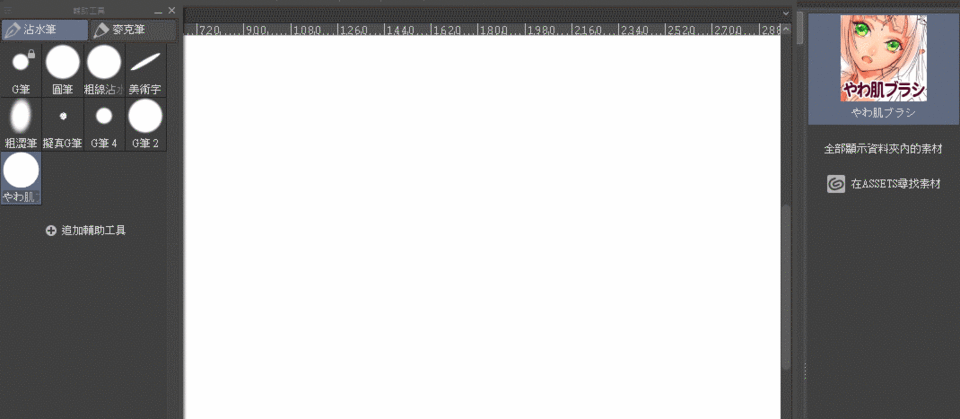
Long press the left mouse button to drag the brush into the auxiliary tool bar.
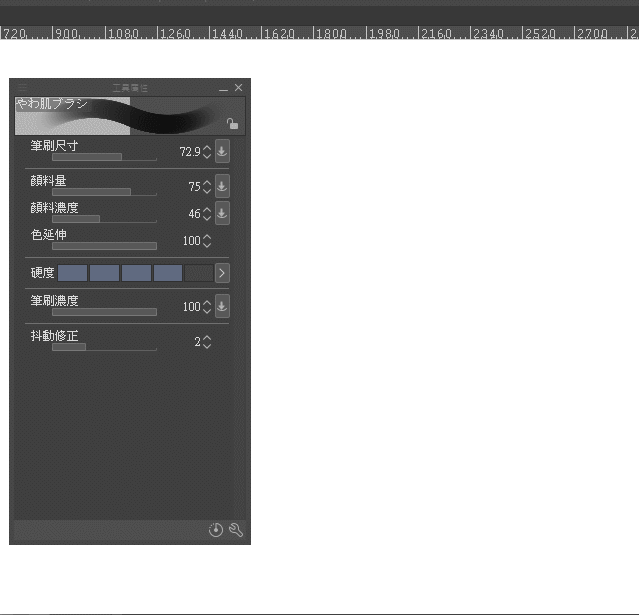
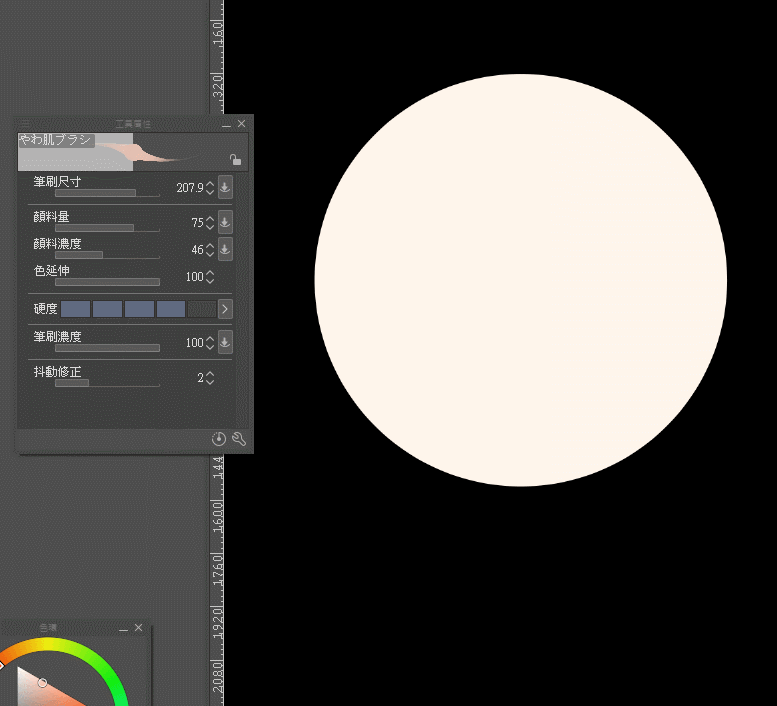
【5】Set pen pressure and adjust pen tip
If you find that no matter how you draw with your brush, the end of the line will not become sharp,
Aside from the installation problem of the graphics tablet driver, it may be due to the settings of the brush itself.
The menu on the right side of the brush size is opened, and you can adjust the pen pressure input value of the brush.
P.S. This brush works great.
It's just that after most brushes are downloaded, they also need to learn to make them look like they are easy to use.
【6】Hardness of brush
Brushes you download, or brushes found in the toolbar,
The [Hardness] adjustment item may not be visible in the [Tool Property] panel of the brush.
You can open the Sub Tool Detail panel and find it in the [Brush Front] field.
[Hardness] will be mentioned,
It is because I think it is an adjustment option that needs to be known first for those who need to draw color pictures.
Seeing that I painted it once, I should be very aware of the difference in brush hardness, right?
It is very important for people who paint pictures to know where to adjust the soft edge strength of the brush, especially when shading the shadows.
【7】Anti-aliasing
If you need to draw black and white comics, you can change the brush to zigzag to prevent the grayscale part from being generated.
On the other hand, if you are a painter like coloring pictures, you may need to pay attention when using brushes.
(Example brush = G pen)
[Advanced - Making Image Brushes]
I really think that brushes made by others are very useful, but there are only a few people who think that they can do it themselves. 😂
It may be a bit abrupt that advanced appears in this article written for beginners, but after thinking about it, I still hope that people can understand the general process of making brushes.
I drew two star elements and wanted to make them into brushes.
For the brush effect I want, you can refer to the built-in brush of this clip.
First, we need to turn the drawn original into a component that can actually be used.
Right-click on the layer > Convert Layer.
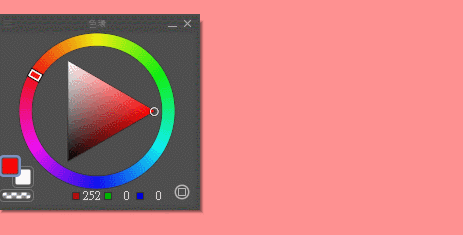
✨ Change the display color to [Gray] or [Black and White].
Only then can the components be used correctly.
This icon will also appear on the modified layer.
❗ ❗ ❗ ❗ ❗ Side note - two examples of errors are shown first ❗ ❗ ❗ ❗ ❗
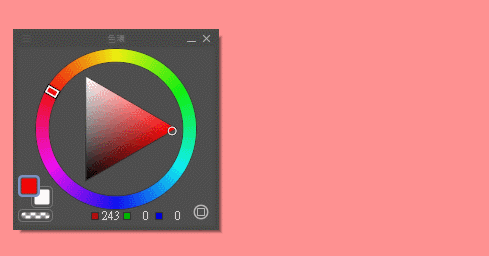
If you do not modify the display color, still 【Maintain Color】,
The brush made later does not [will not change color], even though I choose [red] for the color.
And if you are using the layer properties [Layer property] panel to modify to grayscale.
The brush color you make will only be grayscale, not colored.
✨ Then go back to the production example.
Drag the converted components to the material library respectively.
Because the material is made by yourself, you can create a new folder to store it by yourself.
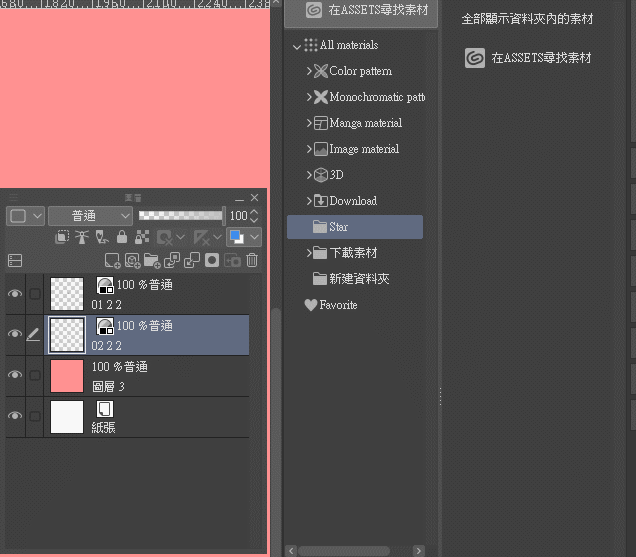
On the top of the component [double-click the left mouse button], you can call the material property panel.
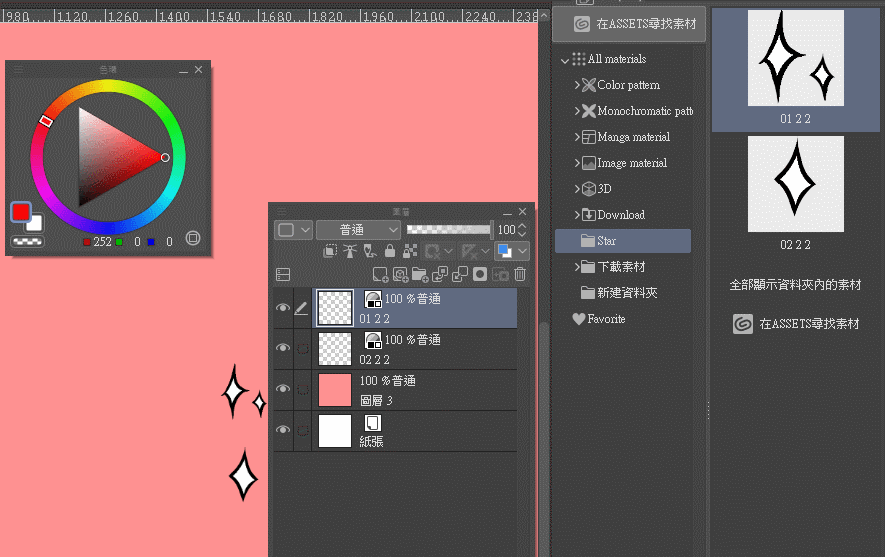
At this time, you can modify the component name by the way.
1. The bottom left is used as the front-end shape of the brush and must be checked
2. At least one label must be assigned to the component so that it can be easily found later.
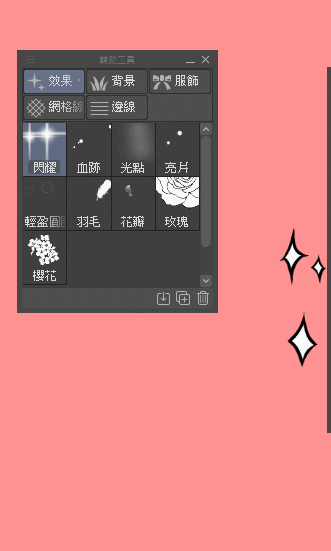
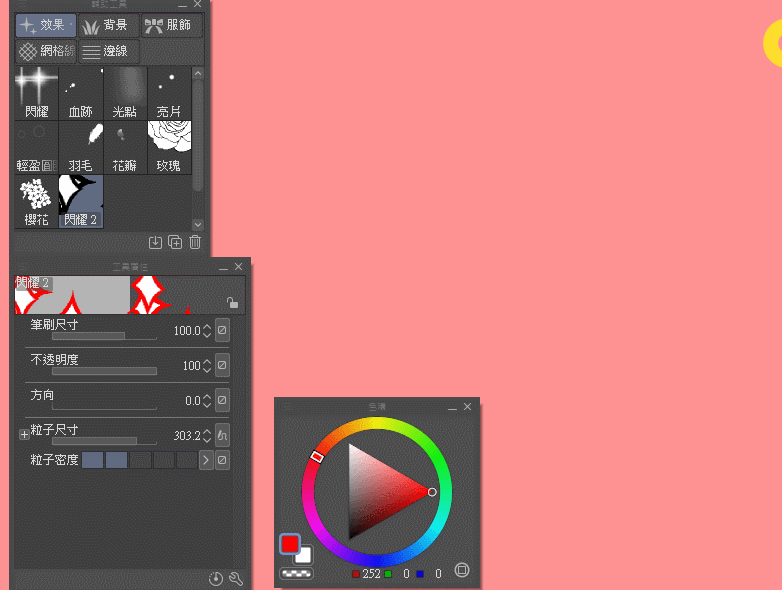
Duplicate this built-in brush,
Since it works close to what I want, just copying it directly reduces the amount of data that needs to be adjusted.
Call up the Sub Tool Detail panel, and we're going to modify its brush front.
Delete the original material, and use the tag to add the newly produced original.
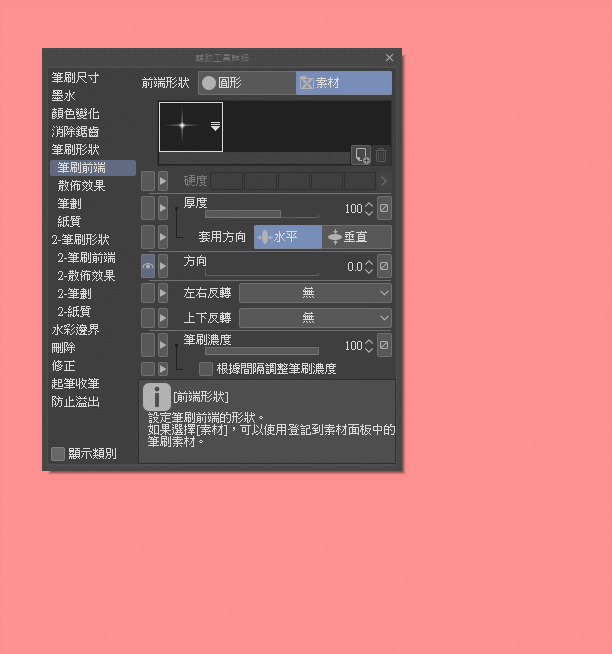
The brush is basically done, and then you only need to fine-tune the effect you want.
In contrast to previous failure examples, this success can change color at will.
The above is the general process of making brushes.
I uploaded the sample brush I made this time to the material store, and those who need it can download it for free.
end
Although the part I introduced in the article doesn't feel fancy at all,
But these are the things I think for users who are new to CLIP, it is best to know the priority (except for advanced).
The more you can adjust the software to suit your operating environment in the early stage of use, the higher the acceptance of the software will be.
Hope this article is helpful to you,
Most of the other articles I have written are also for beginners. If you are interested, you can take a look.
In addition, the material store also has some messy brushes, if you are bored, you can go shopping. XD"
Thanks for reading.
my IG
Users who liked this post


Comment