
0. Introduction
Creating forests with custom brushes lets us maintain our unique art style while also making it efficient and easy to draw natural surroundings.
So even though the freeform and complex appearance of trees and forests can make them intimidating painting subjects, we can overcome this with the knowledge of simplification techniques and some helpful digital tools.
In this tutorial, I will show you the simple steps to drawing any type of tree with Clip Studio Paint’s default brushes. We will then convert those tree paintings into custom brushes and use them to create entire forest sceneries.
1. Steps to Painting a Tree
We will paint a tree in five simple steps with some of Clip Studio Paint’s default brushes that simplify the painting of leaves and make adding texture to the tree’s bark and branches easy.
In essence, the following are all the involved steps:
We will now discuss these steps in detail. I will list the brushes in any step where we use specific ones.
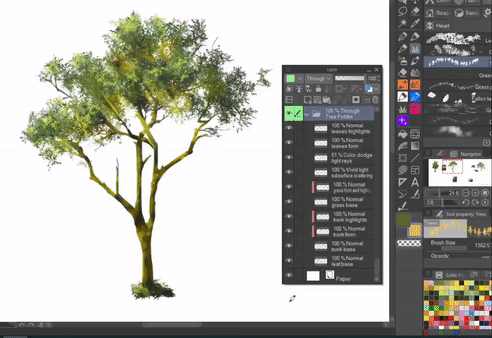
Note: Apart from the last step (subsurface scattering), we will use [Normal] layer mode in all steps. This will be important when we convert the painting to a custom brush.
1.1. Step 1: Not Skipping References
To create compelling and distinct trees, we cannot rely on memory alone because, in doing so, we could end up with a very typical representation instead.
References help us better understand the form and volume of the tree we want to paint, resulting in a more interesting tree design.
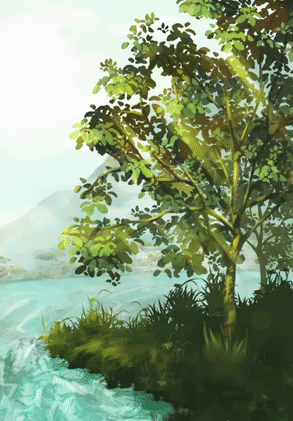
Here is an example of a tree made without reference (left) and one made with a reference photo (right):
As you can see, the tree made with reference turned out more unique and realistic, while the other is quite generic.
Now, let’s see how you can make such a tree yourself once you have a decent reference image.
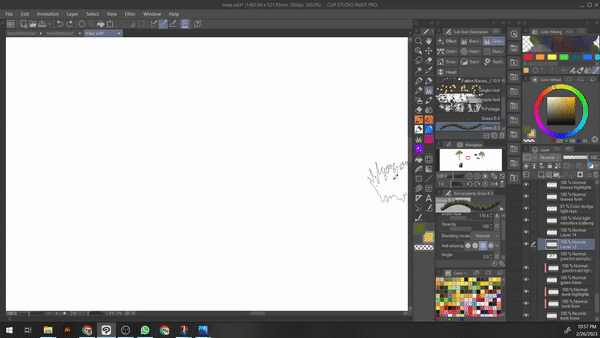
1.2. Step 2: Creating a Base with Dark Colors
First, we will create a base for our tree to silhouette its basic shape. We will choose individual dark colors for each section of the tree, i.e., the leaves, the branches and trunk, and the grass.
Brushes for leaves: [Foliage] brush or [leaves] brush
Using the [Foliage] brush, fill out the big shapes made by clusters of leaves. This brush will realistically render our tree without focusing on individual leaves.
If you want your tree to look more stylized, use the [Leaves] brush.
Tip: Leave negative space between leaf clusters to create more visual interest.
In a new layer on top, we will use a dark color for the trunk and branches. Start with painting out the shape of the trunk and move on to the main branches.
Decrease the brush size to paint the finer branches and add a few stumps to the main branches for greater detail. You can use the [Liquify] and [Transform] to adjust the width and overall shape of this area.
Create a new layer above the previous two. Ground the tree by adding the general shape of the grass in dark green color with the [Grass B] or [Grass C] brush in the [Decoration] sub-tools.
1.3. Step 3: Adding Form by Determining the Light Direction
To add form and volume to the tree, we need to know where the light is coming from. In this example, I decided that the Sun’s light is hitting the tree from the top left.
Hence, we will divide the tree leaves into multiple clusters, and most clusters on the left side will have a green mid-tone added to their upper parts. Do this in a new layer on top of all other layers.
We will use the [Foliage] or [Leaves] brush again here.
We will also add a green mid-tone in a new layer to the left side of the grass. We will use the [Grass A] or [Grass C] brush here.
For the bark’s texture, we will use the [Opaque watercolor] brush with a very light brown color. This will be in a new layer that is clipped to the layer of the trunk and branches.
The [Opaque watercolor] brush is great for bark texture because its stroke opacity is very sensitive to pressure, and lighter strokes are great for blending.
As such, you can create lights, darks, and hard and soft edges with just one brush and color.
1.4. Step 4: Adding Highlights and Details
We will add highlights in a new layer at the top. For leaves, it will be light green and at the top left of some of the mid-tones, where light is hitting directly. We are using the [Foliage] or [Leaves] brush here again.
For the grass, we can use the [Grass A] brush or a normal brush to add a few highlights to the grass with light green.
For the bark and trees, we can add highlights to the top left of some exposed branches. We will also add patches of light to the trunk for the light that passes through the leaves to fall on the tree trunk.
1.5. Step 5: Subsurface Scattering
Leaves are usually very slender, and they can become translucent when light passes through them. Hence, when direct sunlight hits them, some leaves become luminous and vibrant as they let the light pass through them.
I have used pastel yellow in the [Vivid light] layer mode with low opacity here.
We can also observe prominent light rays pass through areas of less density.
So, we will finish our tree painting by adding this effect to our tree as it adds further visual interest and makes it more realistic. Here I have used the [Color dodge] layer mode with pastel yellow.
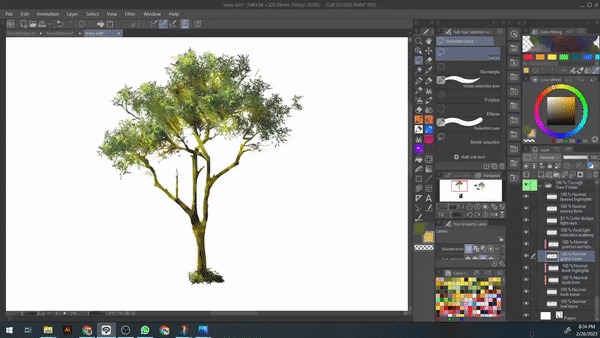
This is the final result and the layer sequence I used:
2. Using 3D Models for Dynamic Perspectives and Lighting
There are multiple free 3D models of trees available in Clip Studio Assets.
Using these models as references, we can quickly create custom references that meet our requirements and explore multiple options with a single model.

3. Converting Tree Paintings to Custom Brushes
Creating custom brushes is a very simple process that can easily be done in under two minutes. But once you do it, it can save you hours when repetitively drawing background elements and environments with accuracy and detail.
First, turn off the visibility of the two layer modes used in the subsurface scattering step. Also, turn off the visibility of the [Paper] layer at the bottom, so the background becomes transparent. Now right-click on a visible layer and select [Merge visible in new layer].
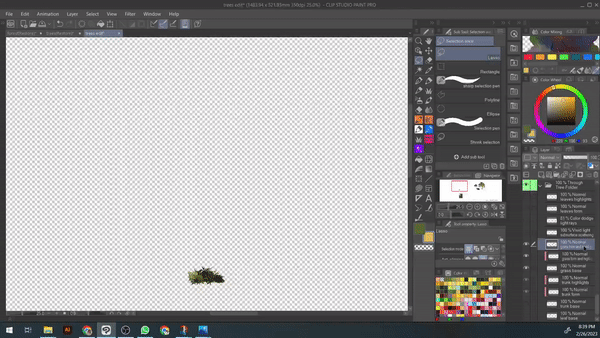
If you have painted multiple trees, separate them with the [Lasso] tool. Encircle the tree you want to convert to a brush with the [Lasso] tool.
Go to [Edit] and [Register Material] and then [Image].
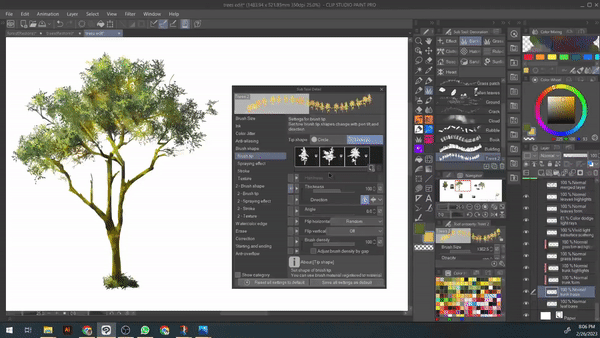
Name the material, and select the [Use for brush tip shape] option. This is crucial so you can use the material as a brush tip.
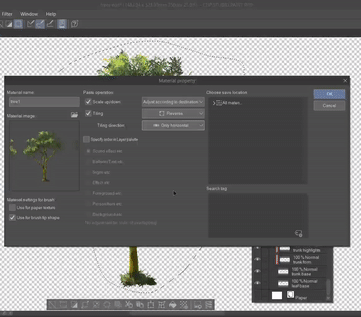
Also, select the [Scale up/down] option and the [Tiling] option. Within the [Scale up/down] sub-options, select [Adjust according to destination]. Within the [Tiling] sub-option of [Repeat], select [Reverse]. In the [Tiling direction] sub-option, select [Only horizontal].
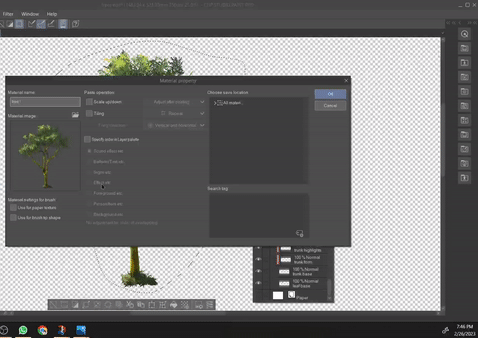
Select the destination of the material and add one or two relevant tags so the material will be easy to locate later. Click [OK].
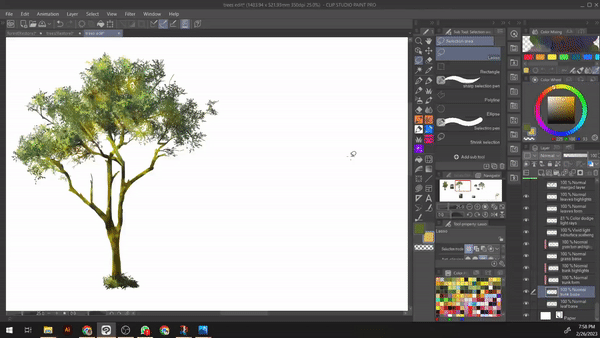
Now, select the already present default tree brush in Clip Studio Paint and duplicate it by right-clicking it and choosing the first option.
Go to the [Sub tool property] palette and click the wrench icon on the bottom right. In the opened window, go to the [Brush tip] section.
Delete the present brush tips by selecting them and clicking the bin icon. Select the icon next to the bin icon to add a new brush tip.
In the new window, search for the tree material you just saved by its name or tag. Select it and click Ok (You can add more than one material for the brush tip if you want).
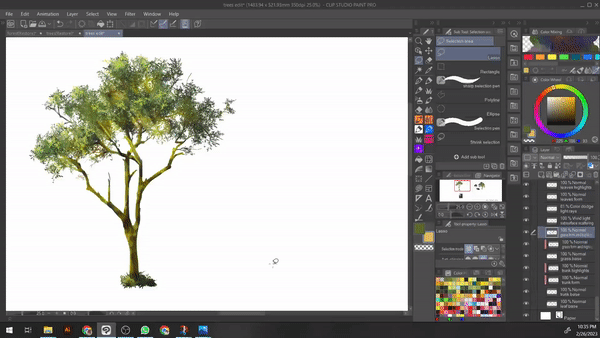
Your new custom tree brush has been created and is ready for use.

To create a forest, it would be best to have at least two tree brushes and two grass brushes. For grass brushes, you will repeat the same procedure; just turn off the visibility of all the leaf and branch layers beforehand.
And if you want your brush to cover space horizontally and vertically, then select [Vertical and horizontal] in the [Tiling direction] suboptions when creating the material.
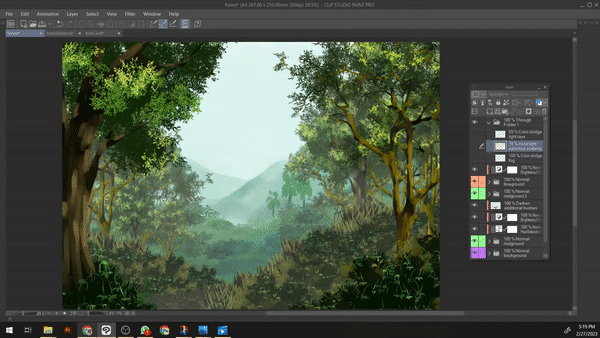
4. Creating a Forest with Your Custom Brushes
We will use four custom brushes for the foreground, and closer midground (two for trees and two for grass) and one default [leaves] brush for the farther midground.
Following are the four brushes I’ve made for the forest sceneries:
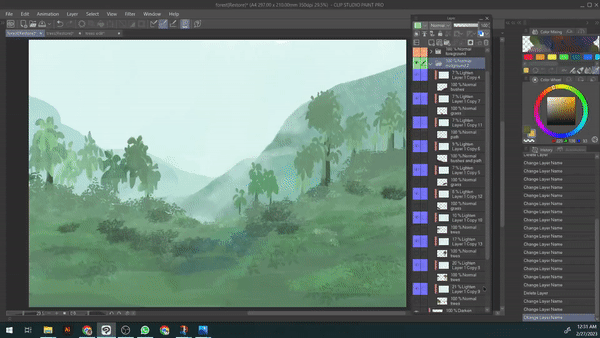
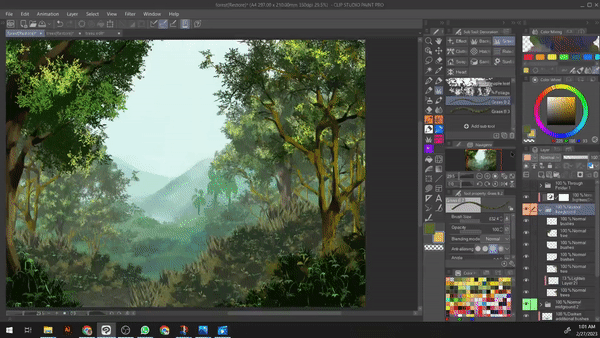
4.1. Dividing the Forest into Layers
While a forest can look too complex as a whole, dividing it into different layers will make it easier to tackle. The three basic layers are:
Foreground
Midground
Background
To add more density to your forest, you can have more than three layers. In the illustrated example, we will have four layers; you can think of it as having two midgrounds instead of one.
Their overlap creates a scenery of great visual complexity:
Tip: To stay organized, we can have all four forest layers in separate folders.
4.2. Applying Atmospheric Perspective
Things become lighter in value and bluer in color in the distance due to atmospheric perspective. We will indicate this occurrence in our forest painting to create visual depth.
We will do so by clipping [Lighten] mode layers to various layers in different opacities. The color in the [Lighten] layers will be pastel blue.
The [Lighten] layers clipped to background layers will have the highest opacity, and the opacity of the clipped layers will be less the closer we are to the foreground.
The foreground will not need [Lighten] mode layers clipped to it because it will be very close to the viewer.
Note: We are using blue in clipping masks instead of bluer colors for the foliage because it will allow us to easily increase or decrease the atmospheric perspective at any given moment.
4.3. Creating the Background
The background will have the lightest value, the lowest contrast, and the least details. It can be something like a very far-off mountain or some very distant trees. Here, I have made mountains enveloped in fog.
I have kept the opacity of the [Lighten] layers around 60 here. It depends on individual preferences and the distance you want to show.
4.4. Preparing the Midground
After laying down the ground for the midground, I am using the [Leaves] brush to add texture to it and to include bushes. The colors here will be less dull compared to the background, so the opacity of the [Lighten] layers will be lower, around 25.
The trees behind the bushes are also very simple and without details due to the distance. I have added their foliage by increasing the size of the [leaves] brush.
4.5. Adding Another Middle Ground
The more layers you have to your forest, the more dense and busy it will look. Here I am adding another middle-ground layer closer to the viewer. Since it is closer, the details and value range will increase.
First, we will add bushes, then grass behind them, and finally, trees behind them both. This will help everything look grounded, especially the trees.
Here we will use our custom brushes. I have used the bushier grass brush to lay the ground while leaving an area for a path.
In a new layer below, I added grass with my second custom grass brush.
Lastly, we are adding trees using our custom tree brushes in a layer behind both the bushes and grass.
Note: I am using multiple layers for every clump of trees with separate [Lighten] layers clipped to them, so I can create depth and distance between the trees with atmospheric perspective.
4.6. Making the Foreground
The trees in the foreground will be the largest and most detailed. With no [Lighten] layer clipped to foreground layers, the details of your custom brush trees will look very clear and elaborate.
If the maximum brush size is smaller than the tree size you want, put down the tree in a separate new layer with the brush and adjust its size with the [Transform] tool.
You can also increase the contrast in the foreground with a [Brightness/Contrast] correction layer.

4.7. Testing Variations
When your forest is divided into multiple layers, you switch the visibility of different layers to experiment with the density of the forest and the visuals of the scenery.
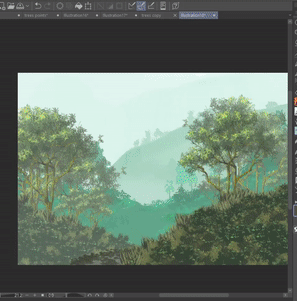
Here are some variations from the same artwork:
4.8. Finishing Touches
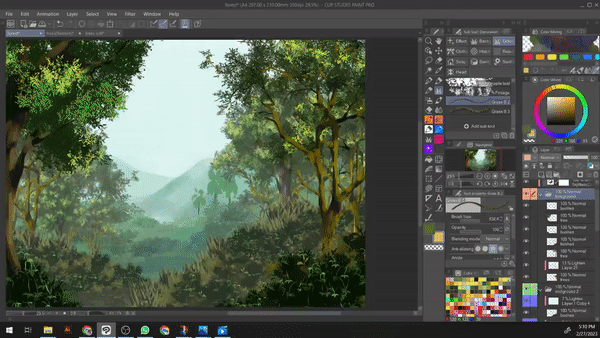
We will add lighting to the forest with the same steps as discussed in Section 1.5: Subsurface Scattering.
Including fog in the forest will add to the depth of the forest, so we will add it with a watercolor brush in a new layer. The fog will be dense in the background and light in the foreground.
This is the final result:
Bonus: Save Workspace to Preserve Your Custom Brushes
If your computer is closed abruptly or the system crashes, your custom brushes might be lost as there was no time to save them. Save your brushes and their settings by registering the workspace in which they are.
Go to [Window], then [Workspace], and then choose [Register Workspace]. Name your workspace and click OK.
Final Thoughts
Trees and forests enhance the mood and atmosphere of our artwork, so knowing how to create them broadens the type of environments we can depict.
Using the right tools and steps, we can simplify the process and quickly create both realistic or stylized trees and forests.
Thank you for reading, and I hope you liked these tips! I will end this tutorial with a second forest illustration made with custom brushes.
Users who liked this post


Comment