
Heyos! My name Is Curfew and today I will be giving a tutorial on how I draw eyes using Clip Studio paint!
I have gotten this question a lot and I wanted to provide a tutorial on how I draw and sketch eyes! I will be using Clip Studio Paint and will be providing all the pens that I’m using.
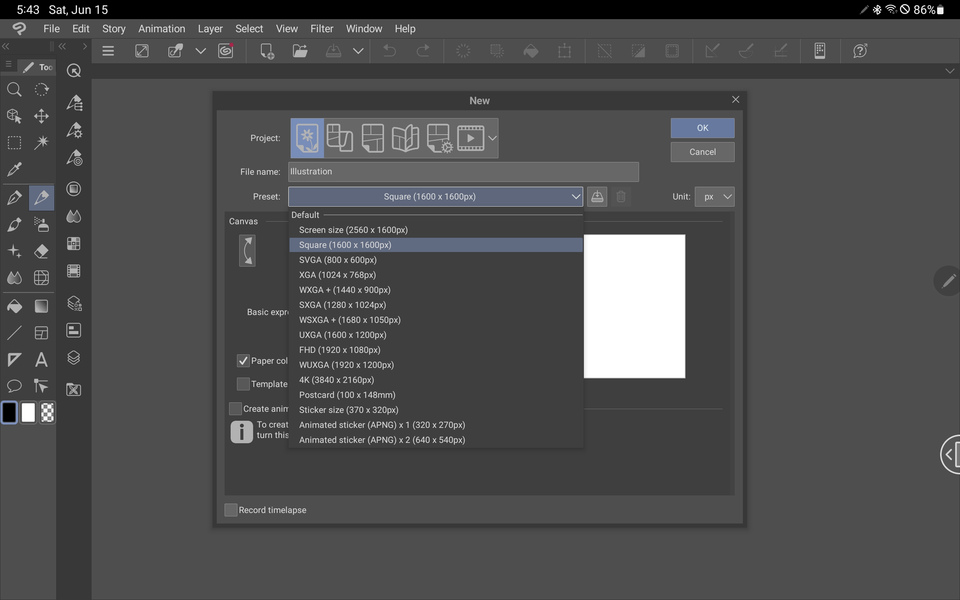
STEP #1: Sketching the eye: Choosing the Pencil
First thing I usually do is sketch the base of the eye. Depending on what position I want the eye to look, I usually do a rough sketch first.
I usually use the Mechanical pencil to make the rough sketch
Pencil> Mechanical Pencil
I’m going to be using the color red and the size of the brush at a 5 to have a visual and smooth drawing process.
STEP #2: Sketching the eye: Drawing the shape of the eye.
Depending on how you want to shape the eye, you can use variant shapes to exaggerate that eye shape.
I’ll include different type of eye shapes below!
I’ll be providing a step by step sketch to give clear direction.
Before beginning the sketch open a folder for that sketch! To make a folder simply click the folder with a” +” sign!
First is creating the top lid
1. I create two inner lashes directly pointing towards the bridge of the nose
2. I create a line going outwards to creating the outer corner of the top lid.
3. creating the “eyeliner” This part is my favorite since I feel like I’m drawing eyeliner haha. I decided to do a sharp line to exaggerate the eye. Once that is done I fill it completely with red.
Second step! Creating the bottom lid
1. I start by making the lop lid connect to the bottom lid! This can be however size you want!
2. creating the line that emphasizes that it’s the bottom of the eye.
3. is the bottom lashes. You can variant how you want it to look!
Next step! Creating the eyelid
1. The size can be completely up to you! Depending on what you want your eye shape to be
2. adding lashes! This is also optional; I like putting them on either way because it makes the eyes pop out more!
When sketching any sort of hair! Be mindful that the pressure of your pen is IMPORTANT, when beginning a lash apply pressure in the begging, then quickly, losing the pressure wisp to the eyelash up
Reminder: These lashes will be more detailed later on!
Next step! Adding the eye!
1. Depending on the direction of the eye, Draw a circle directing the eye of your wishes!
Tip: To make it easier, put two thick triangles then lightly connect it together!
2. Drawing the eye pupil.
This is optional as well! I’m going to be doing a cat shape pupil!
Next! Adding the eyebrow.
This is also optional, For this example I’m going to be doing a thick arch eyebrow!
STEP #3 LINEART: Drawing the line art
Drawing the lineart is the easiest part since you are drawing over the sketch you created! I will be using the pen G-pen that is provided by Clip Studio Paint!
Pen(P) > G-Pen
I will be using a black and size 6 to do the line art.
First step! Tracing the upper lid and bottom lid and lashes.
before tracing over, make sure your entire sketch is transparent where you can barely see it. I typically put it as 50-60 in transparency
Next! Doing the line art!
I typically open a folder to have the lineart separated from the sketch!
trace everything with a black outline, however, do not fill yet! example will be provided below.
Make sure your stabilization to a 100, It helps navigate the pen and to lessen mistakes on the lineart!
it’s not to lineart the lashes, since they will be difficult to individual line the lashes.
Next! Fill in the dark areas.
Using the sketch as a navigation, fill in the areas where an area is completely in the color you chose for the sketch.
STEP #4: Shading the eye!
Congratulations! You did the line art
Now is my favorite part! Shading!
Reminder: this is completely how I shade my eyes and using my style to shade.
Before going into the shading, I want to give a brief introduction on how I shade.
I use a technique called hatching.
Hatching is pen technique that specifically pen artist use.
this technique entirely depends on pressure of your pen!
Do not worry about not being able to do it right, it takes a bit of practicing.
Lets start by doing the eyebrows, it’s simple and easy to practice your hatching
Using the unshaded guide of your eyebrow simply wisp a hair towards the upper line
Next! Blend those wisps towards the eyebrow! I typically use crosshatching to make sure it looks connected.
Next! Shading the eyelid
This is my favorite part. I typically like my eyes to look like they have a bit of eyeshadow on. I’ll be starting on the inner corner first.
Using the no pressure to no pressure technique, shade the inner corner to the outer corner creating a blending effect. This will be the same technique that will be used throughout!
Using the same technique shade towards the end of the eyebrow to create that shadow effect on the eyelid. Next is the inner eyelid shading.
Use the arrows to navigate the amount of shading that is needed to make the eyelid appear shiny in the middle. I tend to add extra creases in order to make the eyelid more realistic.
Next! Shading the bottom lashes!
using the exact same techniques as previous!
Next! adding bottom lashes!
The size of bottom is completely optional to your liking!
using the same technique as before!
Next! Adding the upper lashes!
The size of lashes is optional to you! Technique is still being applied.
Next! Shading the eye
I usually do shade the eye downwards but in the top portion I use cross hatching to blend it!
Next! Shading the eye
I mostly shade with the consistency with the entire drawing!
Next! Adding Highlights!
I tend to add highlights where there is a lot of dark spots such as where the eyelashes are at! and the eye pupil.
STEP #5 : FINISHED!
Congratulations on finished your eye! This is pretty straightforward tutorial on how I shade and draw eyes! I hope this tutorial was helpful on drawing eyes ^0^!
Users who liked this post


Comment