
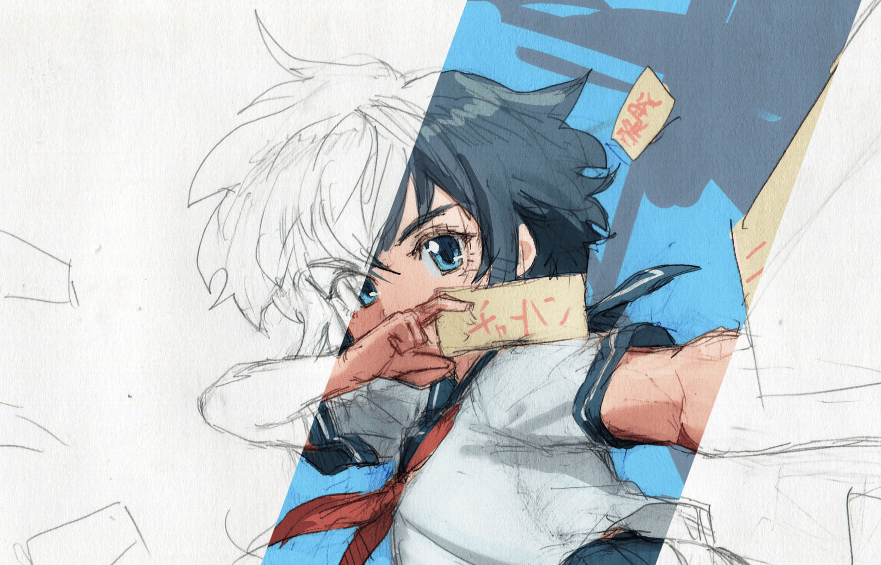
Transitioning your traditional art into the digital realm opens up endless possibilities for editing, refining, and sharing your work. In this guide, we'll look at how to successfully transform your conventional artwork into digital masterpieces with Clip Studio Paint.
Converting Traditional art to Digital line art
Step 1: Scan or Photograph Your Artwork
Begin by capturing your physical piece with high resolution using either a scanner or a good camera. Ensure the lighting is even, and the paper is laid flat. For photographs, use a tripod to avoid any blurring. Make sure there are no shadows over the image taken.
The image might be dull. But can be changed with filters.
Step 2: Import the Image into Clip Studio Paint
To Insert the downloaded image into Clip Studio Paint:
#Open Clip Studio Paint and start the software
#Create a new canvas. Go to File>New and choose the canvas size you want
#Go to File>Import >Image. Browse to the image located and click Ok.
Then adjust the image by the use of a transformation tool to resize, rotate, or position the image as needed.
Step 3: Cleaning and Adjusting the Artwork
In Clip Studio Paint, create a new layer for adjustments. The original image will be zoomed out so make sure to resize. Use tools like Brightness/Contrast, Color Balance, and Hue/Saturation to enhance the colors or fix any lighting discrepancies from the scan.
For traditional pencil sketches, adjust the Levels to ensure clear lines. You can either work on another layer making this the base layer or intergrade by sketching over as add in my image.
Step 4: Tracing or Inking, adding color, and final adjustments
You can trace over your artwork using the Vector Layer option for cleaner and scalable line art. This step allows you to refine your lines digitally. Select a pen tool that mimics the style of your traditional medium.
If your traditional artwork was in black and white like mine it is the perfect time to introduce color. Use Multiply Layers to keep your original linework intact while coloring beneath it. Experiment with brushes that replicate natural media, such as watercolor or oil paints, for an authentic touch. I tried it on another fish, but it requires more brush lines.
Once you are satisfied with your digital work, consider adding subtle effects such as textures, lighting, or blending modes for depth.
Adding base colors to Line Art
Use the fill tool to block in solid colors under your line art. Consider using color palettes that complete your traditional work. Apply grades or shading required to give depth and form to the drawings. I followed these steps in the first image but while converting oil paints into digital the brush works, and the texture varies, or I think I need experience.
The process of doing oil painting in digital was unique. In rough stocks, I began sketching in real canvas. But in a digital canvas, there is a variety of colors, and easy to bring depth and clarity with layers being added one over the other. I used a dark base to bring a glow. In digital art, layers can be manipulated individually, offering precise control over blending and opacity that’s difficult to achieve with traditional oils.
As digital allows quick corrections - this feature is lacking in traditional art. In oils or acrylics, there is a need to repaint over to correct the mistake. For me exploring the color adjustment tools added more depth and highlighting took me time to understand. I have only tried oils, acrylics, and pencils in the digital but charcoals, pens, ink, watercolors are the four remaining mediums to experiment. I think the line is important because the look of traditional art can vary widely depending on the medium and style.
Techniques that blend traditional art with digital art
Blending techniques can elevate digital art. Here are some more detailed methods to help to start with:
1. Soft and Hard Blending
Soft Blending: Use the brush with low opacity to gently blend colors. This is great for creating smooth gradients and soft transitions.
Hard Blending: Use a harder brush with higher opacity for more defined edges. This technique is useful for areas where you want to maintain sharpness and detail.
2. Smudge Tool
The smudge tool can be used to push and pull colors around, similar to finger painting. Adjust the strength and brush type to achieve different effects.
3. Layer Modes
Experiment with different layer blending modes like Multiply, Overlay, and Screen. These modes can help you achieve various lighting and shading effects without altering the original colors.
4. Gradient Maps
Apply gradient maps to your artwork to unify colors and create interesting effects. This technique can be particularly useful for adding mood and atmosphere to your piece.
5. Custom Brushes
Create or download custom brushes that mimic traditional media. Brushes with texture can add a more organic feel to your digital work.
6. Color Picking
Continuously pick colors from your canvas to blend them naturally. This technique helps in maintaining color harmony and achieving realistic transitions.
7. Opacity and Flow
Adjust the opacity and flow settings of your brush to control the intensity of your strokes. Lower settings can help in building up colors gradually.
8. Blending with Textures
Use texture brushes or import textures to blend into your artwork. This can add depth and complexity, making your digital art look more tactile.
9. Edge Control
Pay attention to the edges of your shapes and forms. Uses brushes for smooth transitions and hard brushes for sharp edges, similar to traditional painting techniques.
10. Practice and Experimentation
The best way to learn blending techniques is through practice and experimentation. Try different methods and see what works best for your style.
Conclusion
Converting traditional artwork to digital not only expands creative possibilities but also refines your artwork through advanced tools and techniques. With Clip Studio Paint’s robust features, artists can explore new dimensions, add precision, and experiment with different styles. Whether you’re adding color, and texture, or creating custom brushes, blending traditional with digital art opens endless creative potential. Give yourself time to practice and explore these tools, and soon, you’ll find your unique balance between both worlds.
Users who liked this post


Comment