
Video version:
Text version:
Hello!
I’m .avi. I work as a professional game illustrator and creating comics is my hobby.
The birthday card theme reminded me of pop-up cards I made a long time ago for magazines. I decided to share a simple universal pop-up mechanism that can be easily modified to bring joy and fun to people on any occasion!
Pop-up cards may seem intimidating at first, but their principle is relatively simple while the effect is enormous.
The parts of this tutorial are somewhat like levels – feel free to follow up to the point you want because at any level you already have your card!
In the first part I’ll show you how to assemble an example card, and in the second part I’ll explain how the pop-up mechanism works and gradually show you how you can easily customize the template to suit your needs.
I intentionally left out any text as there are special tutorials focusing on it, but also because I believe that most of the uniqueness of a gifted card comes from the hand-written message :)
💡 QUICK TIP 💡
The card was designed for reading left to right, but if your culture reads from right to left, just flip the whole design horizontally.
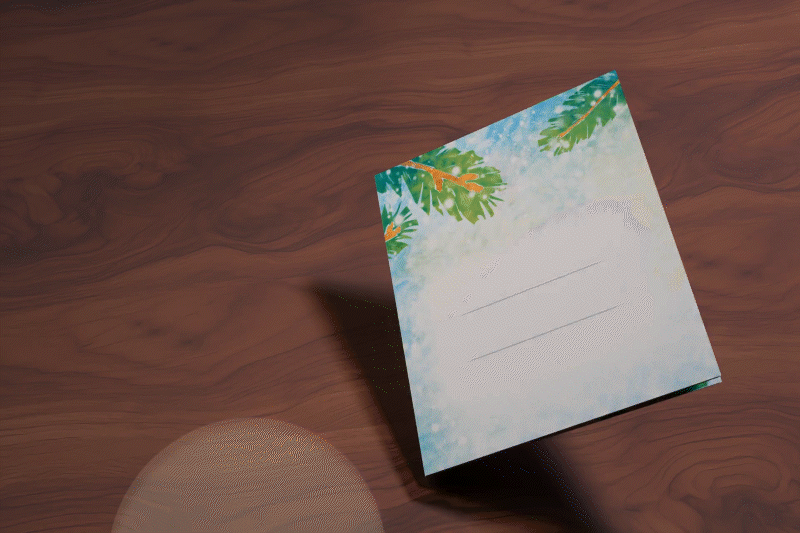
Example card
This is an example card you can download and print on both sides of the paper and use from the get-go. It was originally a winter holiday card, featuring a bird that flies out of the card once the recipient opens it.
The template and the high resolution version:
As with any other papercraft, cut out the parts and fold them along the dotted and dashed lines.
The places that are to be glued together are indicated by numbers.
After gluing all pieces together, close the card and press it firmly; best put under a heavy book.
✨And now your card just waits for you to write the message! ✨
⚙️ How the pop-up mechanism works ⚙️
As you can see, the mechanism consists of two parts:
A V-shaped fold that does the heavy work by propping up the pop-up when the card opens…
… And a supporting pillar that makes sure the pop-up doesn’t stay folded.
The pop-up part is attached to both of these parts.
It’s a very simple yet effective mechanism!
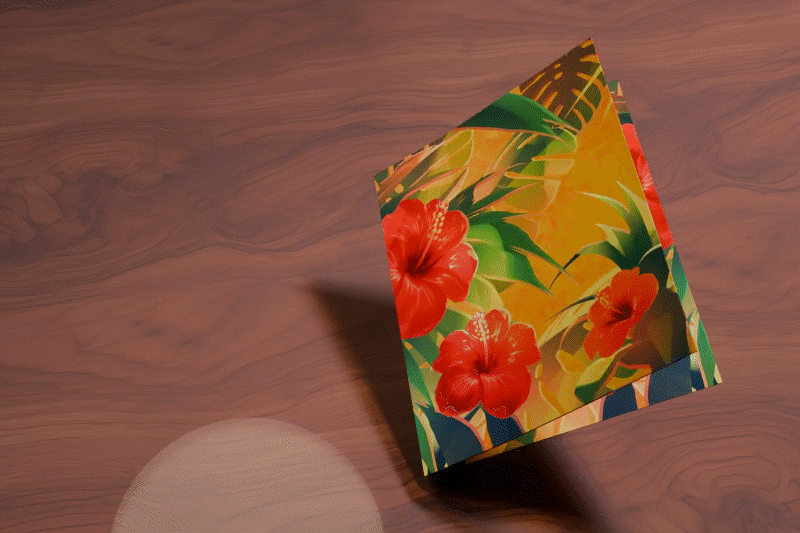
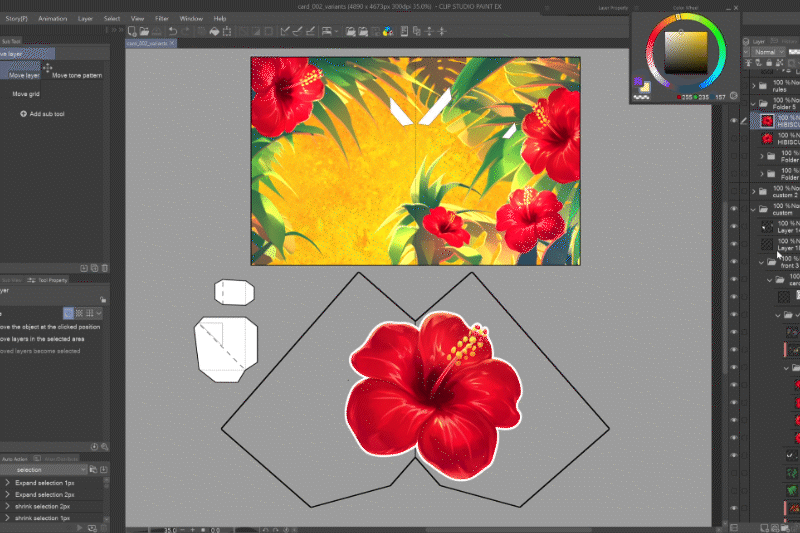
Customization of the template
The example card features a bird, but the pop-up itself can be anything you imagine!
A Halloween card? Use a hellish fruit as the pop-up part!
A birthday card? Put in a flower or a whole bouquet!
The only limitation you have is the size of the card, in which the pop-up part must fit when closed.
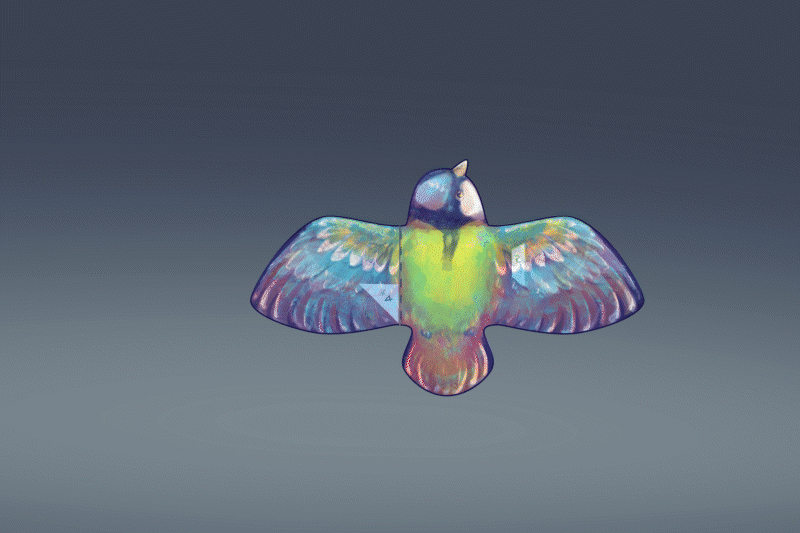
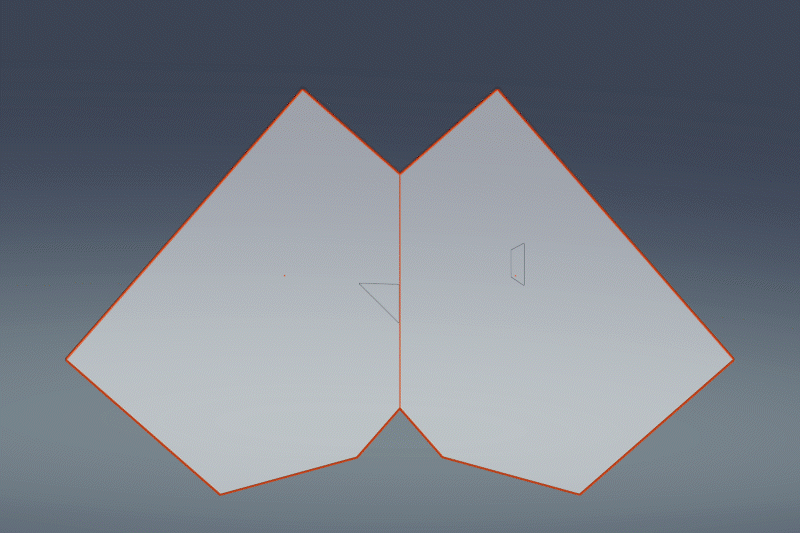
This image shows how the bird is folded inside the closed card. This gives you the rough idea of how much space is available for designing the pop-up part’s shape.
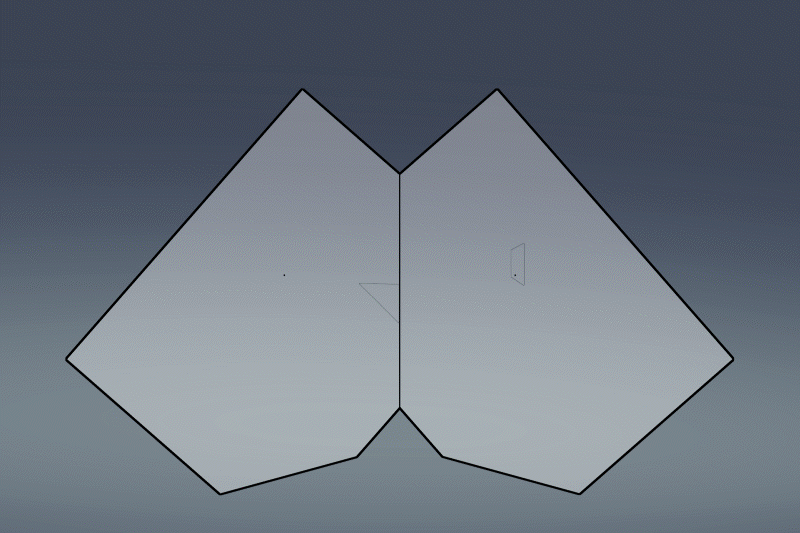
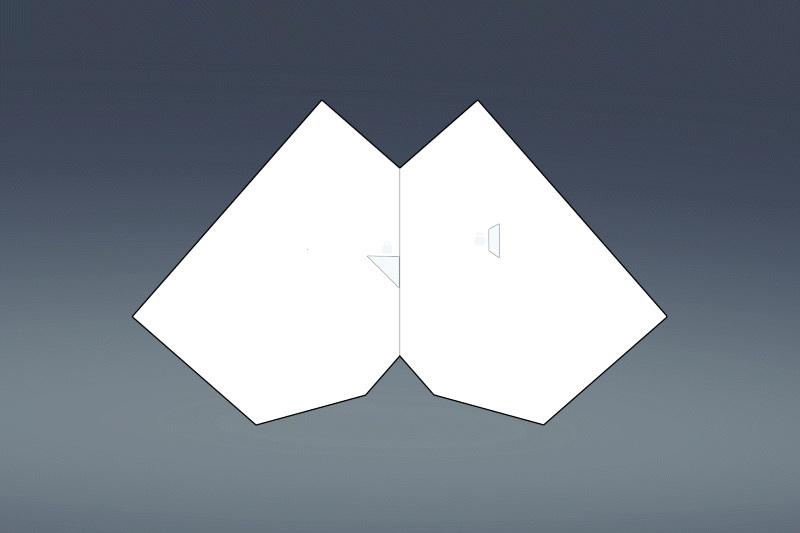
When unfolded, the available area roughly looks like this.
Place your design inside the borders, while keeping three things in mind:
1️⃣ The axis will be the fold, so you can use it to enhance the design, like the wing of the bird or petals of the flower:
2️⃣ Your design needs to cover the areas where the pop-up will be glued to the V-part and pillar of the mechanism:
3️⃣ Don’t go all the way to the edges to make room for errors, and the bottom corners of the rectangles would get in the way of opening the card:
Now, if you keep the basic shapes of the card, V-part and pillar, you can go wild with designing your whole card!
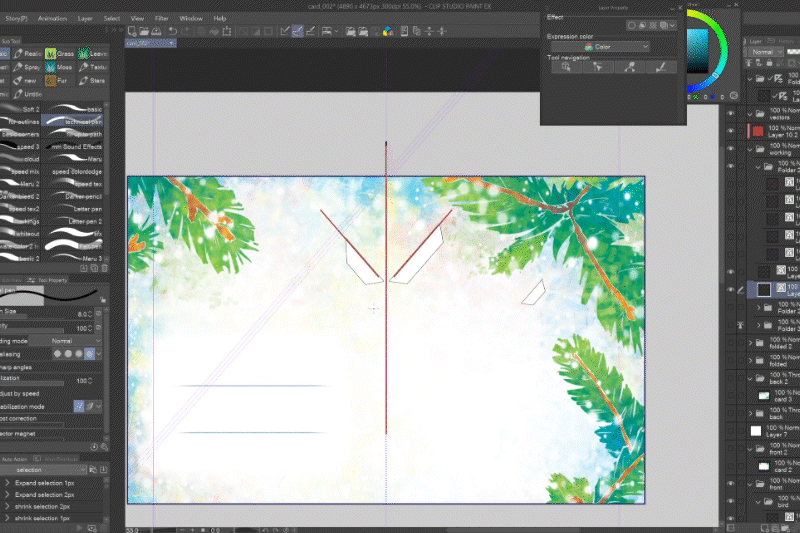
Make use of the countless brushes, stamps, patterns and images that you can download from Clip Studio Assets! Even if you are short on time or don’t feel like drawing, you’ll find images and backgrounds in all possible styles that you can place in your design.
If an image’s edge is too complicated to cut out, you can solve that by adding a border.
Advanced customization
⚙️ Scaling
If you want to make the card bigger or smaller, you can scale the whole template proportionally. That way the mechanism isn’t affected.
Feel free to rearrange the elements on papers as well, just keep in mind the positions of respective sides when printing on both sides of paper.
⚙️ Changing the aspect ratio of the card
If you decide to make a taller and narrower card without changing other parts, as long as you keep the gluing tabs’ positions from the top the same, the only thing you need to be careful about is the area available for the pop-up itself which changes with the size of the card.
Keep in mind that the pop-up needs to fit inside the closed card.

⚙️ Changing the mechanism itself
This is a little tricky, but if you keep to the following rules that make the mechanism work, it’s relatively easy, especially if you want to raise the pop-up higher or move the supporting pillar somewhere else because of the pop-up’s shape.
1️⃣🅰️ Both halves of the V-part must have equal angles:
1️⃣🅱️ Both edges of the V-part’s gluing areas on the card must have equal angles:
2️⃣ The purple-marked folds and gluing areas edges must be parallel:
3️⃣🅰️ The height of the pillar and the height of the area below the gluing area on the V-part must be equal:
3️⃣🅱️ The distance between the pillar and the V-shape on the card and on the pop-up must be equal:
If you keep these rules, you should be able to modify the whole design easily.
💡 QUICK TIP 💡
CSP has great tools for designing papercrafts, so make the most of the symmetrical rulers, parallel rulers and other rulers in combination with drawing on a vector layer where you can easily adjust and clean up the lines.
Conclusion
It wasn’t as complicated as it first seemed, right?
Have a lot of fun both creating and giving cards!

Footnote:
I’m sorry it’s just 3D previews, even after all this time I still don’t have a printer or a scanner (I don’t have use for them anyways), so I took this opportunity to practice Blender :)
How did I create the papercrafts without a scanner or printer in the first place, you may ask? Well, my student-in-the-dorms version of a printer was putting a piece of paper over my laptop screen and trace the would-be-printed mock of a papercraft sheet with a pencil; similarly a scanner was a sketch on paper placed on my tablet a traced with the tablet pen into a digital version :D
Users who liked this post


Comment