HOW TO MAKE PORTRAITS !
Today i’m gonna show you some tips to make your portraits a bit more interesting !
Art Style
Often , people believe that you can only make portraits in a realistic art style , but that’s not true! I think you can make portraits with any art style really.
As you can see I tried drawing multiple styles above :
realistic , semi-realism, anime and cartoon.
To be honest I’m not too good at realistic art so I’ll mostly stick to semi-realism and anime !
Color and Lighting
To prevent my portraits from looking too bland and boring , I’ll play with the lightning and colors.
In my opinion, It’s kind of difficult to make a portrait interesting when it’s in black and white or with a basic color palette.
Of course it can be interesting when the character represented has unique features but I find it more captivating to add various light sources and colors !
When experimenting with the light source you can choose to paint soft of sharp shadows.
Sharp shadows (usually are sharper when the light source is closer to the objet) will give a more dramatic look to the painting.
For this all you have to do is add a clipping layer on multiply mode above your color layer and paint the shadows!
As you can see above , I made several different lightings and colors on the same character .
I painted one character with its base colors then duplicated it . I used layer modes for this , mostly multiply and overlay modes along with gradients.
This doesn’t take much time and it’s helpful whenever you’re not sure and wanna decide which lighting you wanna go for.
Of course you don’t have to use layer modes , you can paint the shadows yourself but I find it very convenient since I’m not too comfortable with raw colors and color theory for now!
For exemple the first drawing of the four above was made without any layer mode.
I displayed the color palette of each drawing next to it because in my opinion the more colors your painting have the prettier it looks !
A bit of anatomy
I still struggle a bit when it comes to drawing heads .
The picture above are heads i drew without guidelines, as you can see it’s not really anatomically correct...
On the right of this picture you can see a step-by-step head guideline.
After a while of using guidelines you will probably end up only using a simple cross for the face as guidelines.
Keep in mind that a rounder face will looks more child-like whereas long and sharp faces will look more mature.
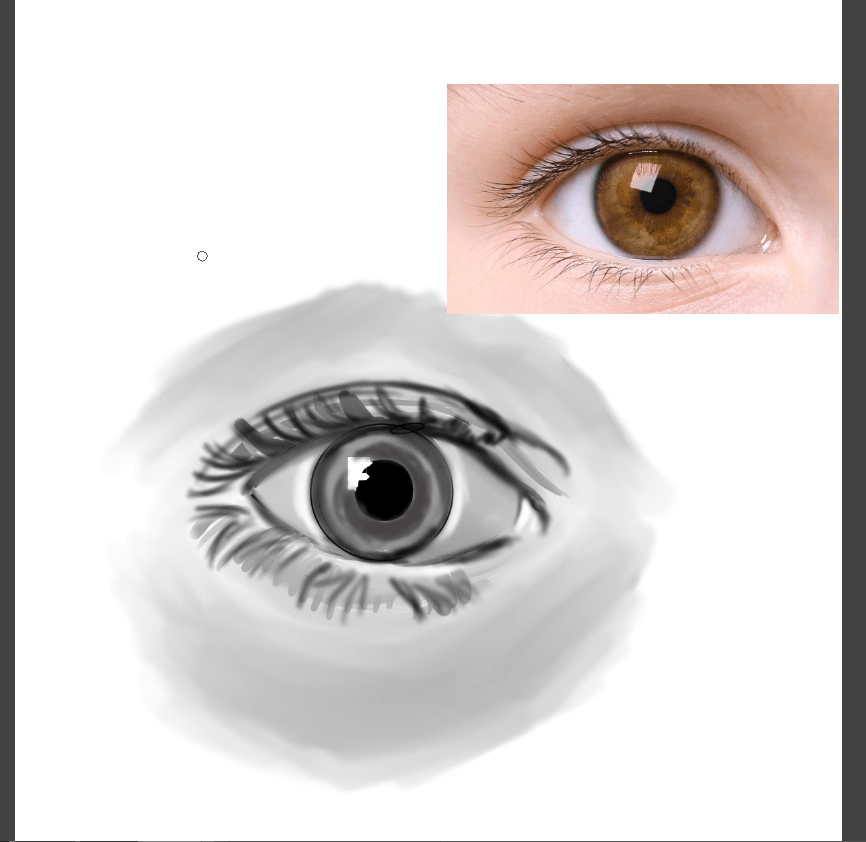
I also get the eyes proportions wrong at times so i can draw the eyes sockets to guide me.
A very common mistakes artists do (me included) is the placement of the ears; they’re often placed too low or too high.
To prevent that from happening you need to remember that the ears are in between the eyebrows and the nose, you can draw a line to get it right ,like I did in the drawing on the middle.
Next is the hairline. There are various forms of hairlines but once you draw it it becomes easier to draw the hair next
Various hairlines go with various hairstyles.
I actually recommend drawing the hairline every-time you draw a character because it helps visualize and control the volume of the hair .
Facial Expressions
This is pretty self explanatory but facial expressions will often make your portraits more interesting.
It becomes very interesting when you associate the expression with colors ; for exemple you would make the background red for a portrait of someone who looks angry and blue for someone who looks sad !
The features of the face that plays s big role in expression are the eyes , eyebrows and mouth so it’s really important to get them right.
I find that detailing teeth accentuate the expression (but that’s my opinion)!
Also , there will be a big difference when drawing someone who has their eyes wander around and someone who looks directly right at you.
When looking right at you it will probably make the portrait look more intense.
Process
So , I usually start with one or multiple sketches , here i spared myself form drawing the guidelines.
I then apply the base colors of the character.
Next , I clipped an overlay mode layer on top of the color layer to make it look warmer and merged it with my color layer.
After merging the two layers i start painting over it to detail it.
And When im done with refining it , I clipped a glow dodge layer on top of the painting layer to add some lighting!
Well ! That’s it !
I hope this helped you a bit.
If you wanna see more of my art you’re welcomed to check my Instagram account :
Thanks for reading !🥰


Commentaire