MAKING A CHRISTMAS EXPLODING BOX USING CLIP STUDIO PAINT
A. Introduction
Hello everyone ~
Christmas is over but the New Year Eve is on this way. And I do love creating some paper craft to give my friends as little present. I used to make greetings card with papers, scissors, glue,... only, but this year I want to try something different.
So I decide to design everything on my iPad using CSP, then print out to have a nicely color ^^~
So let’s get started! (❁´♡`❁)
B. Prepare the workspace
So here is my new iPad Pro, and I am so excited to try using Clip Studio on it!
Ok let’s begin with creating the new canvas. But here is the thing:
Choose the unit to “cm”.
Go to [View] and then turn on the [Grid] and [Ruler].
Continue with [View] => [Grid/Ruler Settings].
At the [Origin of grid/ruler], I choose [Top Left].
Now we need some more settings for the grid. To make it easier to recognize for sketching later, I set the [Gap] to 1cm and the [Number of divisions] to 5.
You will see the canvas now has a grid on it, and each big Square is 1cm x 1cm, and the little square inside is 2mm x 2mm.
It’s okay and ready for sketching.
Because I will sketch every part on this file, so let create a new folder for each part. Now, let’s start sketching.
C. Crafting Tools
Here is some tools that I use to make it pop-up from the design:
A cutting mat.
A paper knife.
Ruler.
Black washi tape.
Double side tape.
Decorating paper string.
Some cute stickers.
Print of the design, of course (❁´♡`❁)
D. The Box
The first part is the exploding box outside. Let’s start with some setting for the [Rectangle] tool.
First, create a 6x6 cm square. We have set the unit of the grid to 1 gap = 1cm so now we can easily know how long 6cm is on this canvas.
Next, using the [Ctrl + T] shortcut for create another square. Just remember to turn on [Keep original image] and move the new one carefully to the next side of the original one.
Continue untill you get 3x3, 9 square like this one.
Let’s move on to the lid of the box. The lid have to be bigger than the box a little bit, so we need to create a bigger square. Now I draw a 6.4x6.4 cm one.
Next, create a part for us to glue 4 edge together by:
Create a 2cm circle, then a square like below and then erase the unnecessary part.
Then stick it together like this is okay.
Because I’ve made this for Christmas and New Year so I used the Christmas tree as the combination in the exploding box. Let draw it.
Sketch the basic form of the tree. Please notice the symmetry line.
When you feel ok with the shape, give it a lineart.
Copy to 4 angle to finish the based template of the exploding box.
Then give the box and its lid some color o(. ≧▽≦ .)ツ
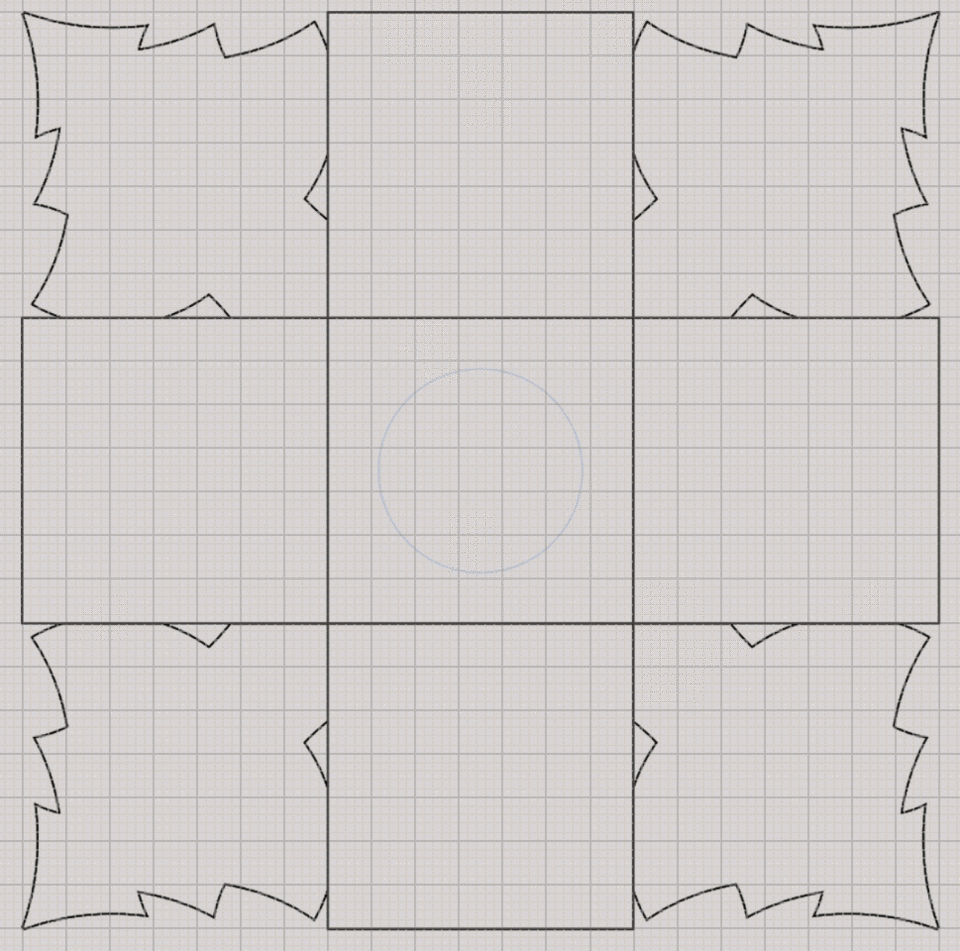
Now come to the printing of it, I cut it out and then use the scoring tools to score the edge and fold it up.
E. The Pattern
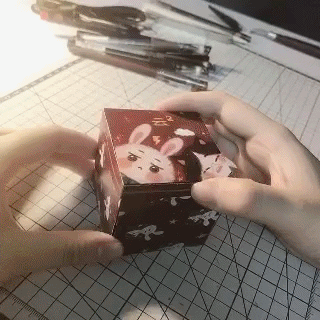
Above is the inside design of the box, but don’t we forget about the outside? I want it to jave a design like a present box, so let create a pattern design.
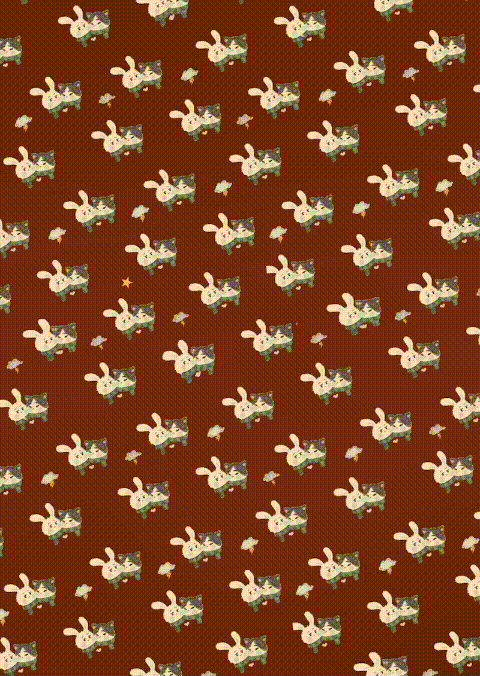
First, create a new [Folder], and then a new [Layer]. Fill it with the color you want. Here I used a dark red for it, its code is #682422.
Now draw whatever you want, for me, I draw 2 small cutie: a bunny and a kitten, and in the new layer, of course.
Copy it by any way you like, and then fill the layer with a lot of cutie bunnies and kittens!
Add some little pattern, like cloud and lightning like me.
Here is the result. But it still missing something.. 🤔🤔🤔🤔🤔
Let’s use this 2 decorating brush to draw some star and sparkles to the design.
Use the stars stamp to add it one by one ^^~
Twinkle twinkle little star~ ⭐️
And then some sparkles! Blink blink blink ✨✨✨✨✨
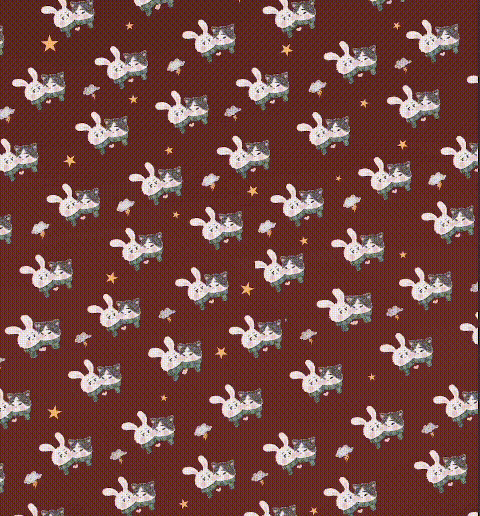
It’s beautiful for me now (❁´♡`❁).
Here is the final result.
And I changed the background color to make another pattern.
F. Little envelope
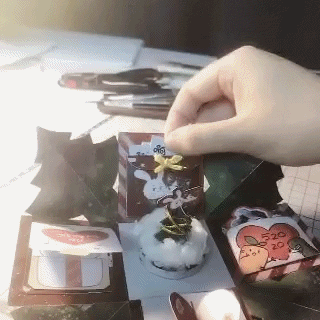
I have a little note for everything inside the box: they need to be smaller than the box, which means their size can be bigger than 6x6cm.
Now we’ll draw a template for a tiny envelope. Start with a new folder and layer a, the draw a 5x4cm rectangle.
And the add the details like this.
And then draw some cutie characters, and color it.
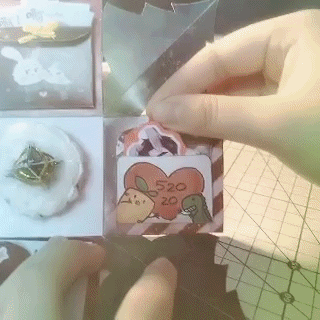
And another one.
With this envelope, it will have a side that can be seen, and it will be folded up. So when you draw, remember to draw it up-side-down!
G. The Mini Greeting cards
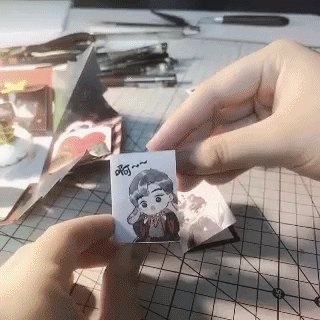
I want these 2 cards will be put in the envelope above, so they must be smaller than the envelope. Let’s create 4 rectangle with the size 3.5x4x5 cm like this.
This will be cut into 2 tiny cards.
Then I decorated it with some cute chibi and a greeting for new year:
“2020, love you love you”.
This is the front and the back of the outside of the card. The inside will be the pattern. When you print and cut it out, you can see the results. You can also cut a piece of white paper that smaller than the card and glue to it.
H. Chrismas tree Pop-up
Let draw 4 Christmas Tree first, and give it some color o(. ≧▽≦ .)ツ

Now we need to have a based part to put the tree on. Let draw a circle with the diameter = 4.5 cm
Draw a rectangle: 1cm x 14.2 cm.
The length of this rectangle = the perimeter of the circle we have created before.
Now we have to create the part which will be used to glue to the circle and the box.
Start with a triangle, then copy it to make a “string” of triangles like below.
Finally, finish it with a solid color.
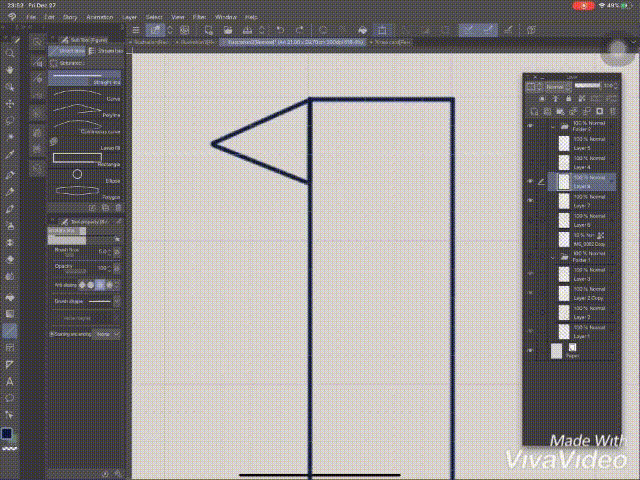
Cut all the part out.
First, for the Christmas tree. Cut out 4 piece of tree. At the center, cut down 1/2 from the top (2 piece) and then 1/2 from the bottom (2 another piece), so you can put it together like this.
Stick the double side tape to the “triangle string” and carefully stick it to the circle at the middle of the box.
Use the double side tape to stick the circle to it. Finally, put the Christmas tree on that box and give it some decoration with the paper string and some cottons.
I. Heart opening card
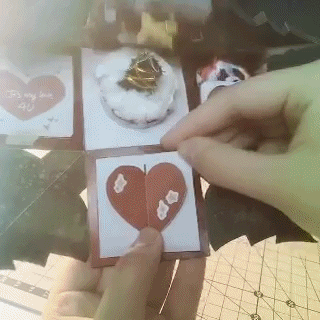
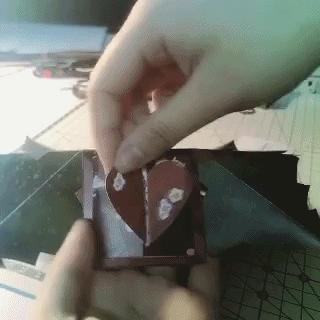
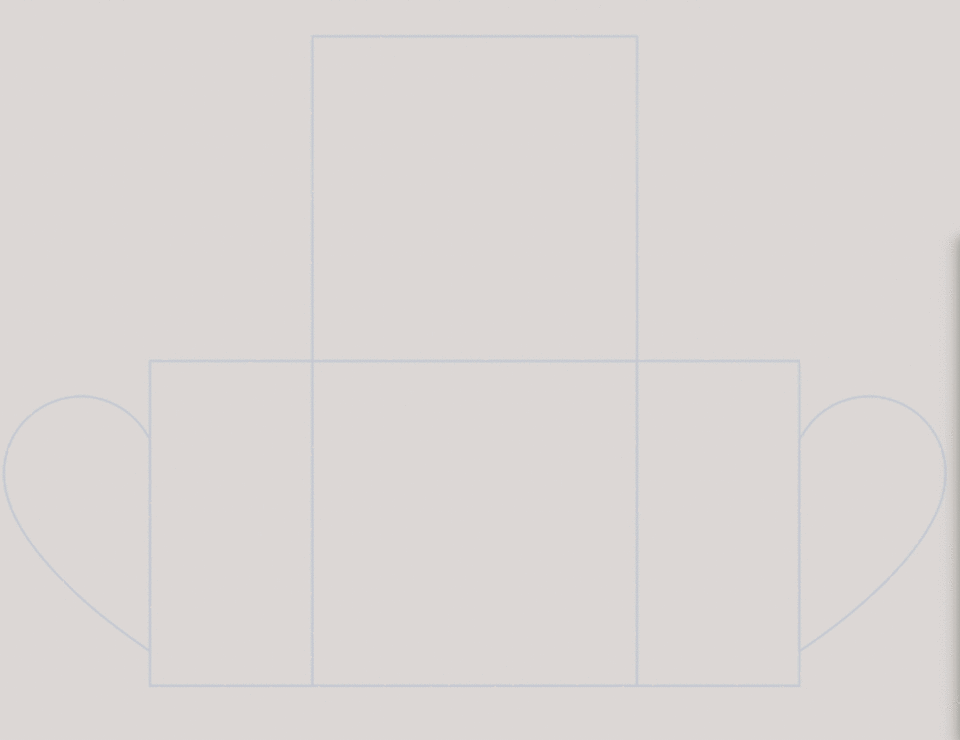
Prepare a template like this. It’s combination of 2 5x5cm square and 2 2.5x5cm rectangle. Draw a heart then devise into 2 half and half part, put it by the edge.
Color each part like this. I forgot the part which make the character pop-up when you open it, so don’t forget to draw it and color them too!
When you print it out, fold it up. As you can see, I added some more decorations with stickers and write a “Happy new year” to it.
J. Open present box postcard
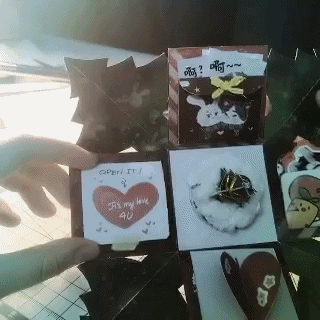
This card has 2 part: the fold up card outside and the present box card at the inside. Start with the template like I draw below.
Draw the front side at the below square.
For the present box cars: draw the lid at the first rectangle, and the box at the last one. 2 rectangles in the middle is for you “present” which have been hidden inside.
Here is it. Just follow the edge and fold it. Then stick the present box card into the outside card.
K. Zigzag card
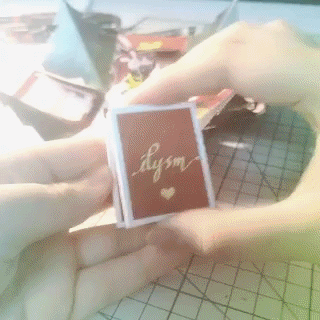
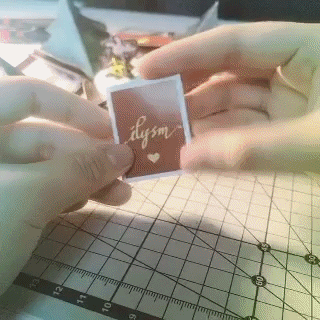
Start with the template which has 6 similar rectangles. The size is 4x5cm for each. Keep color it like every part we have done before.
Continue to follow the edges and fold it, you can also add a piece of white paper to write something sweet for your friend.
L. Rhombus Folding Card
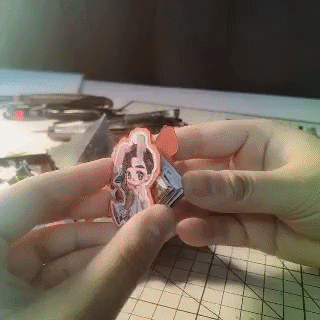
Make 10 similar 3.5x3.5 cm square and arrange them like this. (Sorry about the text in the image, I was wrong //>~<//).
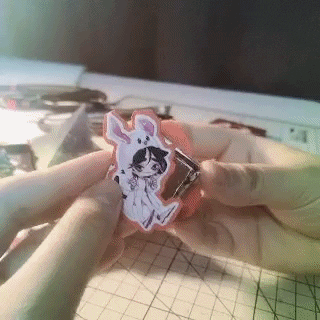
Use the scoring tools to help yoy fold it easier. And then use the stickers to make 2 chibi stick on the paperboard. Glue it to the card to finish it.
M. Conclusion & Thank you

Ok thank you so much for reading to this, it was a long long long tutorial. This template can be used for more and more type of greetings card: birthday, holidays, ect. I hope you like it.
I will leave the blank template below for you to be easier to make your own card, so check it out !
Thank you so much, again ❤️❤️❤️❤️❤️


コメント