
A simple way to make your flat colours pop after transitioning from a traditional workspace
A particular challenge I face in my workflow with transitioning my illustrations and or Webtoons from a traditional platform to a digital platform is translating the colors.
But before I start with the tips, I can only say, it’s all in the video.
Lineart
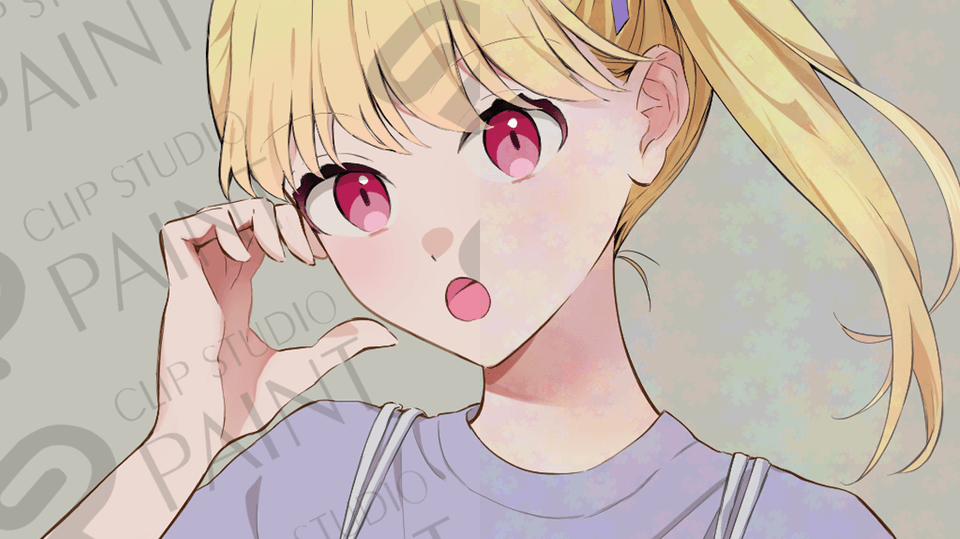
No matter how well I try, it’s as if my brain can’t comprehend or work out how to put down the colors I use on paper together on a digital canvas, because yes, slapping any color onto the canvas is easy, put making it look good and organized and not just dull, seems impossible.
And this, is where Clip Studio Paint’s colorize feature comes to play. (It saves a lot of head scratching)
Base Colors (Flats)
First, I apply the base flat colors that I want to use (Ignore what’s going on with the layers), that is, coloring the main body parts, the hair, the outfit , both up and down or an overall outfit, the shoes, accessories, etcetera.
But here I’m just going to go simple.
I’ll be using a previous illustration where there’s no outfit, only a chocker with a chain attached to it.
Using the colorize function after flats
Okay, so following what I said, I apply the base colors, then position the layers well so I can use the colorize function.
That is, set the Lineart layer as reference, put the base color layer on top of the Lineart layer, then with the base layer selected or highlighted, go to ‘Edit’ at the top of your canvas, select the ‘colorize’ function, choose the second option, then wait for the program to do its thing.
Duplicating the results, layer orders and changing blending modes
After it’s done, duplicate the results so it becomes three layers of the same thing in total and arrange the layers accordingly just as in the video.
P.S The layer after the colorize function is used always has a ‘red, green, blue’ intertwined circle like a Venn diagram set on it.
Change the blending mode layer of the colorize layer on top of the Lineart layer to ‘Soft’ blending mode accordingly just as in the video.
Adding subtle shadows
After this simple workflow, you can now add your shadows wherever you want them to be placed, and even add backlight if you want to.
Duplicating the shadow layer
Duplicate the shadow layer to make it more pleasant.
Thank you very much for reading and for watching my YouTube video.
この投稿を「いいね!」したユーザー


コメント