HOW TO CONVERT Photos into illustration ( using CSP )
INTRO
Do you want your photos of a beautiful scenery like this to be converted into beautiful illustration like backgrounds? Do not worry cause I just have a right tutorial for you all.
Do's and Don'ts
Hello everyone! I am Yomehlo and i am back with another tutorial in which I will show you all, how you can turn self clicked pictures like this into a webtoon background like these. So let’s get started!
Let’s first know, what kind of picture is suitable to be converted into an illustration. When you click a picture make sure it identifies not too dark or not way too bright. It should define all the details within.
Secondly, it should have a desired and interesting composition. It should include interesting elements present at that place. Imagine your character at the scene and then set up your camera. Make sure your camera lens is clean and the settings are at highest pixel rate. Keep your hand steady, blurry photos should be avoided at all cost. Click multiple photos with different angles and then take your pick .
here are few examples of good pictures with good composition.
COLOR SCHEME
Time settings
Once you get a good shot, you are good to go.
Next step is to choose the time of the day to convert the picture into background. Generally it’s day time, evening time and night time. You can easily turn a day time image into any of these. I will teach you how.
selecting colour set and Gradients
Let’s start with evening time. In order to make evening background, we need to know the overall colour tone of the image. I highly recommend searching for references online and derive major colours you see and pick out three most commonly identified. For this, the overall colour scheme is decided to be yellow, orange and red tones. Same goes for day and night time.
Another way to determine the colour scheme is with the help of gradients available in clip studio paint which shows colors sets for different times of the day which we will use further in the process.
Now that we are done with the basics, let’s move onto the process.
PROCESS
Tonal correction
Let’s first start with sunset time .
First click on file on top left corner and import the image you clicked. After the image is imported, duplicate it just so you can go back again and refer to the original picture. Now change the hue/saturation settings in tonal correction under edit button. Hue is used to change overall colour setting and saturation is used to make the colour pop out more. For this image I will increase the saturation alone to 20, making it more eye catching.
Next step is to decrease the brightness to -5 as it is evening time. Increase the contrast to 10. After this, we will change the colours of the image.
As it is evening time, we will make the image incline more towards red and yellow tints. We will change half tone to 20 red and 20 towards yellow. Shadows to -10 yellow and highlights to 15 red and 15 yellow. Next is to play with tone curve, upper inclination refers to bright areas of the image while lowest point indicates dark areas. We will increase the highlight by tweaking the upper slope in upwards direction.
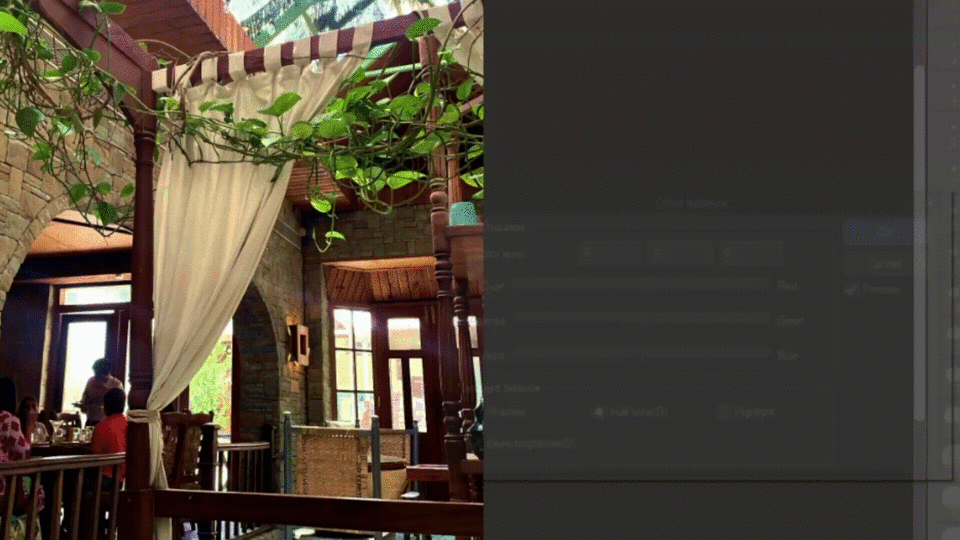
Artistic Filter
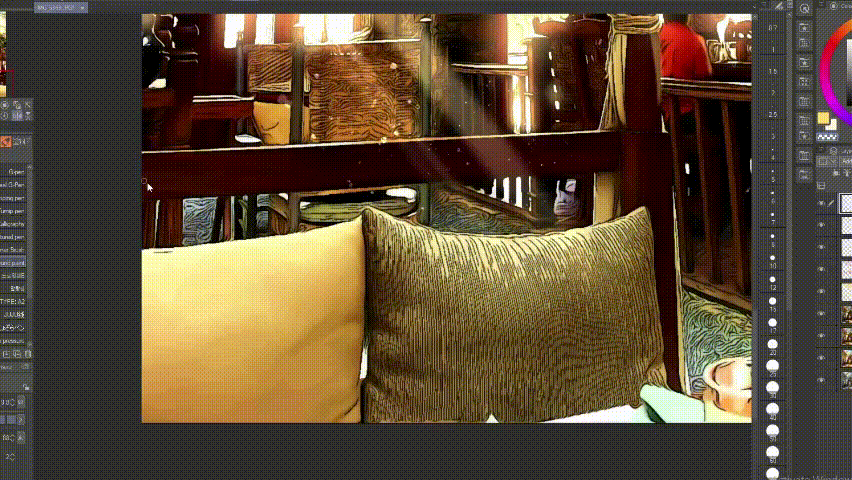
Most important step is to go to filter and choose effect. Under this, choose artistic and follow the settings as given. You can change it as you want. And then click ok. This turns the image into illustrations like image.
I suggest to repeat this step twice if needed.
Light Source
Next step is to determine the areas through which light comes in . In the given photo its the window and the net roof. Add another layer and change the blending mode to add glow, select brightest colour in your color set like in this case yellow, and start adding light using air brush. Lower its opacity to 80. Add another add glow layer and repeat the same process with darker colour in your set like color red to give the light a gradient. Lower its opacity to 30.
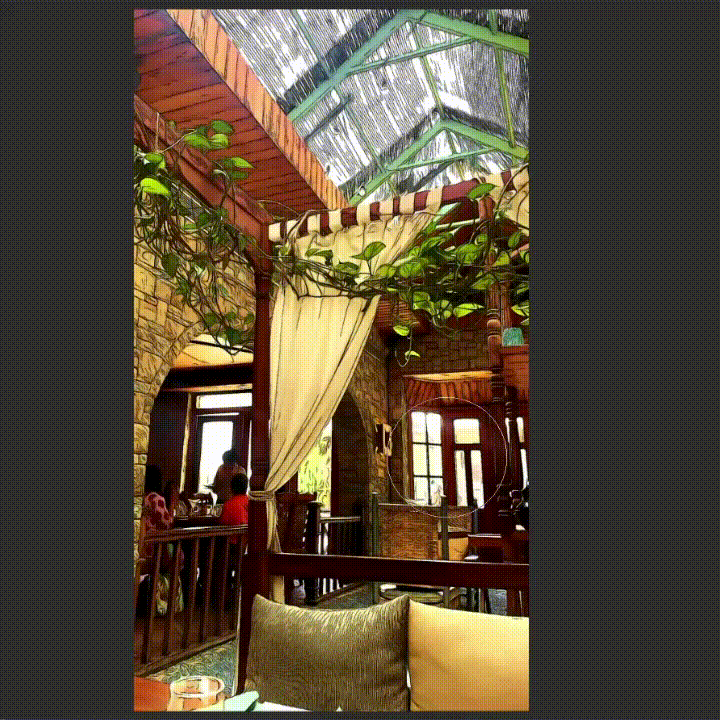
If you want to give your drawing a dramatic effect, you can add light rays coming through the window. Just add another add glow layer above it and start putting rays in the direction you decided. Erase the hard edges. Make sure to add scattered particles reflecting light to give it more realistic effect just like this. Lower the opacity of the layer to blend it.
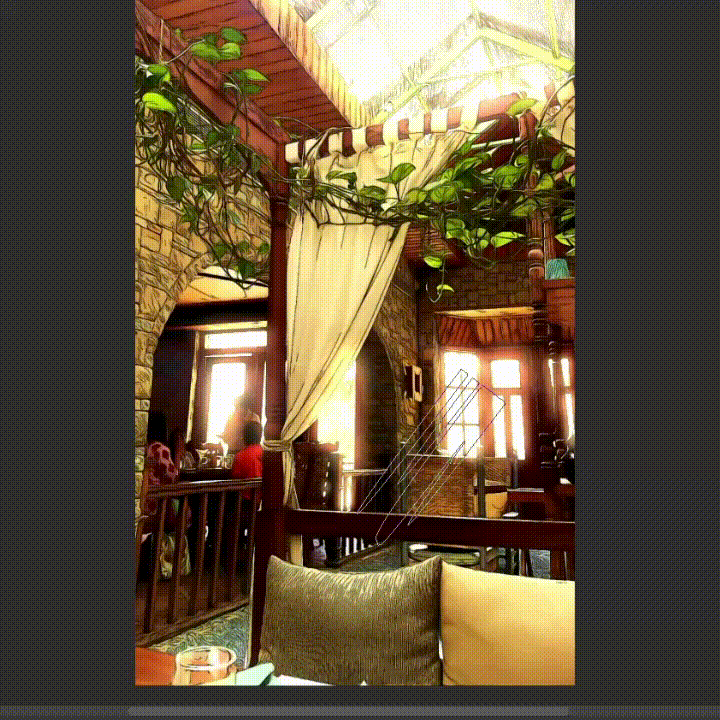
Make sure the direction of light rays are same in one picture and keeps on changing if you are using same background but different time of the day, just as illustrated. To draw light rays i use this material with id : 1646437 and id: 1992733
Adding Sky
Another thing to add is an illustrated sky image or hand drawn clouds to your image. For example, this starry night sky in night time version and this blue sky on another image that I rendered. This will make it look more artistic. But for this image, this step is not necessary so I will skip it.
Reflections
Now we know that the light we have drawn will be reflected back the elements present in the picture like planets, wooden plank, cushions and people. Determine the direction of the light and start drawing reflected surface using a soft brush on an add glow layer. And then reduce the opacity. This will make the objects present in the image seem blended . The light falling on pillows is assumed to be falling by passing through leaves so we will use the brush id mentioned above to give light effect.
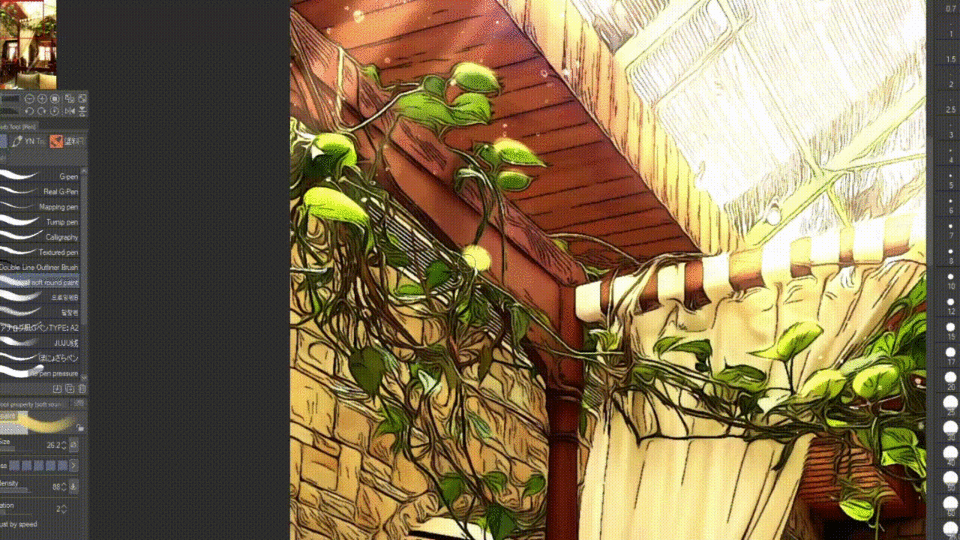
Gradient
Last and most important step is to add sunset gradient on a separate layer. Change the blending mode to either overlay or multiply and reduce the opacity. This will make the overall image look seamless and blended.
set it to overlay.
Reduce the opacity of overlay layer.
Just like this, you can make day and night time illustration!
Add your character
Now you are ready to put in your character! Make sure you blend in your character with background with the help of different blending modes. Keep in mind the direction of light while putting shadows and highlights.
This is the end of the tutorial. I hope you all found it helpful. Thank you so much for reading this tutorial.


댓글