
Introduction
Hi everyone! For this tutorial I will show you the process that I follow to design manga style kimonos, as well as some shortcuts that help me save time, such as the CLIP STUDIO ASSETS decoration brushes
I will use CLIP STUDIO PAINT PRO and as always, I will be detailing the brushes used throughout the tutorial.
From sketch to inked
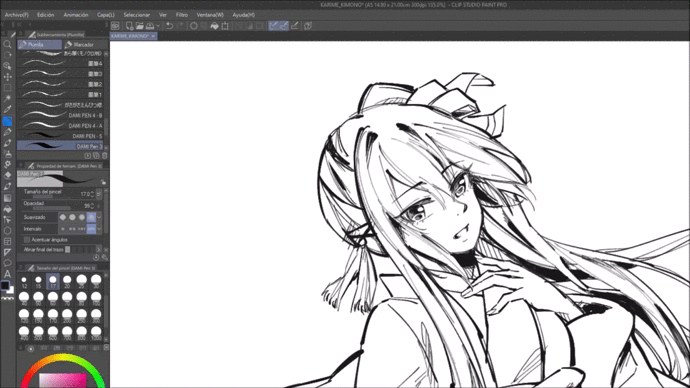
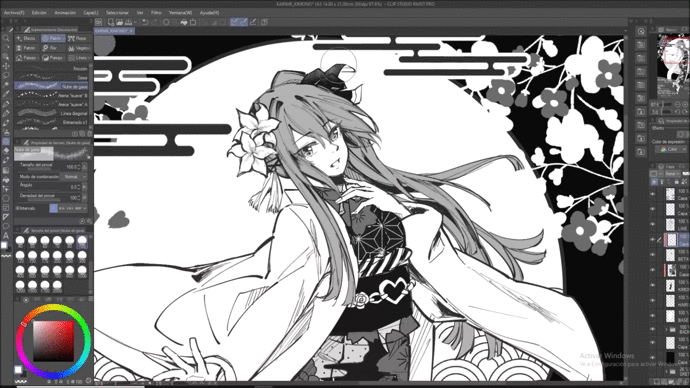
We will work with this sketch of one of my OC's, Karime. Since the main objective is the design of the kimono, I have chosen to draw a full-body character instead of going through bullet points, but I will still be showing several uses that can be given to the decoration brushes later.
For both sketches this is the brush I always use
This illustration will be quite loaded in details, but if we talk about Linework I will only focus on the model so we only trace the general form as we are used to (in other words, only trace the simple forms):
I did the inking with this brush:
Kimonos (and background decoration) are usually detailed, and this illustration is no exception, so for all those accessories I will use some detail brushes later. But that doesn't mean I can't polish this Linework with more details.
In [Decoration -> Flower Sub-tool] you will find various flower brushes (among other options) that we can implement to the figure. I will use the Lilies brush:
(*) Optional: My Linework style has thick lines so to adapt the look I only traced the outline of the flower

Now that we complete the Linework, in [Edit -> Convert brightness to opacity] we can replace the white background with a transparent one. (Since most design brushes have a white background, it would be best to have the background of the transparent Linework layer so that later it does not hinder when we add the frames, or the color, depending on the objective)
Kimono I Frame and Texture - Decorative Brushes
We place the color bases (Grayscale, as this will look like Manga), like this:
Now comes the fun part: Design the kimono.
With these brushes we will trace the design we want.
I recommend opening a new canvas to have a better perspective of how the texture will look, but it is also possible to apply the brush directly on a clipping layer, here an example so you can tell the difference and choose which one is more comfortable for you:
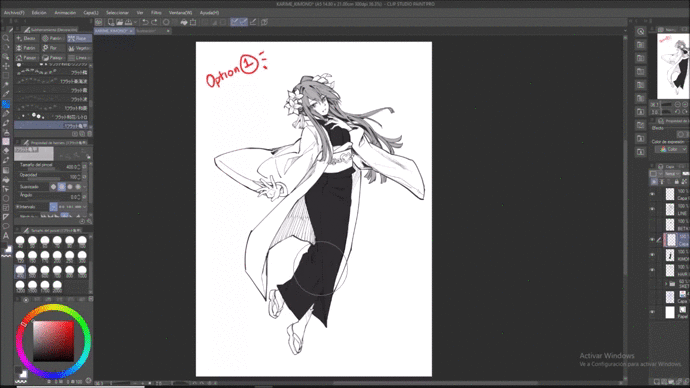
For me it is more comfortable to design on a separate canvas, so I will go for option 2.
The Japanese ornament is usually very ornate so it would be better if you have enough references on hand if you are not used yet!
(*) Important: References are good, but it is not necessary to copy them exactly. A good way to experiment is to give random strokes. Of course, with an appropriate criterion in the gray scale (Personally I use 3 to 4 shades from white to black)
Kimono II Lattice and Texture - Custom Decorative Brushes
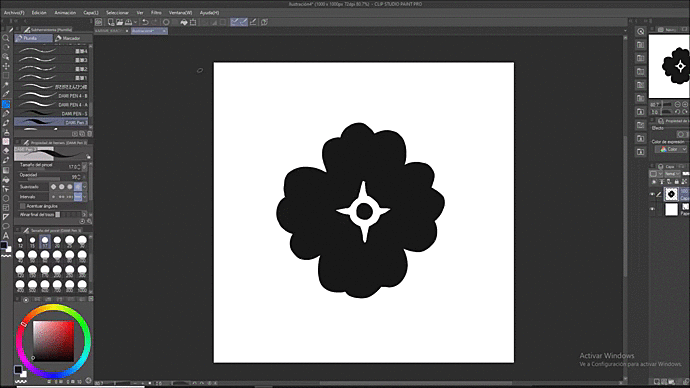
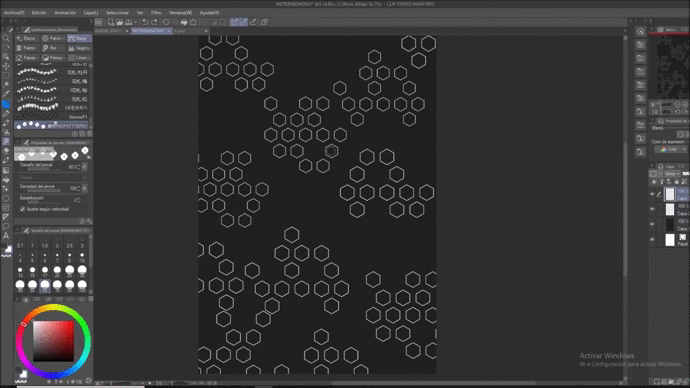
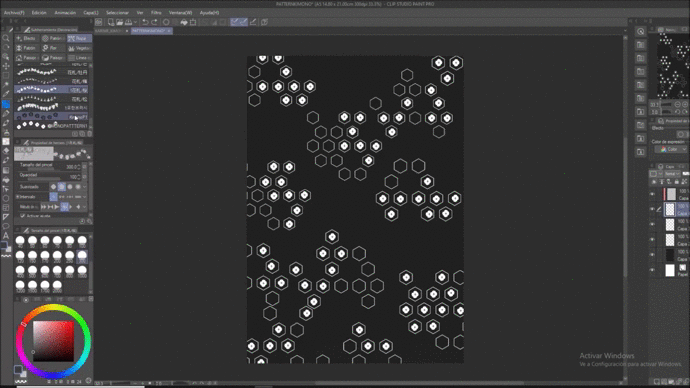
Now that we have the base of the fabric, I will add some flowers. To save time we will create a brush that we can reproduce without having to draw the same flowers over and over again:
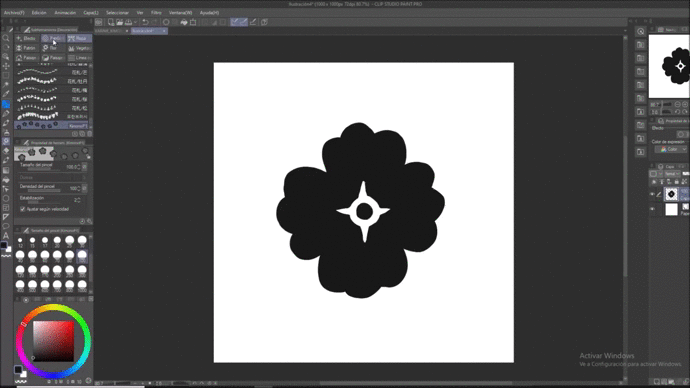
1) We create a module
2) In [Edition-> Material Registration-> Image], we give you a name and a label to be able to locate it quickly and save the texture as a brush material
Then, in [Decorating Sub-tool-> Create custom sub-tool] we will give a name to the brush and insert the texture that we previously saved.
A new window will open automatically, in [Brush Shape] we will apply the figure of one of the default brushes, so that it acquires similar configurations. Then, in [Brush Tip] we replace the shape with the material we drew earlier.
We look for the name or label with which we keep the material, we accept and that's it! We have our custom brush.
Now it only remains to use it to fill the canvas to taste
As I said before, it is good to make random strokes from time to time, so that I will do to fill in some spaces:
After some attempts, it looks like this:
Now we just have to save the image and export it on the canvas of our character!
Now hit the bottom:
The brushes I attached above have good textures so I will also use them to fill in the background of the illustration
Kimono III Lattice and Texture - Glitter Patterns
Ready! Now only the final details remain.
Let's give some shine to the hair and the obi of the kimono.
In [Decoration-> Sand Pattern Sub Tool -> Chiffon Cloud] we have one of my favorite brushes for this job.
Just direct the brushstroke from where the light comes.
We are almost done!
The only thing left to do is give it a more traditional look with the fabric:
In [Layer Properties-> Effect-> Raster] we can give that texture to our illustration.
Select the layer (s) (or folders) we will frame and click the raster icon.

And ready!
Latest Recommendations
I hope you enjoyed this tutorial! The manga is one of the things that I enjoy doing so, so I hope this tutorial helps save time every time you have to make very detailed designs since the CLIP STUDIO decorative brushes have saved me many times from my deadlines, no Only when you draw manga, but also when you make color illustrations!
I will attach some of my social networks in case you are interested in seeing more of my drawings! Thank you for reading!
Users who liked this post


Comment