
Introduction
Hello everyone, now I bring you a tip on how to correctly use the perspective ruler for a 1 vanishing point and use it as a reference for our illustrations. Since for my part, when I started using the tool, I got a little lost because Clip Studio Paint generates automation for us to save considerable time. So I share with you.
Selection
Ruler Tool Selection, then we select Perspective Ruler as a sub tool.
I know it's a bit obvious to say about the selection but it never hurts, hehehe
Sub Tool Properties
When we go to the properties of the sub tool we will have additional options to manipulate the perspective, so let's make sure that it is correctly in the option of
Add vanishing point, I've noticed that sometimes, I don't know why the program selects "Add guide" and if you have that in principle, it won't generate any action, so it's worth checking, if so change option and leave it on "add vanishing point"
Generate Vanishing Point
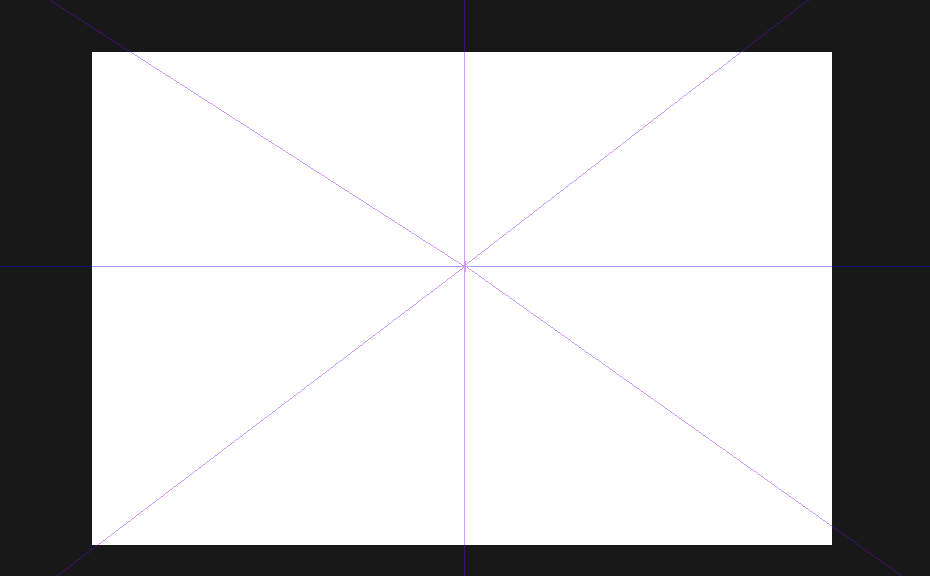
Here is the correct way to address the vanishing point. We go to the canvas and see where we want the vanishing point, don't worry about the horizon line, because Clip Studio Paint generates it automatically once you are clear about where you are leaking. Then we are going to generate a first guide with the following movement
In other words, my vanishing point will be where I have marked in blue, that is where I envisioned. And with our pencil we are going to make this movement, when we lift it the line will remain for a moment until you do the same on the other side like this
And when you have set in the same direction, Voilà! the program automatically generates the horizon line
I should give you something like this
As I have decided for my illustration to be in an Interior space, then you have to do the same procedure as above but this time from the top so that the guide is correct. and in the end you have to stay like this
And here we have a correct guide to 1 vanishing point, don't worry, it doesn't have to be perfect for an illustration, we use it as a guide, not for a design for exact dimensions like for architectural or industrial design perspective.
move the rule
One of the practical things of the program is that it allows us to move the rule freely after it is created; for this we go to the move layer tool
Then you can freely position the ruler to better determine our vanishing point and the horizon line, see
This is very useful if we have in mind another type of View Angle or we want some other scene.
Sketch and Finish
After having the clear guides we can start making our illustration at 1 vanishing point, I share my creation
this was my sketch
And finally after a couple of hours I had a result that left me satisfied, although I know I still have a lot to improve.
So I concluded that using the perspective ruler to have a correct guide and improve our illustration is very useful, I recommend using it a lot! I guess the question of color and the process for this illustration is a topic for another section of Tips, maybe, hehehe. This time I wanted to show you my way of using the ruler to get efficient results and to have an illustration like this using the ruler correctly.
Thanks friends.
Users who liked this post


Comment